Installation Guide
16‑PortGigabit Smart Managed Plus Switch With PoE
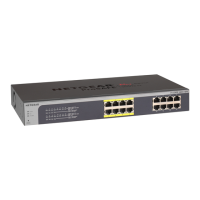
JGS516PE
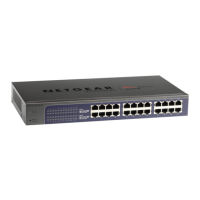
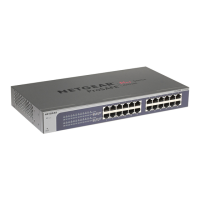
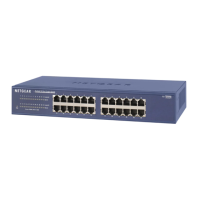
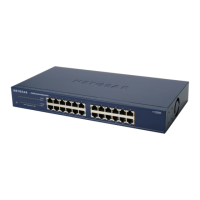
24‑PortGigabit Smart Managed Plus Switch With PoE
JGS524PE
Package Contents
• Switch (Model JGS516PE or JGS524PE, which is shown in the previous gure)
• AC power cord (varies by region)
• A bag that contains rubber footpads for tabletop installation and
a kit for rack-mount installation
• Installation guide
Step 1. Connect the equipment.
Step 2. Connect power.
Step 3. Check the status.
Computer
PoE WiFi access point
Internet
Network
router
JGS524PE switch
Access the Switch
Smart Managed Plus switches are plug-and-play so you do not need to congure
them. You can also congure and manage additional advanced features of the
switch either by using a computer’s web browser or by installing the ProSAFE
Plus Conguration Utility on a Windows-based computer.
Web Browser Access
You can congure a switch when it is connected only to your computer
(off-network), or connected to your computer and your network (on-network).
To use your web browser to congure your switch:
1. If you are conguring the switch off-network, record your computer’s
TCP/IP conguration settings, and then congure the computer with a static
IP address of 192.168.0.210 and with 255.255.255.0 as the subnet mask.
If you are unsure how to do this, visit netgear.com/support and search for
Static IP address on computer.
2. Open a web browser and enter the IP address of the switch.
If the switch is connected to a network with a DHCP server (which usually is a
router), use the IP address that the DHCP server assigns to the switch. If the
switch is off-network or connected to a network without a DHCP server, use
the switch’s default IP address, http://192.168.0.239.
If you are unsure how to determine the IP address of the switch, you can use
the NETGEAR Insight mobile app, ProSAFE Plus Utility, or NETGEAR Switch
Discovery Tool.
3. Enter the password.
The default password is password.
4. Click the Login button.
You can now congure additional switch settings in the local browser
interface.
5. When you nish conguring an off-network switch, return your computer to
its original TCP/IP settings and connect the switch to your network using an
Ethernet cable.
Power System LED PoE Status Port LED Speed & Activity Port LED
On
No PoE device powered
1000 Mbps link
Off
PoE device powered
100 or 10 Mbps link
Fan System LED
A PoE fault occurred
Activity (blinking)
Normal operation
Fan failure
No link
PoE Max System LED
At least 7W of PoE power is available.
At least once during the last two minutes, less than 7W of PoE power was available.
Less than 7W of PoE power is available.
PoE VoIP phone
Sample
connections