Disks
29
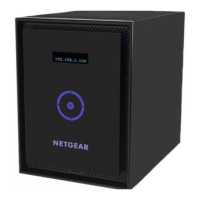
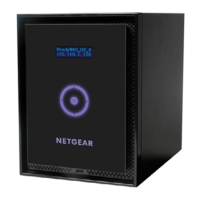
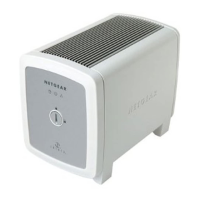
ReadyNAS Duo v2 and NV+ v2
3. Slide the disk tray back into the unit and press the handle to secure the disk.
The volume automatically synchronizes with the new disk in the background. This might
take several hours, depending on the disk size. You can continue to use your ReadyNAS,
although access is slower until the volume synchronization finishes. You are notified by
email when the process is complete.
If you are adding disks to a diskless unit, see the ReadyNAS RAIDiator 5.3 for Home
Software Manual, which is available at
http://www.readynas.com/documentation, for
information about using RAIDar to discover your unit on your local area network for the
first time.
Failed Disk Notification
If a disk fails, you are notified by email. Email alerts must be set up for notifications to be
sent. In addition, the ReadyNAS Dashboard provides information about the failed disk.
NETGEAR recommends replacing a failed disk with the same disk model. Use the
ReadyNAS Dashboard to determine the disk vendor and model used in your unit.
For information about setting up email alerts and using the ReadyNAS Dashboard, see the
ReadyNAS RAIDiator 5.3 for Home Software Manual, which is available at
http://www.readynas.com/documentation.
WARNING!
No matter how many hard drives are installed in your unit, ensure
that all drive trays remain in the drive bays to maintain adequate
airflow.
 Loading...