1
Set Up the Access Point
Before you can use the access point you must connect to the
access point and configure the LAN and wireless access settings.
¾ To connect to the access point:
1. Configure a computer with a static IP address of
192.168.0.210 and a subnet mask of 255.255.255.0.
For help configuring a static IP address on your computer, check
the instructions or online help that came with that computer.
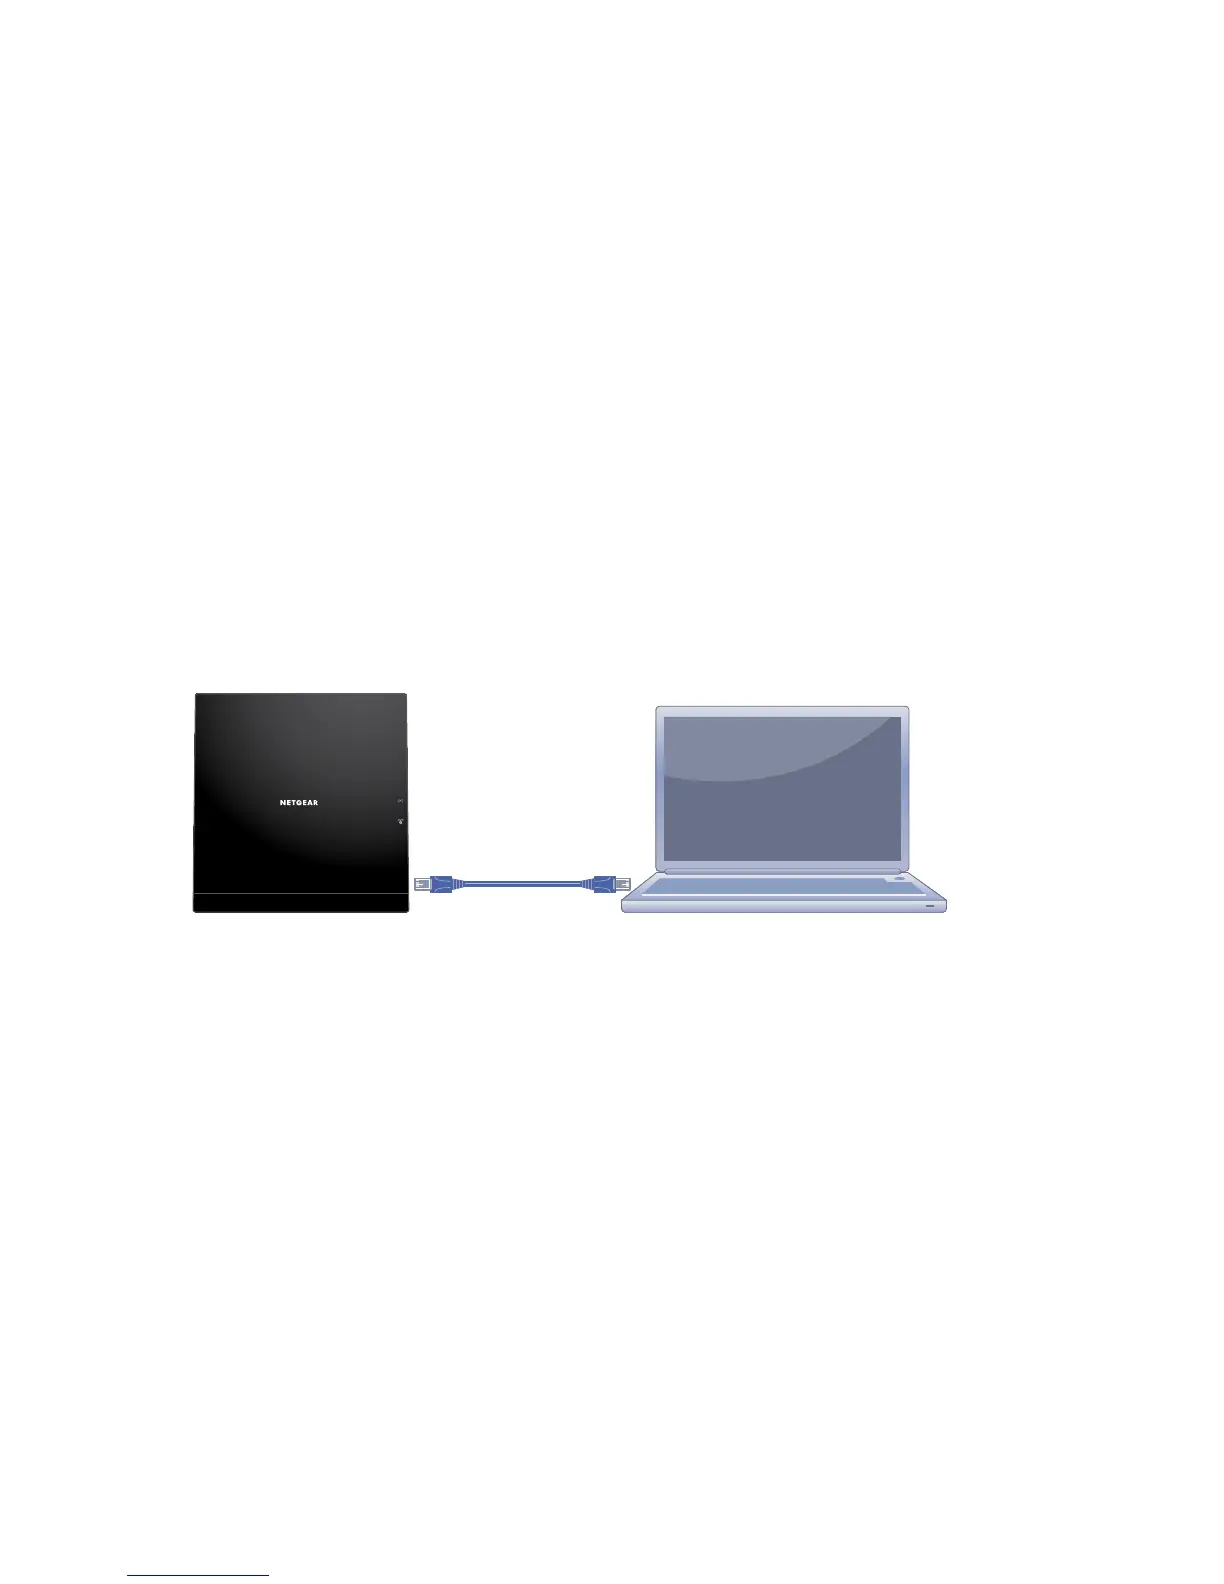
2. Connect the Ethernet cable to the computer.
3. Connect the other end of the Ethernet cable to the LAN port on
the access point.
4. Connect the power adapter to the access point and plug the
power adapter into a power outlet.
5. Press the On/O button on the access point.
6. On the computer that is connected to the access point, enter
http://192.168.0.100 in the address field of a browser.
A login screen displays.
7. Enter admin for the user name and password for the
password.
The web management interface of the access point displays.
 Loading...