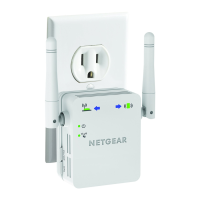
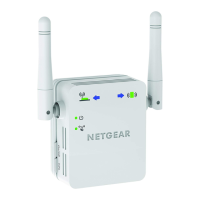
EasyManuals Logo

NETGEAR WN2500RP Installation Guide

NETGEAR WN2500RP
29 pages
To Next Page IconTo Next Page
To Previous Page IconTo Previous Page
Page #8 background imageLoading...
Page #8 background image
8
Connect with WPS
Wi-Fi Protected Setup (WPS) lets you easily join a secure WiFi
network without typing the network name and password. The WPS
button is a physical button on the router or access point.
To connect with WPS:
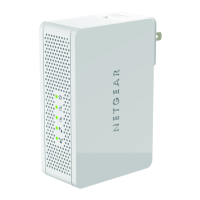
1. Press the WPS button located on the bottom of the extender.
2. Within two minutes, press the WPS button on your router or access
point.
The extender connects to your existing WiFi network, and the
WPS LED and the 2.4 GHz Link Rate LED on your extender
lights solid green.
If the 2.4 GHz Link Rate LED does not light, or the LED is blinking
amber, try again. If it still does not light, follow the instructions in
Connect with NETGEAR genie Smart Setup on page 10.
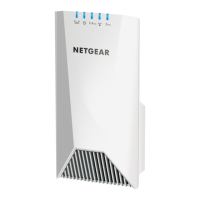
3. If your WiFi router supports the 5 GHz band, repeat steps 1 and 2
to connect the extender to the 5 GHz band.

Other manuals for NETGEAR WN2500RP

Questions and Answers:

Question and Answer IconNeed help?

Do you have a question about the NETGEAR WN2500RP and is the answer not in the manual?

NETGEAR WN2500RP Specifications

General IconGeneral
Ethernet LANYes
Cabling technology10/100Base-T(X)
Networking standardsIEEE 802.3, IEEE 802.3u
Ethernet LAN data rates10, 100 Mbit/s
Ethernet LAN interface typeFast Ethernet
Wi-Fi standards802.11a, 802.11b, 802.11g
Top Wi-Fi standardWi-Fi 4 (802.11n)
Bandwidth2.4 GHz
Rack mountingNo
Minimum system requirementsMicrosoft Internet Explorer 5.0, Firefox 2.0, Safari 1.4, Google Chrome 11.0
Ethernet LAN (RJ-45) ports4
DHCP client-
Security algorithmsWEP, WPA, WPA2-PSK
CertificationCEC, RoHS, WEEE
Product colorBlack
LED indicatorsLAN, Link, Power, WLAN
Weight and Dimensions IconWeight and Dimensions
Depth153 mm
Width223 mm
Height31 mm
Weight370 g

Related product manuals