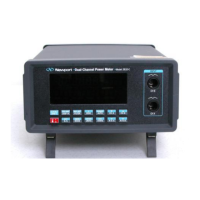
14
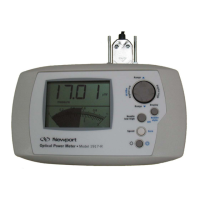
8- To reset the zero, wait until the reading has stabilized and press the Zero button on
the front panel for at least 2 seconds. The 1917-R will display “Zero“ for a moment
and then return to the normal measurement mode. You are now ready to make an
accurate measurement. Pressing the
Zero key again will not undo the zero; it will re-
do it.
9-
When you select ATT for at least 2 seconds, you must enter a wavelength using
Display button and then ▲ up and Down ▼ down control keys to select λ. To save
the
λ and get back to measure reading, press Display and release until you get back to
measure state.
10-
Apply the laser beam to the detector. The laser must operate in CW mode for
measurements with low power detectors.
Notes:
• Refer to the specific power detector documentation for complete installation and
operating instructions.
• The power detectors are thermal sensors sensitive to temperature variations.
For high-precision measurements, it is recommended to:
• Allow the power detector’s temperature to stabilize before zeroing the 1917-R.
• Do not touch the detector body itself when handling. Touch only the stand.
• Avoid forced airflow or air drafts around the detector.
Detectors compatible with 1917-R Power and Energy Meter
818P Series High Power Detectors
918D Series Low Power Detectors
818 Series Low Power Detectors (with connector adapter)
Table 1-2. Detectors compatible with the 1917-R
 Loading...