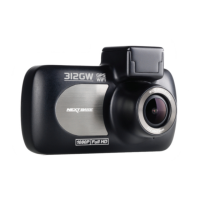
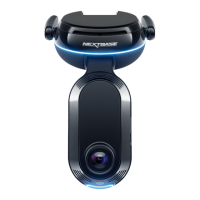
IN VEHICLE INSTALLATION
Please follow the instructions below for first-time installation of the iN-CAR CAM. For day to day use
simply remove the camera from the mount as required.
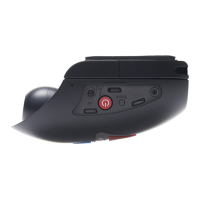
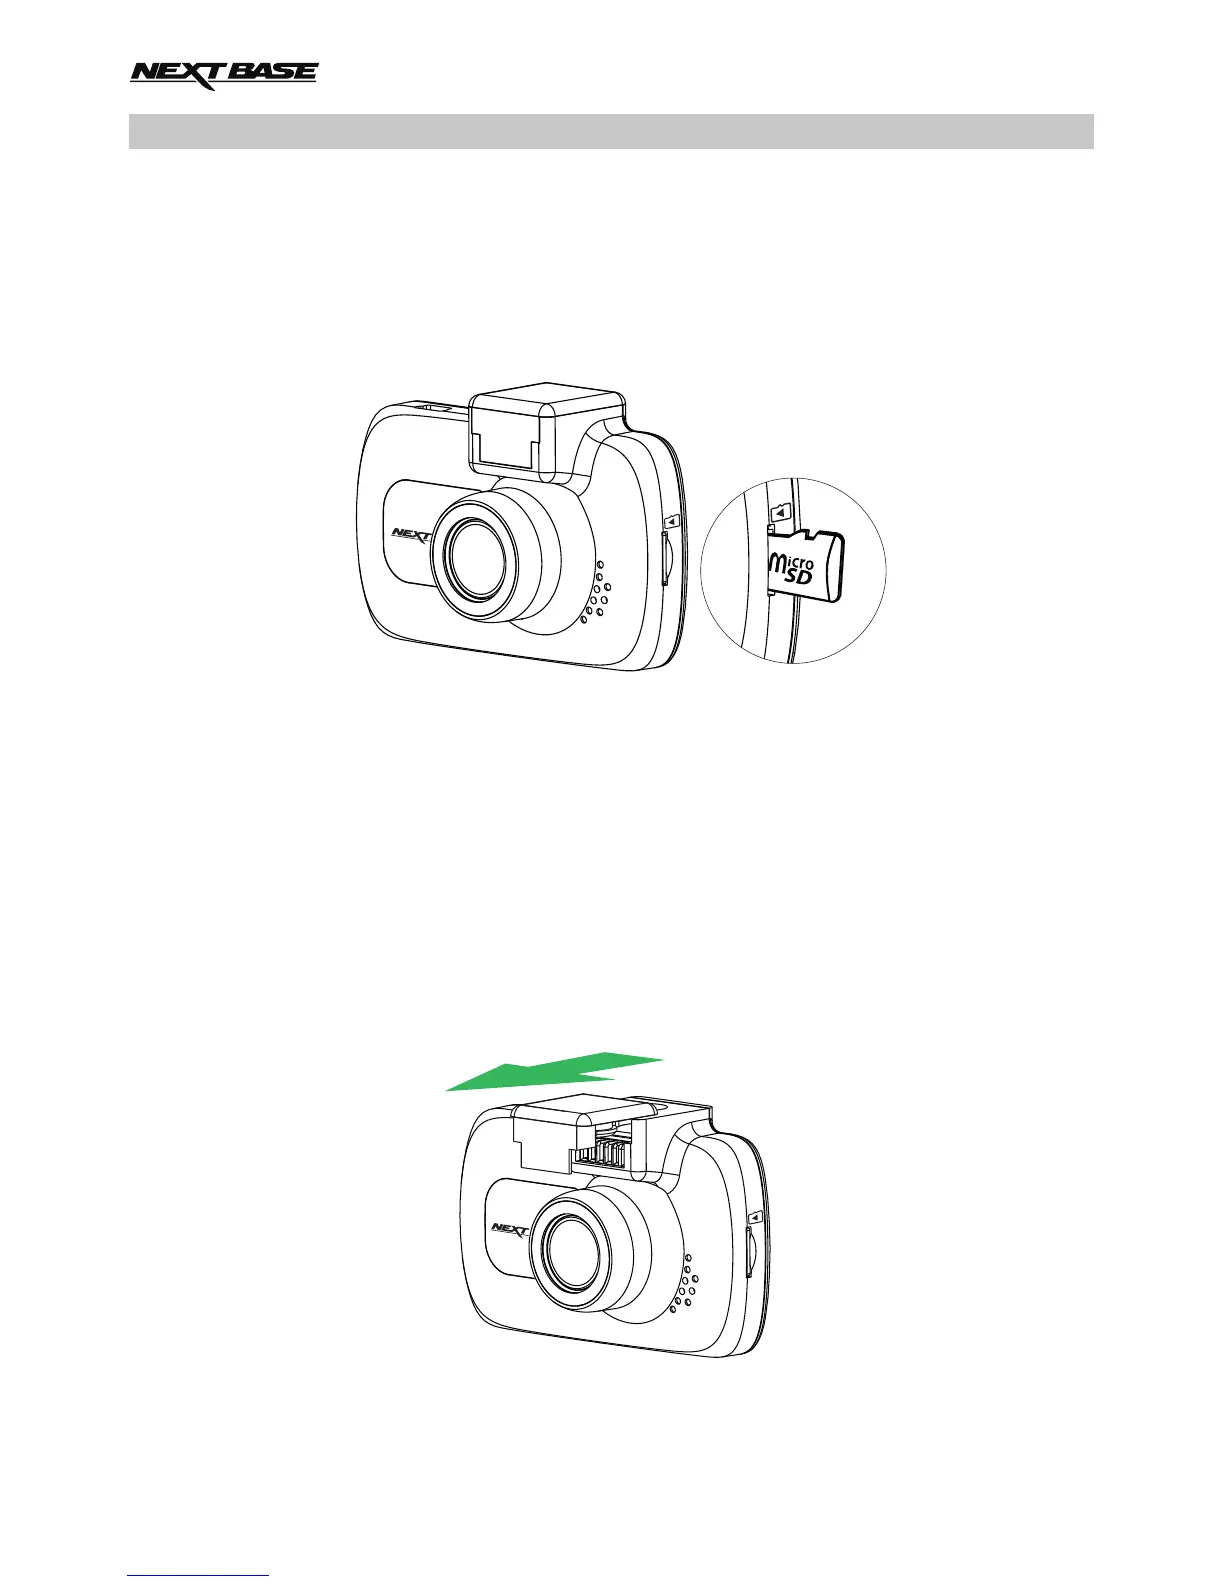
1. Insert MicroSD Card
Insert a suitable MicroSD card (Class 10 48/Mbps) in to the iN-CAR CAM, taking care that the
gold contacts are facing towards the LCD screen side of the iN-CAR CAM. Push the memory
card until it clicks into place.
Note:
- Use the edge of a small coin (or similar object) to push the memory card in place if required.
Take care that card has 'clicked' into place, a second push inwards will release the memory
card.
- Do not remove or insert the memory card when the iN-CAR CAM is turned on. This may
damage the memory card.
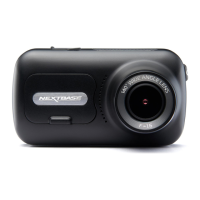
2. Remove dust cover from iN-CAR CAM
Remove the dust cover that is located on the top of the iN-CAR CAM to gain access to the
mounting point.
To remove the dust cover, slide it forwards away from the LCD screen of the iN-CAR CAM.
Note:
- If the iN-CAR CAM is not to be used for a period of time please replace the dust cover to
help keep the metal contacts free of dust or other contaminants.
14
 Loading...