JAN 2024 Page | 15
Note: Red = + Positive; Black = - Negative; Orange = Ignition Sense; Blue = GPIO or Sleep Sense (not
used in all applications)
3) Connect each wire to the corresponding location on the Power Management block in the vehicle.
Boot Up:
Once the antennas and power are connected, start or power on the vehicle. The LEDs will flash. The
system may take a few minutes to boot up. During that time the PWR LED should remain lit. When
the unit is successfully connected, the “INTERNET” LED will show a solid green light.
3. Log Into the MegaFi
Mission Control is the built-in web interface that provides information about the SHIELD MegaFi router
and allows the user to configure settings to their preferences.
This chapter describes how to log in to Mission Control.
3.1 Using the Mission Control Router Software
1) Connect an Ethernet cable between your computer and any LAN port (1-4) on the MegaFi.
2) Open a web browser to the following default LAN IP address: https://192.168.113.1
Note: Chrome seems to be the best browser to use for accessing the MegaFi via Mission Control.
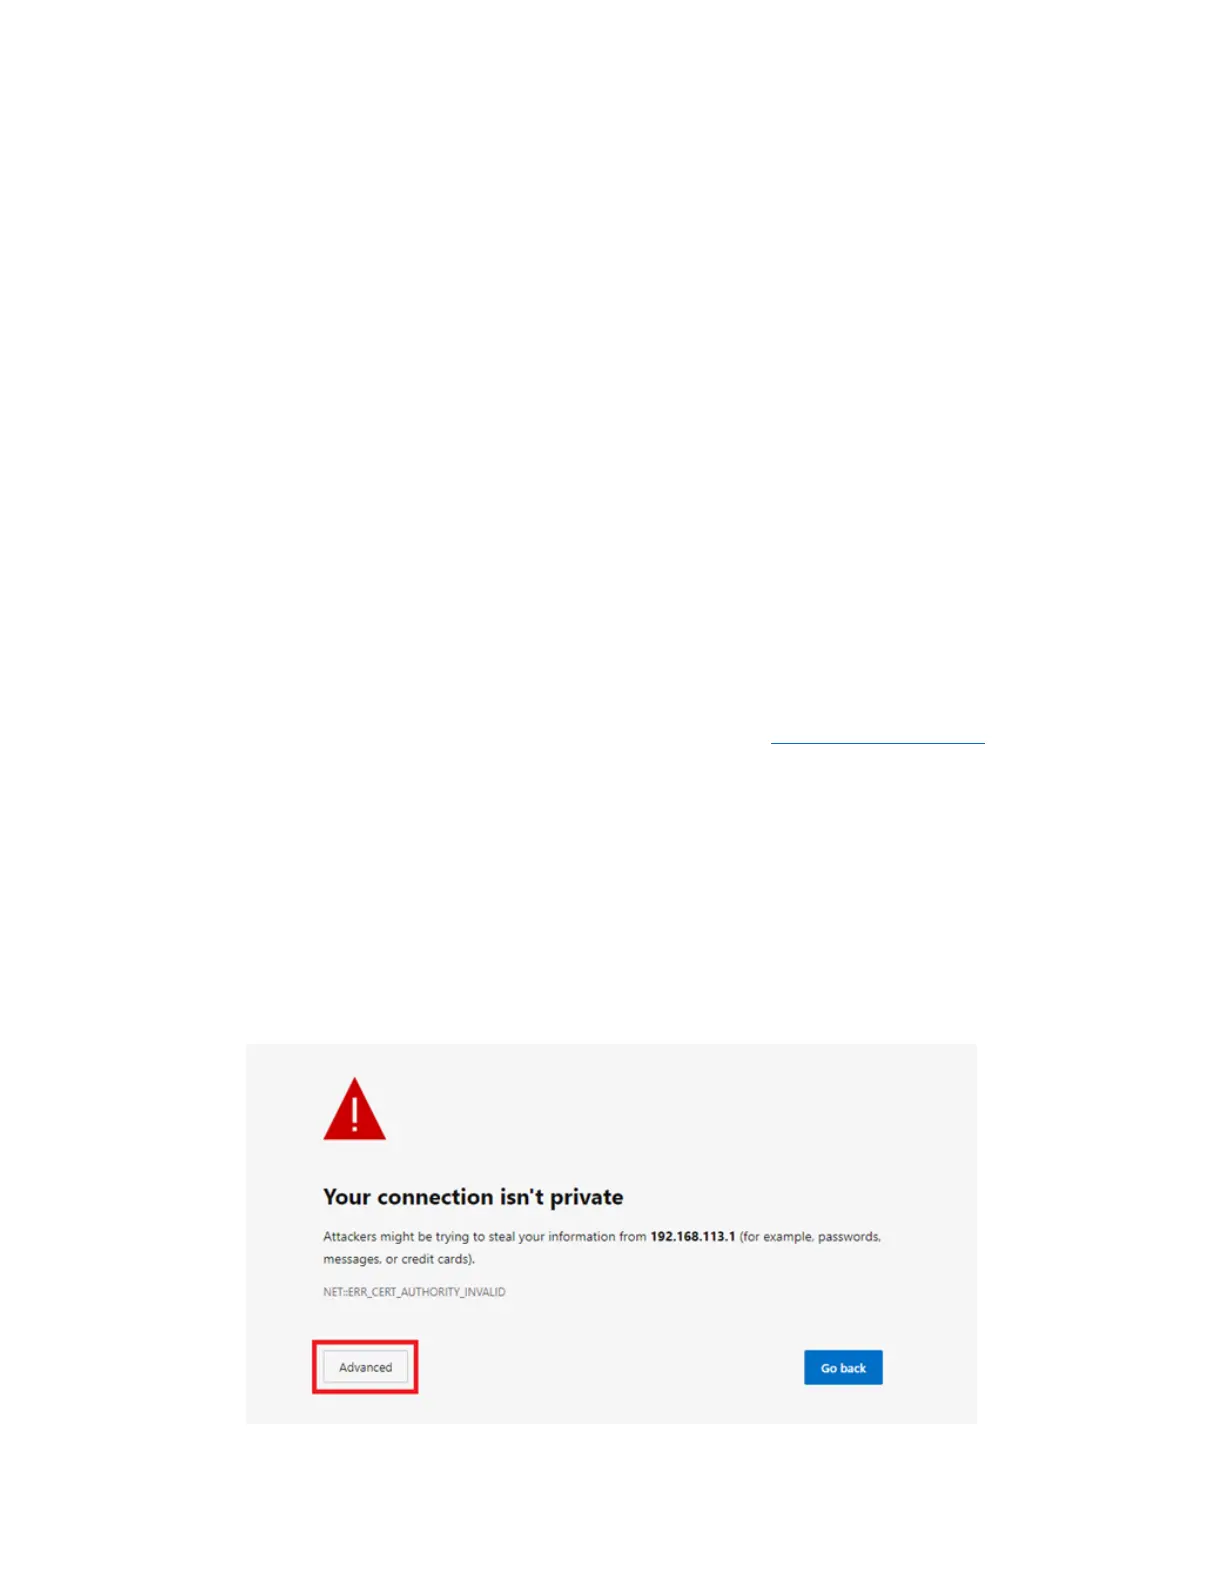
3) The first time you try to connect to MegaFi, a couple of connection warnings will display as
shown below. Accept the first connection warning by clicking on ‘Advanced’.
Note: These connection warnings are typical of web browsers looking after the user when attempting
to log on to specific devices or websites. Since we are aware of what we are connecting to, we
proceed as instructed. After logging off from MegaFi for some time, the user will encounter these
warnings again when attempting to reconnect. When this happens, proceed as instructed.