VAA46003-R.3659.A
- A42 ・ E7900 -
11-2. 1.5-m Adjustment
※ Before performing the 1.5-m adjustment in this machine, write the adjustment rmware on the camera. After
adjustment, be sure to write the product rmware.
Procedure for setting Adjustment rmware
1) Save the adjustment rmware and the product rmware in any folder.
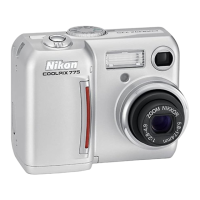
2) Start up "DscCa1Di.exe" and click on "Firmware" button on the main menu to write the adjustment rmware.
(If the camera is activated after completing writing the adjustment rmware, "SERVICE" is indicated in red letters
on LCD panel.)
3) Follow the instructions of the below [How-to].
4) Start "DscCaDi140" and click "Firmware" on the main menu to write the product rmware.
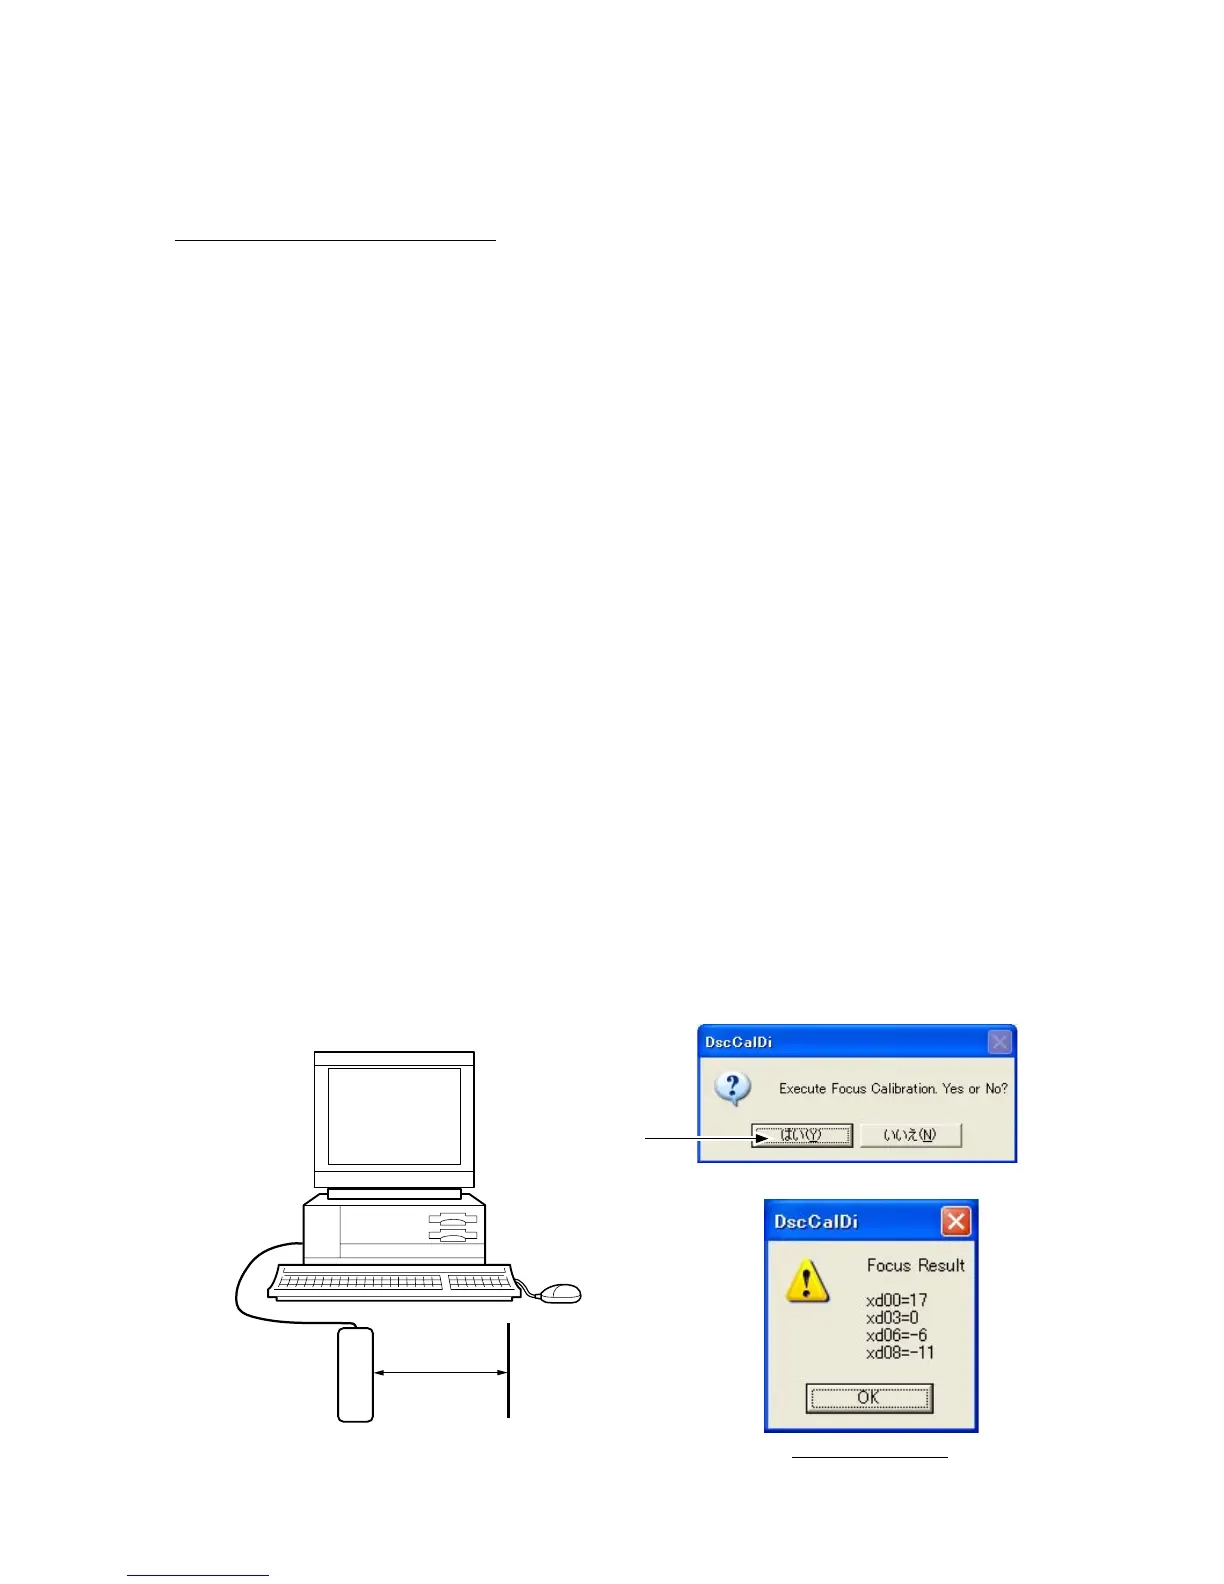
[Preparations]
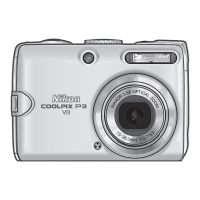
• Set the Siemens star chart.
• Turn the power switch of the camera to on.
[Conditions]
• The siemens star chart should be A3-size or larger (Copy and enlarge A4-size siemens chart included in the
service manual for the usage.)
• Illumination over the object should be 400 lux ± 10%
• Set the siemens star chart and the camera (front surface of lens) at 150 cm ± 3 cm distance between them.
[How-to]
• Double click on "DscCa1Di.exe".
• Set the siemens star chart so that it comes center of the screen by checking through the viewnder.
• Click "Focus" then "Yes".
• Lens adjustment values will appear on the screen.
Judgment standard: xd00 = 0 + 87, xd03 = 0 + 87, xd06 = 0 + 87, xd08 = 0 + 87
xd00 = 0 - 47, xd03 = 0 - 47, xd06 = 0 - 47, xd08 = 0 - 47
• Click "OK".
Result of adjustment
"Yes"