Chapter 1 Microscopy Procedures
17
Microscopy Procedures
Simple Polarizing Microscopy
Chapter 1-3
5
Place a specimen on the stage, and move the
stage to bring the target into view.
6
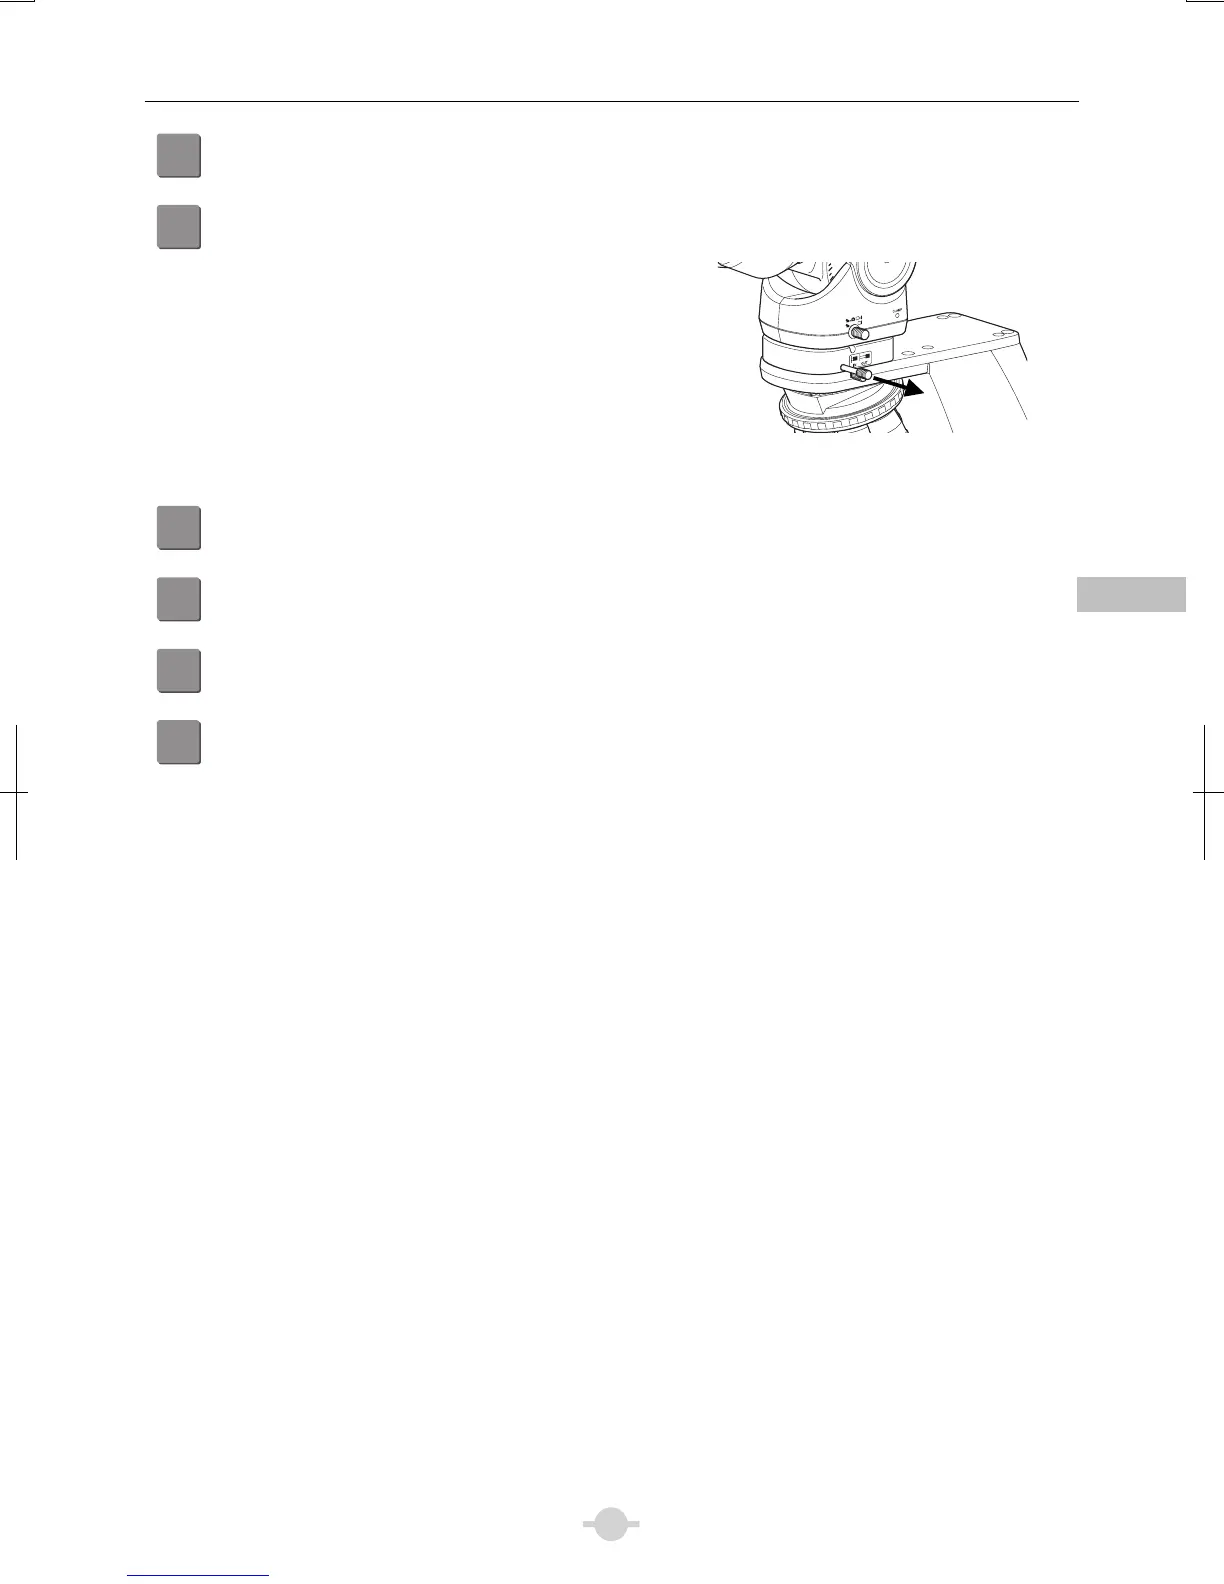
Remove the analyzer and the polarizer from the
optical path.
Pull out the analyzer IN/OUT knob from the intermediate
tube with simple analyzer to remove the analyzer from the
optical path.
The polarizer unit for simple polarization has not yet been
installed at this point.
Remove the analyzer from the optical path.
7
Focus on the specimen. (→See Chapter 2 “2 Focusing on the Specimen (Vertical Stage Movement)” fo
details)
8
Adjust the diopter. (→See Chapter 2, “4 Adjusting the Diopter” for details)
9
Adjust the interpupillary distance.
10
Focus and center the condenser. (→See Chapter 2, “5 Focusing and Centering the Condenser” for details)