C344
12
03/2010
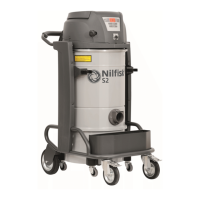
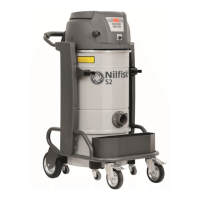
S2 / S3
US
HEPA lter replacement
Version for dust harmful for the health.
WARNING!
Take care not to raise dust when this operation is
carried out. Wear a mask and other protective clothing
plus protective gloves suited to the hazardous nature
of the dust collected, refer to the laws in force.
WARNING!
Do not use the HEPA lter again after having removed
it from the vacuum cleaner.
Figure 16
1. Vacuuming unit
2. Locking lever
4. HEPA lter lock ring
5. HEPA lter disc
6. HEPA lter
WARNING!
Reassemble with care to avoid trapping your hands
between the vacuum unit and the container.
Before proceeding with these operations, turn the vacuum
cleaner off and disconnect the plug from the power socket.
■ Use lever (2) to release vacuum unit (1) then pull it up
and out of the vacuum cleaner.
■ Unscrew ring (4).
■ Pull out disc (5) and HEPA lter (6).
■ Place HEPA lter (6) in a plastic bag, close the bag
hermetically and dispose of the lter in accordance with
the laws in force.
■ Insert a new lter (6) with the same ltering
characteristics as the removed one.
■ Lock the HEPA lter with disc (5) and tighten ring (4).
■ Replace vacuum unit (1).
■ Fix the vacuum unit in place with lever (2) and lock safety
bolt (3) again.
Seal inspection
Hoses check
Make sure the connecting hoses (Fig. 17) are in a good
condition and correctly xed.
If the hoses are damaged, broken or have loose connections,
they must be replaced.
When sticky materials are treated, check for possible clogging
along the hose, in the inlet and on the bafe plate inside the
ltering chamber.
Scrape inlet (2, Fig. 17) from the outside and remove the
deposited waste as indicated in gure 17.
Filtering chamber seal check
If the gasket (1, Fig. 18) between the container (4) and the
ltering chamber (3) fails to seal properly:
■ Loosen the four screws (2) that lock the ltering chamber
(3) against the vacuum cleaner structure.
■ Allow the ltering chamber (3) to lower down and tighten the
screws (2) once it has reached the tightness position.
If an optimal seal cannot be obtained and the gasket is torn or
cracked, etc. it must be replaced.
Disposing of the vacuum cleaner
Figure 19
Dispose of the vacuum cleaner in compliance with the laws in
force.
■ Proper disposal (electric and electronic waste).
(Applicable in the European Union and in countries
providing a separate collection system)
The above symbol (Fig. 19), which is present on the product
or in its documentation, indicates that the product cannot be
disposed of together with other domestic waste at the end of
its life cycle.
To prevent damage to the environment or health caused by
improper waste disposal, please separate this product from
other waste and recycle it responsibly in order to support the
sustainable reutilization of material resources.
This product can not be disposed of together with other
commercial waste.