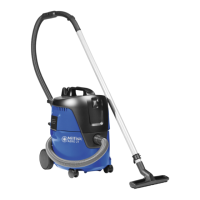
4
5
4.
Clean the lter seal (4).
Check it for damage and
replace if necessary.
5.
Check antistatic clamp (5)
for damage and have it
replaced by Alto Service if
necessary.
6. Check the oater (6) for
proper operation: When
you turn the lter holder, the
oater should move back
and forth easily.
7.
Fit a new lter element.
8.
Fit the lter holder and turn it
clockwise to secure it.
9. Dispose of the used lter
element in accordance with
legal regulations.
6
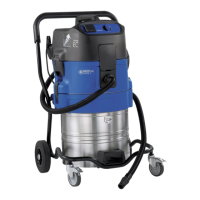
7.2.6 Replacing filter element
(Automatic Filter
Cleaning System)
1)
1.
Open the retaining clamps
and remove the upper sec
-
tion of the cleaner from
the dirt tank. Lay the upper
section of the cleaner down
with the filter element facing
upwards. Do not place the
upper section of the cleaner
on the guard (1) and do not
damage the filter element.
2. Open the bar handle (2) and
remove it.
3.
Remove the filter holder (3).
4. Carefully remove the filter
element.
5.
Clean the filter seal (4).
Check it for damage and
replace it if necessary.
6. Check the antistatic clamp
(5) for damage and have it
replaced by Alto Service if
necessary.
7. Check that the control flap
(6) for filter cleaning works
properly. The control flap
should move back and for
-
wards easily.
 Loading...