www.ninjakitchen.com 8
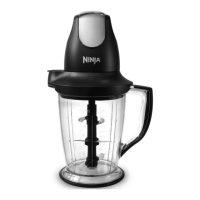
4 Add the ingredients to be processed into the Ninja
Master Prep Professional pitcher.
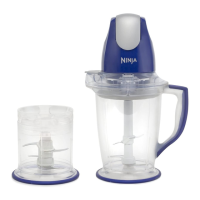
5 Place the pitcher splashguard onto the top of the Ninja
Master Prep Professional pitcher. (fig. 3)
IMPORTANT: Never add ingredients into the Ninja
Master Prep Professional pitcher before placing
the blade assembly in first.
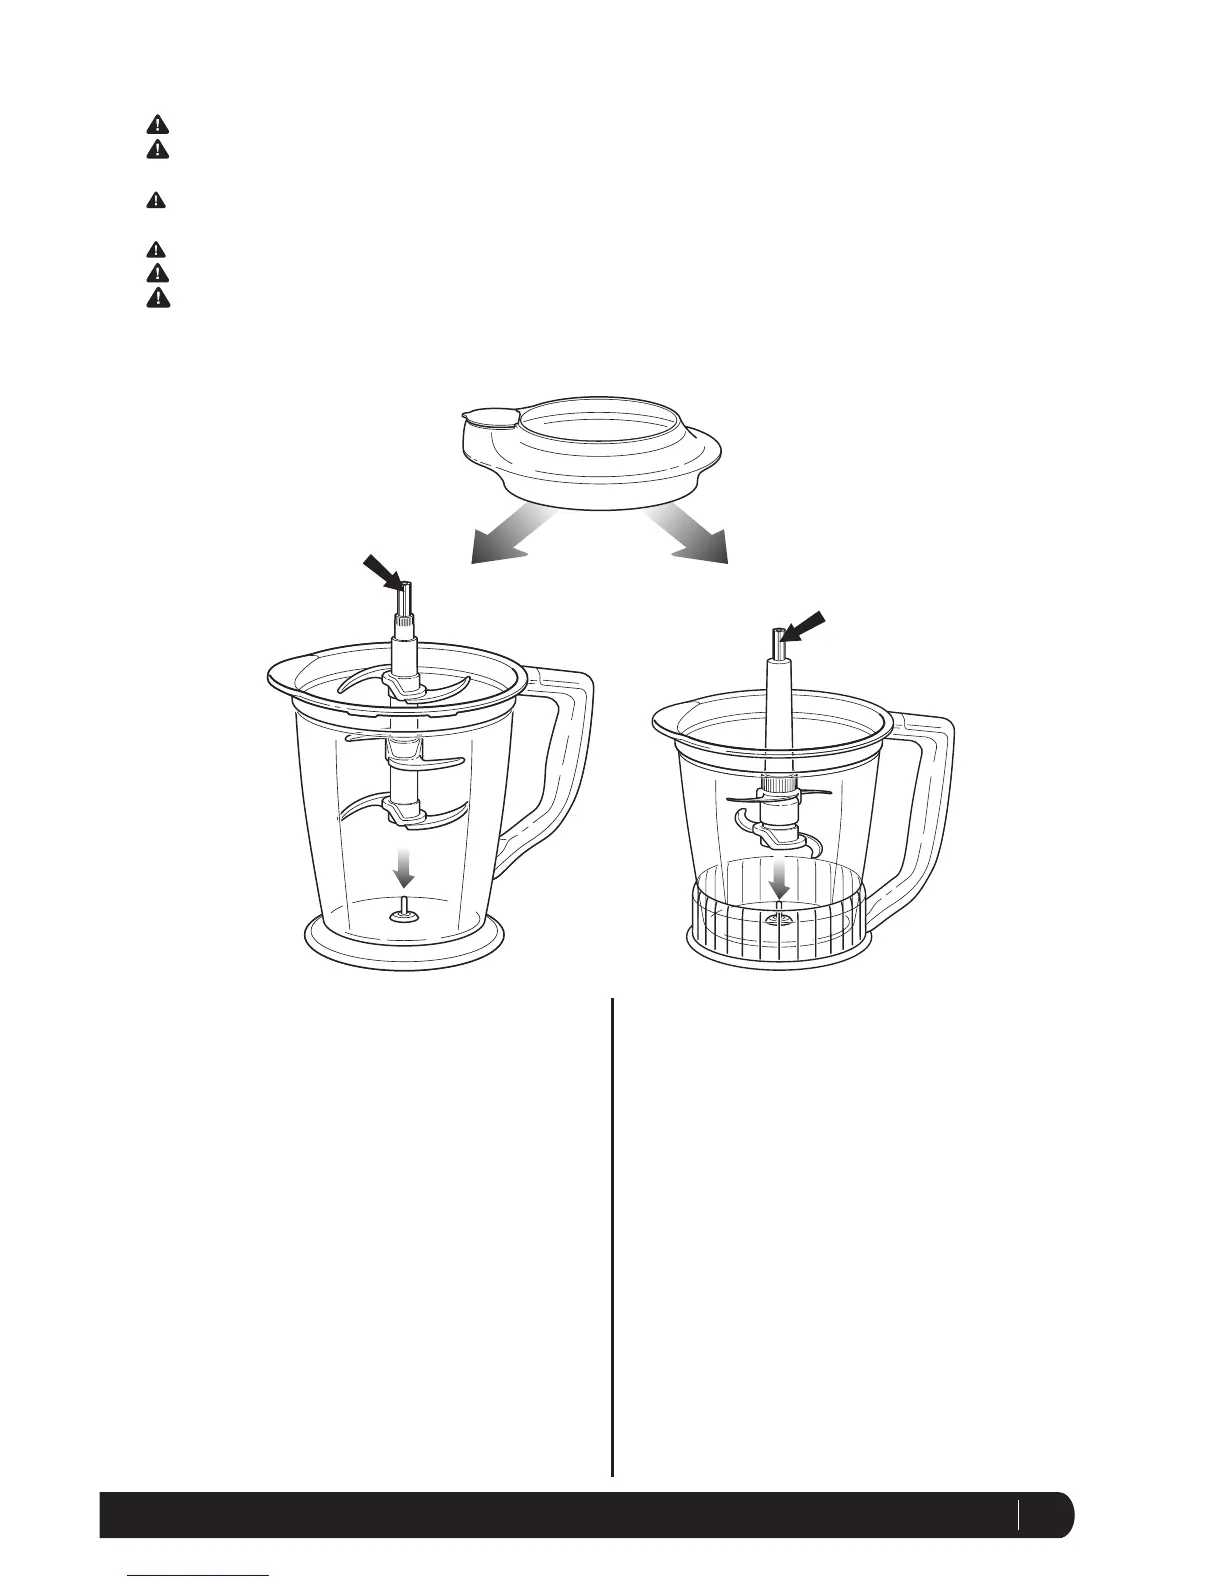
Fig. 2
Fig. 3
Shaft
Shaft
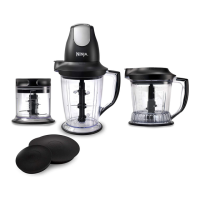
Assembly and Use of the Pitchers
1 Review warning and caution statements above before
proceeding to number 2.
2 Place the pitcher on a clean, dry, level surface.
3 Holding the Ninja
®
4-Blade Assembly or Ninja 6-Blade
Assembly by the shaft, place it onto the spindle pin
inside the Master Prep
®
Professional pitcher.
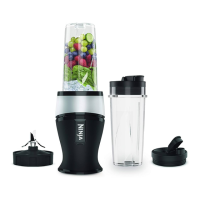
• Use the Ninja 6-Blade Assembly in the 48 oz. Pitcher.
(fig. 1)
• Use the Ninja 4-Blade Assembly in the 40 oz. Pitcher.
(fig. 2)
IMPORTANT: Place the Ninja Blade Assemblies
inside the pitcher carefully as blades are sharp.
WARNING: Handle the Ninja 4-Blade and 6-Blade Assemblies with care, as the blades are sharp.
WARNING: Remove utensils prior to processing. Failure to remove may cause the pitcher to be damaged or
to shatter, which may cause personal injury.
WARNING: DO NOT try to place the Ninja 4-Blade or 6-Blade Assemblies onto the Master Pod and then into
the pitcher.
WARNING: DO NOT attempt to operate the appliance without the safety splashguard in place.
WARNING: Never leave the appliance unattended while in use.
CAUTION: DO NOT blend hot liquids, doing so may cause excessive pressure buildup, resulting in risk of
the user being burned.
IMPORTANT: Make sure that the Master Pod is plugged in for use.
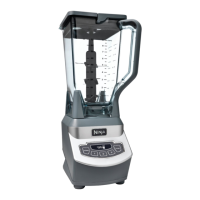
Fig. 1