NIRx NIRSport User Manual
Page 10/18
Even with the control LED blinking, all main functions of the instrument are disabled, and the internal
electronics is not powered. Internal power is automatically provided under control of the NIRStar
acquisition software. This is the only means of switching the unit physically on or off, and is transparent
to the operator. This feature serves to prevent undue strain on the hardware and to conserve battery life.
The instrument houses a three-cell Li-Ion rechargeable battery to make its operation independent from
the availability of building power. A fully charged battery provides more than eight hours of continuous
operation.
To charge the battery an external power supply (included with the instrument) has to be plugged into the
power supply connector located on the rear panel (Fig. 1). Whenever the external power supply is
connected, the instrument’s internal supply is immediately switched from battery to external power
operation. Charging of the battery is internally regulated to prevent battery damage and to maximize the
battery lifetime and to avoid memory effects. The battery is protected against over- or undercharging by
the hardware. There are no specific charging guidelines to be followed by the user.
A battery charge monitor is provided through the NIRStar software.
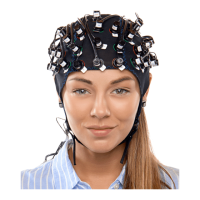
4.2 Optical Probes and Trigger Connections
The NIRSport imager employs direct electro-optical illumination and detection, i.e both the optical
sources and the detectors are directly attached to the skin so additional optical coupling trough fiber
bundles is avoided.
One eight-channel, dual-wavelength LED illuminator (NIRx LED-POD) connects to the 20-pin ‘source’
connector on the instrument.
One eight-channel active detector probe plugs into the 14-pin ‘Detector’ connector.
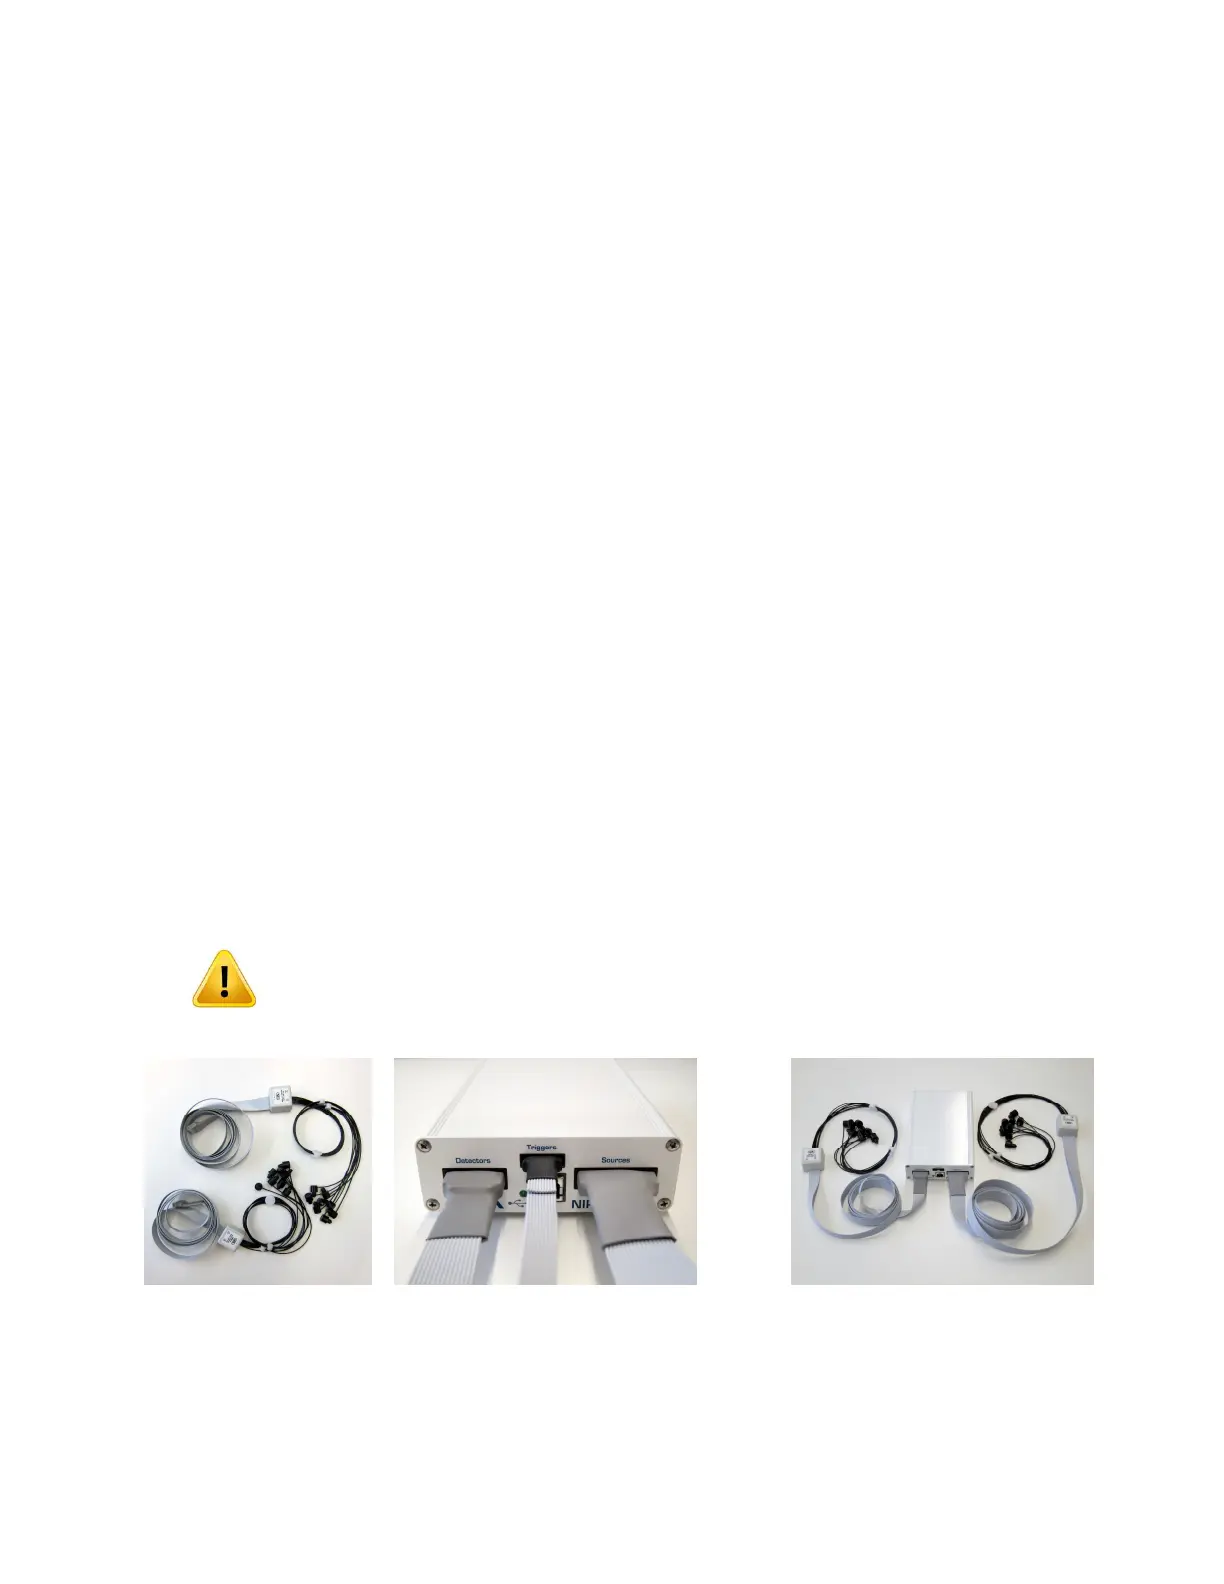
Details about the optode cables and their connection to the imager are illustrated in Fig. 2
Fig. 2. Left: Optical probe cables (top: Group of eight LED sources; bottom: eight-channel active
detector). Center: Connection of sources, detectors, and triggers in the instrument front (USB connector
not shown for clarity). Right: NIRSport instrument with source and detector cables connected.
ONLY connect and disconnect optode cables while the instrument is powered OFF,
i.e., the USB is NOT connected OR the control software is NOT RUNNING!
 Loading...