19
4.5 Zoom
The LF10 is equipped with a 2x digital
zoom that can be used for close-up
snapshots. Press the Zoom Buttons
tozoom in or zoom out. The zooming
in option increases the directional
resolution of the camera from 0.5° to 0.25°.
4.6 Quick settings
Press the Quick Settings button to show the
available quick settings. The possible settings
are listed below.
4.6.1 Screen brightness
The brightness of the display can be
adjusted by pressing the Brightness
button. This is useful for making the
display readily legible under differing
lighting conditions (indoors/outdoors).
4.6.2 Single-source / multi-source mode
Press the Single-source / Multi-source
button to toggle between the two
modes. In single-source mode, the
LF10 shows only the sound source with the highest
intensity (marked by a crosshair). If there are multiple
sound sources of equal or almost equal intensity as the
strongest sound source, the LF10 will show all these
sound sources as well.
In multi-source mode, the LF10 shows multiple sound
sources with different intensities. The sound source with
the highest intensity will be shown with a crosshair on
top. Not all sound sources will be shown. For example,
ifthere is a very strong dominant sound source, very
weak sound sources will not be visible at the same time.
To see weaker sound sources in either single-source or
multi-source mode, position and rotate the camera so that
stronger sound sources are outside the field of view. You
can also use the zoom button to limit the field of view.
4.7 Settings
Press the Settings button to show the available
settings. Please see the various settings in the
sections below.
4.7.1 Network settings
Press the Enable WiFi button to show the available
WiFisettings.
To be able to scan for and select a WiFi network, first
specify your location. Do this by pressing the Location
button. You will then see a list of locations to choose from.
If the selected WiFi location is incorrect, you may not be
able to connect to WiFi networks, or the WiFi connection
might not work properly.
When pressing the Select WiFi button, the camera will
scan for nearby WiFi networks. Aer the scan, a list of the
networks detected will be shown. If the WiFi network
you wish to connect to is not displayed as detected, try
moving closer to the WiFi access point. Once you find and
select the desired network, you will be asked to enter the
WiFi password. Please note that only secure, non-public
WiFi networks are supported. The LF10 accepts WiFi
networks that require password input, but not networks
that require both a username and password.
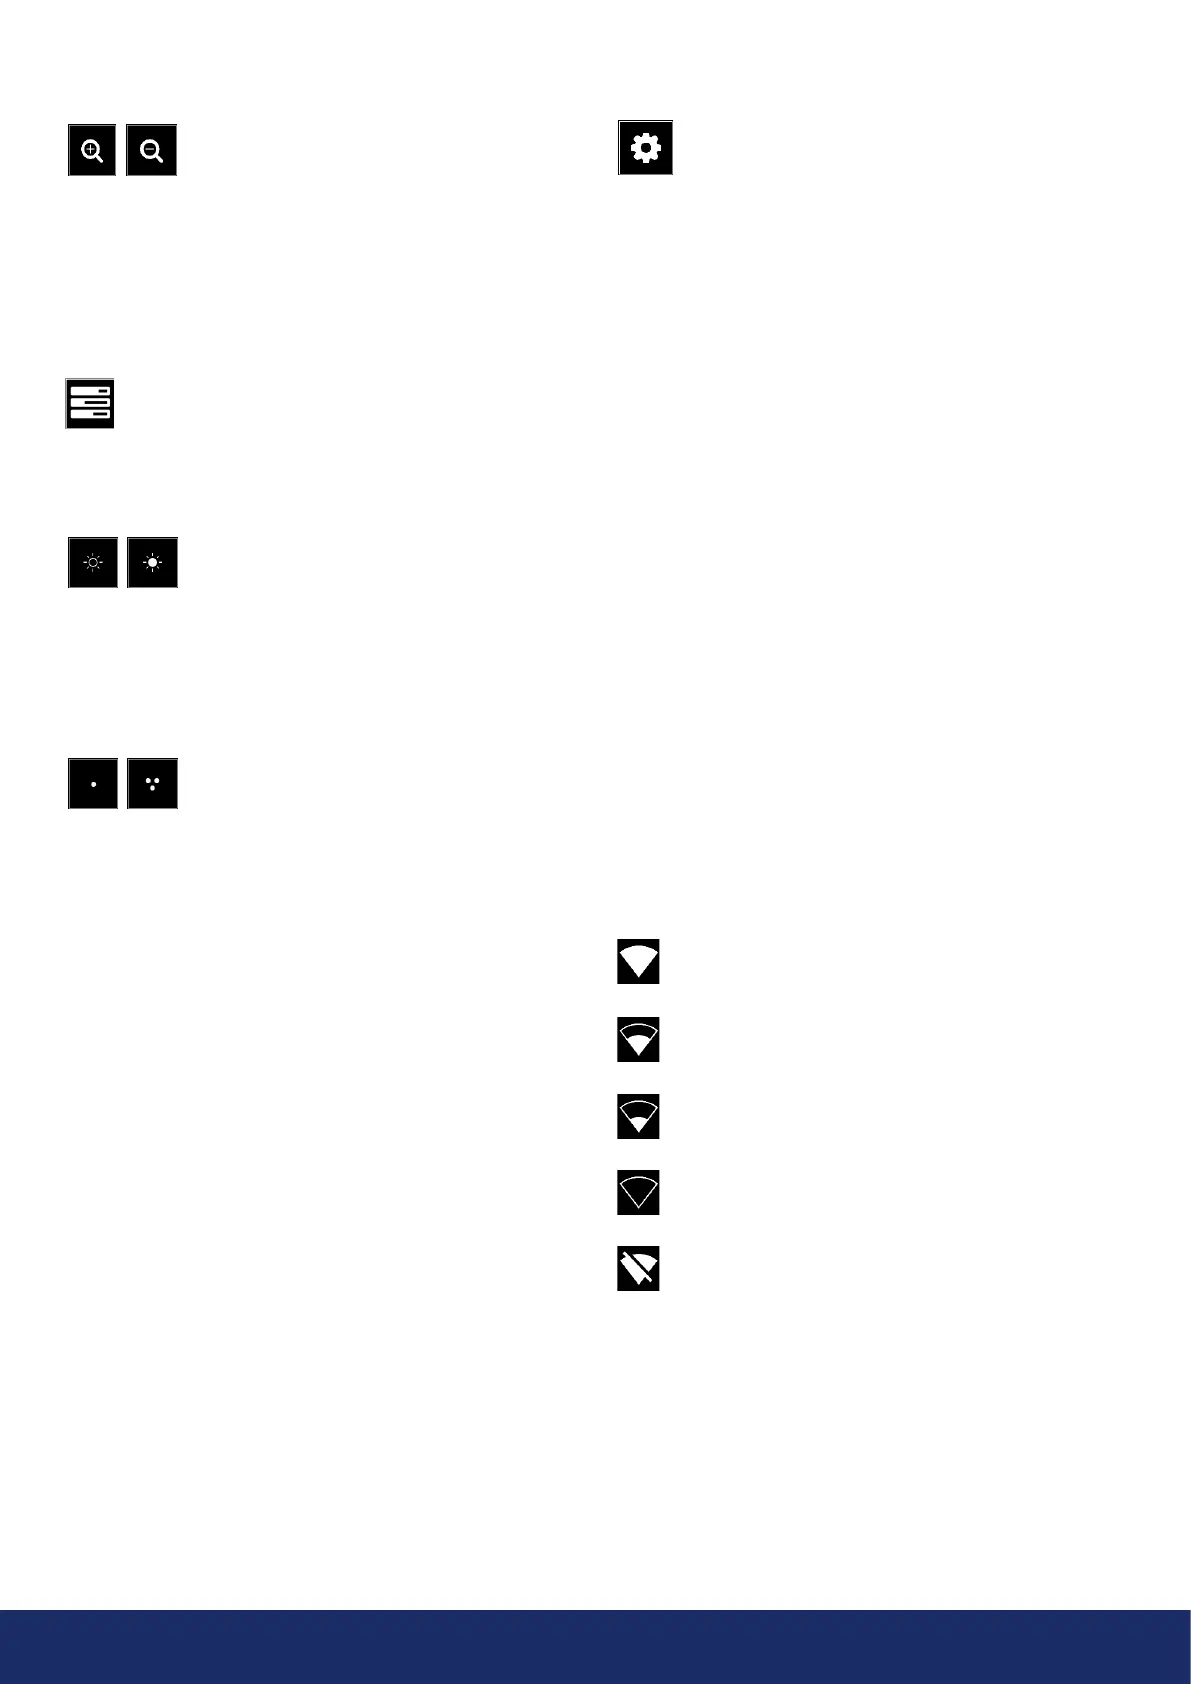
An icon representing the WiFi connection status and
strength is shown to the right of the Settings button:
Device registration
If you have not completed the device registration in the
setup wizard, you must first register the device with the
NL Cloud service to be able to upload snapshots to the
NLCloud. Please follow the on-screen instructions in
order to register the device.
Excellent WiFi connection strength.
Good WiFi connection strength.
Satisfactory WiFi connection strength.
Poor WiFi connection strength.
No WiFi connection.