24
6. USAGE TECHNIQUES
See the sections below for recommendations on how
toget the most out of your LF10.
6.1 General practice
Use the wrist lanyard to ensure that you do not
accidentally drop the LF10. Do not carry or li the
camera by the lanyard. Always carry it by its handle or
body. Always keep the USB port covered. Water must
not ingress the LF10, as this will damage the electronics
inside. Do not touch the video camera lens or the conical
microphone holes.
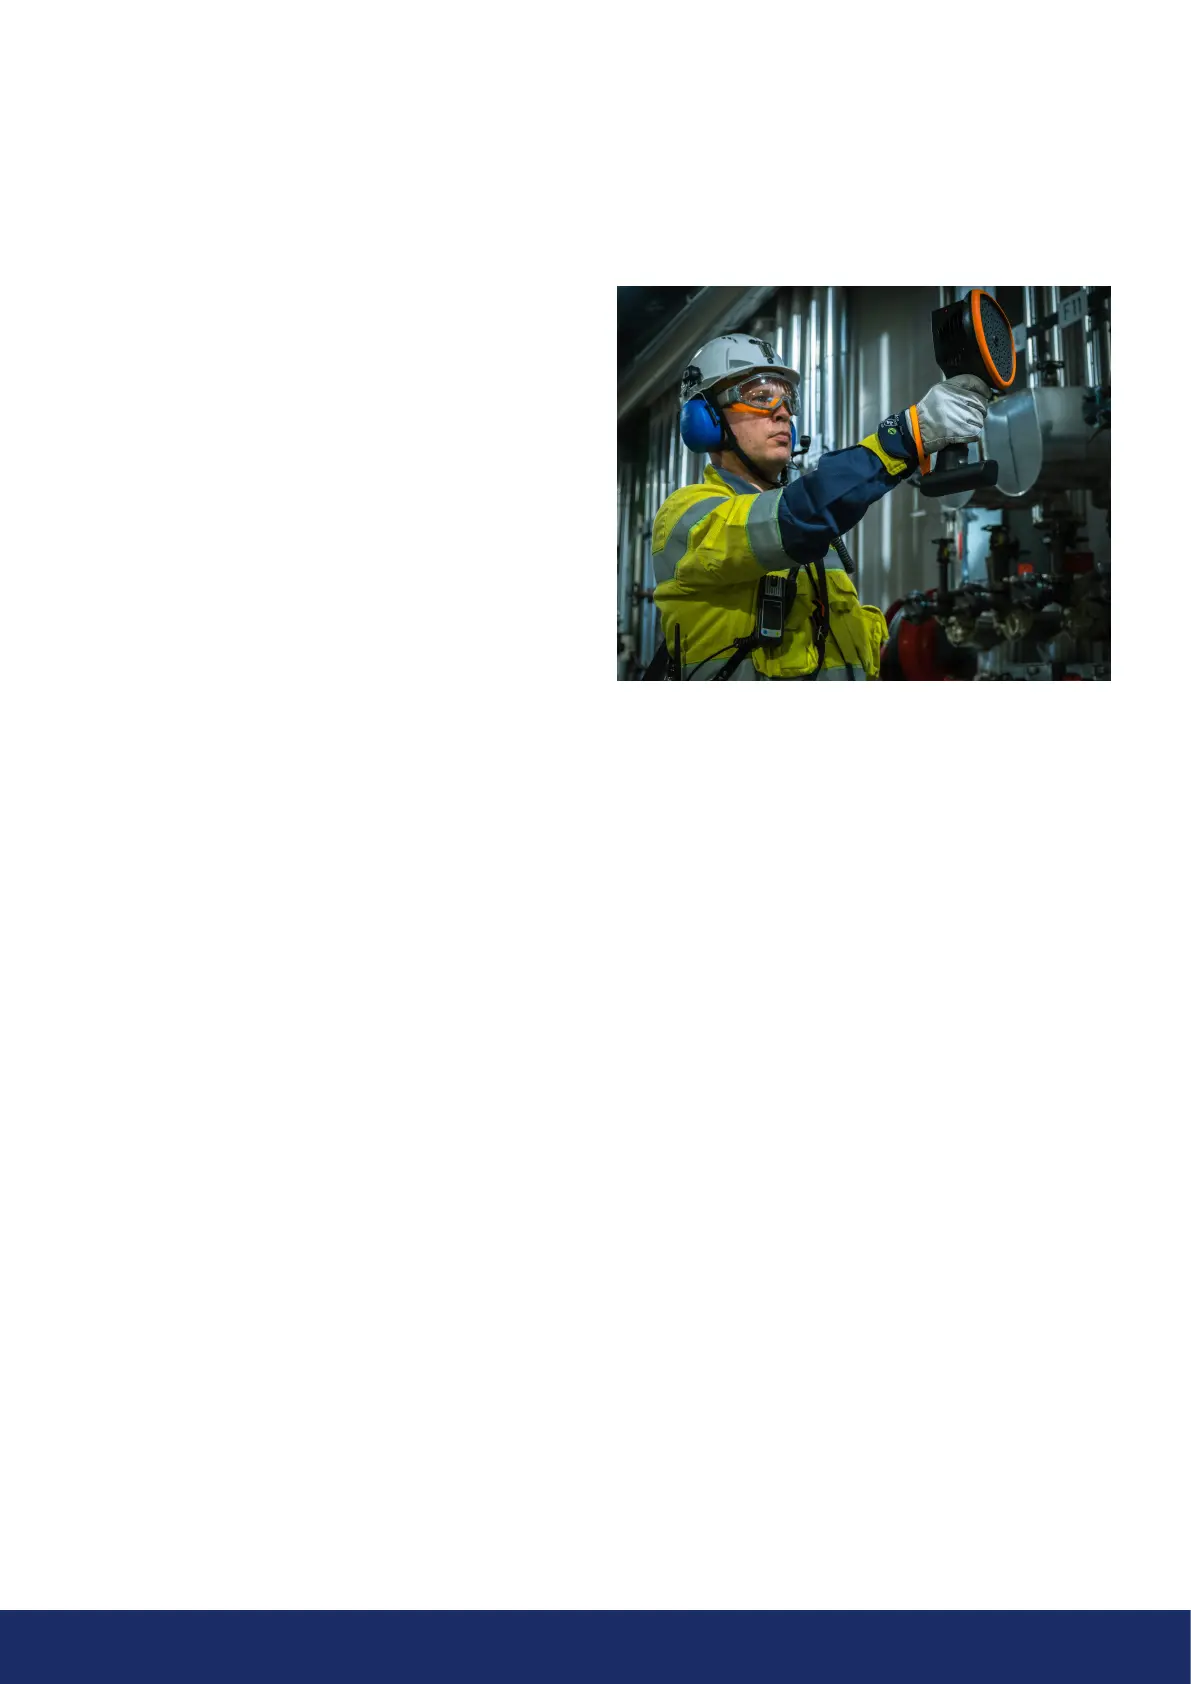
A carrier bag can be purchased separately to facilitate
carrying the LF10. If you use this accessory, the camera
allows you to carry the bag with the strap over your
shoulder to free your hands for using the single-handed
camera (Image 12).
Please be aware of your surroundings and ensure that the
shoulder strap fits snugly to your body. Always place the
LF10 inside the carrier bag when you need both hands
free for other tasks, such as climbing ladders. Ensure that
the camera is placed inside the bag in such a way that
itdoes not fall out.
6.2 Locating sound sources
In the single-source mode, the LF10 will always show the
strongest sound source in the field of view. In order to
see weaker sound sources in the presence of a strong
sound source, move or rotate the camera so that the
strong sound source is clearly outside the field of view.
Inaddition, using the zoom button narrows the field of
view to locate the sources.
In the multi-source mode, the LF10 will show not only the
strongest sound source, but also weaker sound sources.
Note that sound sources considerably weaker than the
strongest source will not be shown.
When inspecting for weaker sound sources, these must
be made the most predominant sound sources within
the field of view. Focus on the weaker sound sources
by moving and rotating the camera as well as using the
Zoom buttons. The crosshair on the display points in the
direction where the analysis is being made.
Note that if an actual sound source is large (for example,
alarge vibrating surface), the source shown on the display
might be smaller than the actual source. The source might in
this case also move around as you move around the surface,
depending on which point of the surface is closest to the
LF10. The NL Cloud is useful in such cases, as by taking a
snapshot and viewing it in the NL Cloud, it is possible to
adjust the dynamic range of the heatmap with the slider
below the image. By increasing the dynamic range, you are
able to tell how large the sound source actually is.
Best practices involve inspecting sound sources of interest
from multiple directions and taking snapshots. The
exact location of the source is easier to determine when
viewed from different angles. Sound sources can also
be directional, meaning that the sound level will differ
depending on the direction.
Image 12: Using the LF10 camera