Make sure the mounting location has adequate strength to support the battery
charger. Use the battery charger mounting holes as a template to mark the
holes to be drilled. Drill the mounting holes and secure the battery charger
in the desired location with the screws and washers supplied. Use a silicone
sealer to waterproof the screw holes. Prepare the battery(s) before making
any connections. Make sure all battery terminals are clean and free of battery
corrosion.
BATTERY SPECS
The following recommendations should ONLY be considered as guidelines.
Always refer to the battery manufacturer’s recommendations for battery
charging. The GEN Series On-Board Battery Chargers are suitable for
charging all types of 12V lead-acid batteries, including Wet (Flooded), Gel,
MF (Maintenance-Free) and AGM (Absorption Glass Mat) batteries. The GEN
Series On-Board Battery Chargers can be used on battery sizes from 25 to
230Ah.
CONNECTING TO THE BATTERY
Before you connect to the battery(s), make sure that the AC power plug is
not connected to an electrical outlet. DO NOT CONNECT THE BATTERY
CHARGER AC POWER PLUG TO THE ELECTRICAL OUTLET UNTIL ALL
OTHER CONNECTIONS ARE MADE. Make sure you have identied the
correct polarity of the battery terminals on the battery(s). The POSITIVE
battery terminal is typically marked by these letters or symbols (POS,P,+).
The NEGATIVE battery terminal is typically marked by these letters or symbol
(NEG,N,-). If you are having difculty determining the polarity of the battery
terminals, contact the battery manuafcturer before proceeding.
1.) Connrm that you have a 12V battery(s). This battery charger is for 12V
LEAD-ACID BATTERIES ONLY.
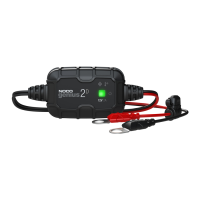
2.) Connect the POSITIVE (Red) battery eyelet terminal connector to the
POSITIVE (POS,P,+) battery terminal.
3.) Connect the NEGATIVE (Black) eyelet terminal connector to the NEGATIVE
(NEG,N,-) battery terminal.
4.) Repeat steps 2 and 3 for each battery.
USING GEN SERIES BATTERY CHARGERS USING GEN SERIES BATTERY CHARGERS
HOW TO START CHARGING
1.) Conrm that you have connected the eyelet terminal connectors properly.
2.) Connect the battery charger’s AC power plug into a suitable electrical outlet.
DO NOT FACE THE BATTERY WHEN MAKING THIS CONNECTION.
3.) Charge battery(s) until fully charged. A Green LED will illimunate when the
battery is fully charged.
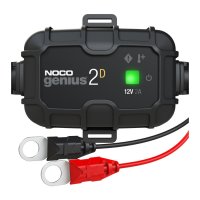
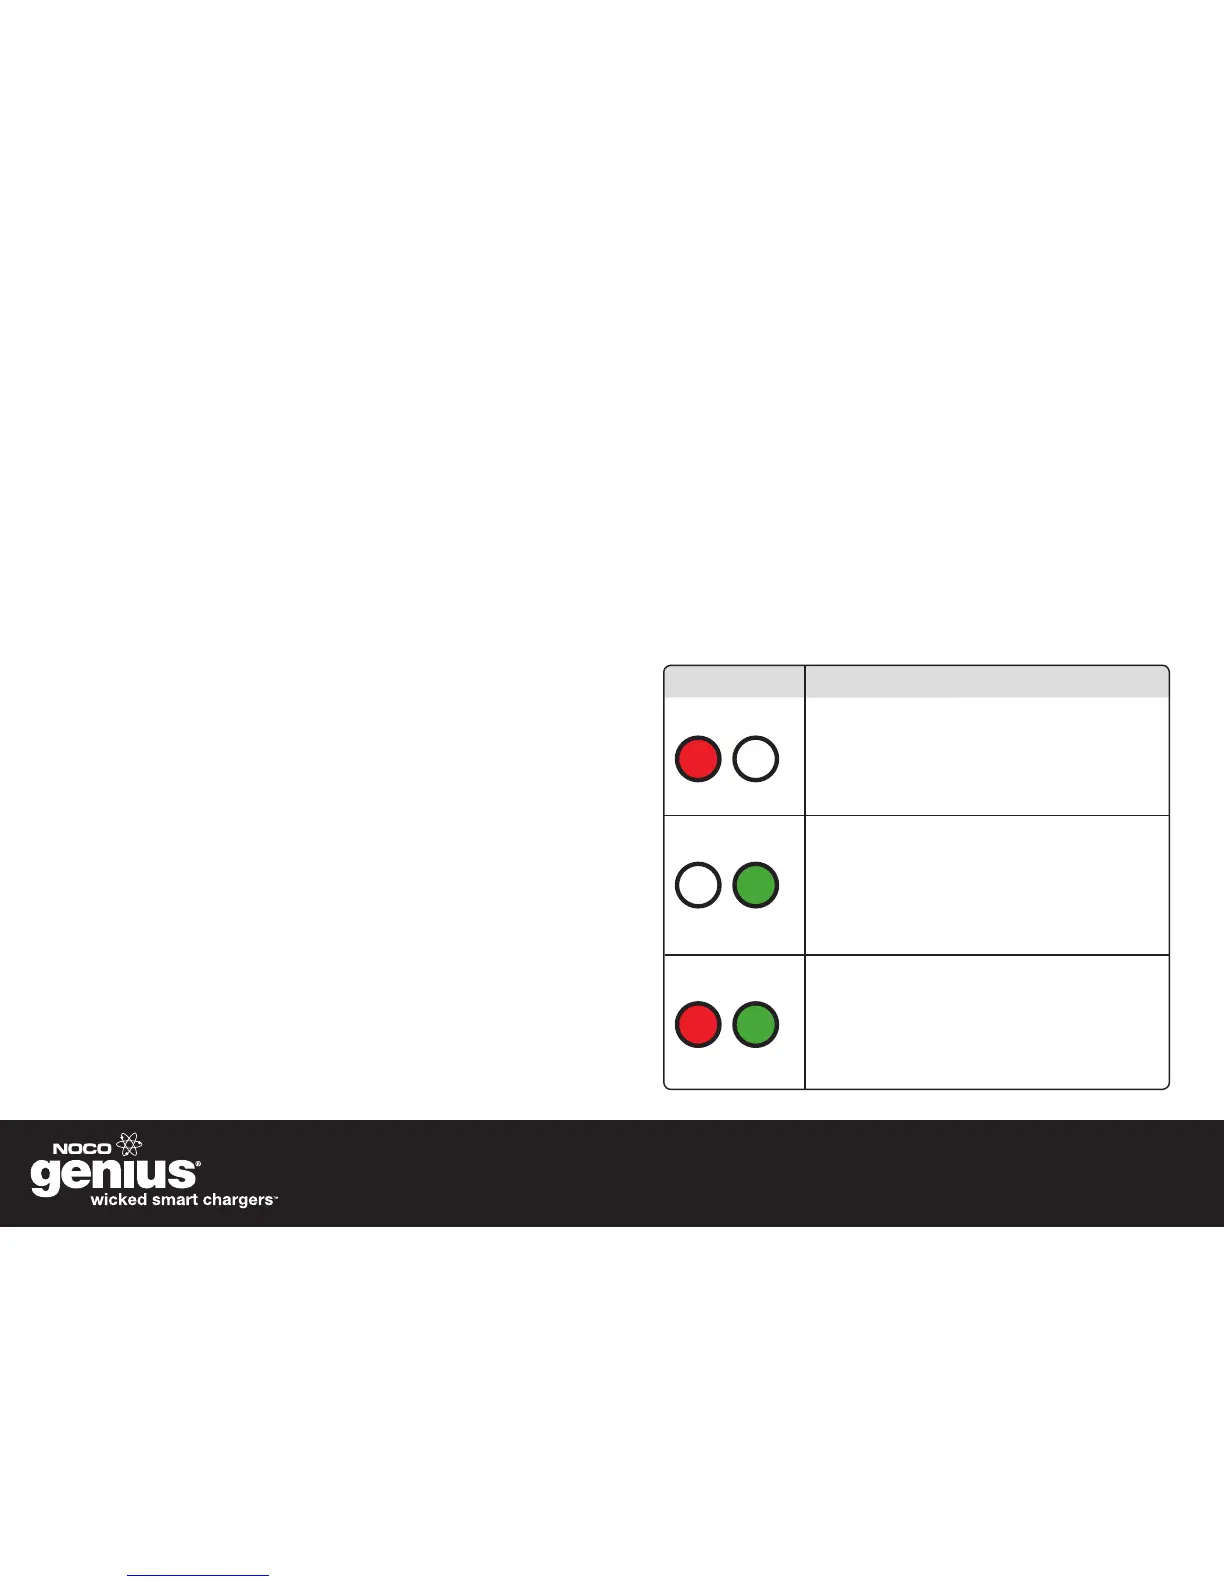
UNDERSTANDING CHARGE LEDS
Each battery bank contains two (2) CHARGE LEDs - Red and Green. The
CHARGE LEDs indicate the charging process or an ERROR condition. To
understand the CHARGE LEDs, see the chart below:
CHARGE LED EXPLANATION
Charging LED
Charged LED
ERROR LEDS
When the battery is charging, a single Red CHARGE
LED will illuminate. The CHARGE LED will remain a
solid Red color (not blinking) until the battery is fully
charged. The Red CHARGE LED is always left of the
Green LED.
When the battery is fully charged, a single Green
CHARGE LED will illuminate. The CHARGE LED
is remain solid (not blinking) until either the battery
charger is disconnected or the battery becomes
discharged. The Green CHARGE LED is always
Right of the Red LED.
If an ERROR condition exists, both CHARGE LEDs
will illimunate and will ‘ash’ back and forth at 5Hz.
There are several reasons an ERROR condition could
exist, for help trouble shooting ERROR conditions,
see the section entitled TROBLESHOOTING.
 Loading...