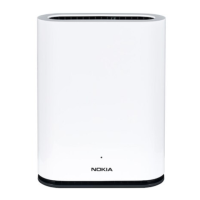
7368 ISAM ONT E-240W-A Product Guide Install an E-240W-A indoor ONT
Issue: 01 3FE-46974-AAAA-TCZZA 55
Figure 16 E-240W-A indoor ONT with wall mounting bracket attached
ii Attach the ONT to the wall.
3 Review the connection locations as shown in Figure 14.
4 Connect the Ethernet cables to the RJ-45 ports; see Figure 14 for the location of the RJ-45
ports.
5 Route the POTS cables directly to the RJ-11 ports as per local practices.
The POTS port to the left is labeled 1 for Line 1 while the port on the right is labeled 2 for Line
2, as shown in Figure 14.
6 Connect the fiber optic cable with SC/APC adapter into the SC/APC connector (or SC/UPC
for the 3FE46964DA variant); see Figure 14 for the location of the connector.
Danger — Fiber cables transmit invisible laser light. To avoid eye
damage or blindness, never look directly into fibers, connectors, or
adapters.
Warning — Be careful to maintain a bend radius of no less than 1.5 in.
(3.8 cm) when connecting the fiber optic cable. Too small of a bend radius
in the cable can result in damage to the optic fiber.
ON
/
OFFPOW
E
R
U
SB
2.
0U
S
B
3.
0
L
AN4L
A
N3
L
A
N2
L
A
N1
T
E
L
1T
EL
2
W
L
A
N
R
ES
E
T
W
PS2
.4
G
WPS
5
G
Wall mounting
bracket
25276
Release 06.00.00h | January 2019 | Edition 08

 Loading...