6.8.1 Recommended tools
See section
6.5 “Recommended tools” (p. 63) for the recommended tools.
6.8.2 Procedure
Use this procedure to mount an XS-2426G-B ONT on a wall. Two installation options are available:
• Option 1—facing the room for the LEDs to be visible
• Option 2—facing the wall for the connectors and buttons to be visible
1
Place the indoor ONT unit:
a. Facing the room, go to
Step 2. See Figure 6-5, “ONT in wall mount bracket—facing the
room” (p. 71)
.
b. Facing the wall, go to
Step 3. See Figure 6-6, “ONT in wall mount bracket—facing the room
/ wall” (p. 72)
.
2
Mount the ONT on a wall facing the room using the wall mount bracket (3FE 49471 AA), as
shown in
Figure 6-3, “XS-2426G-B wall mount bracket” (p. 69).
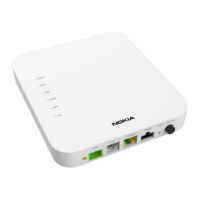
Figure 6-2 XS-2426G-B ONT in wall mounting bracket
POWER
PO
N
INTERNET
TEL
WPS
WLAN
USB
36994
Install a XS-2426G-B indoor ONT
Wall mount an XS-2426G-B indoor ONT
Nokia ONT
Review Review
© 2021 Nokia. Nokia Confidential Information
Use subject to agreed restrictions on disclosure and use.
3FE-49546-AAAA-TCZZA
December 2021
68 Issue 1
 Loading...