re
uire a lon
er period of time for the refri
erator
temperature to lower.
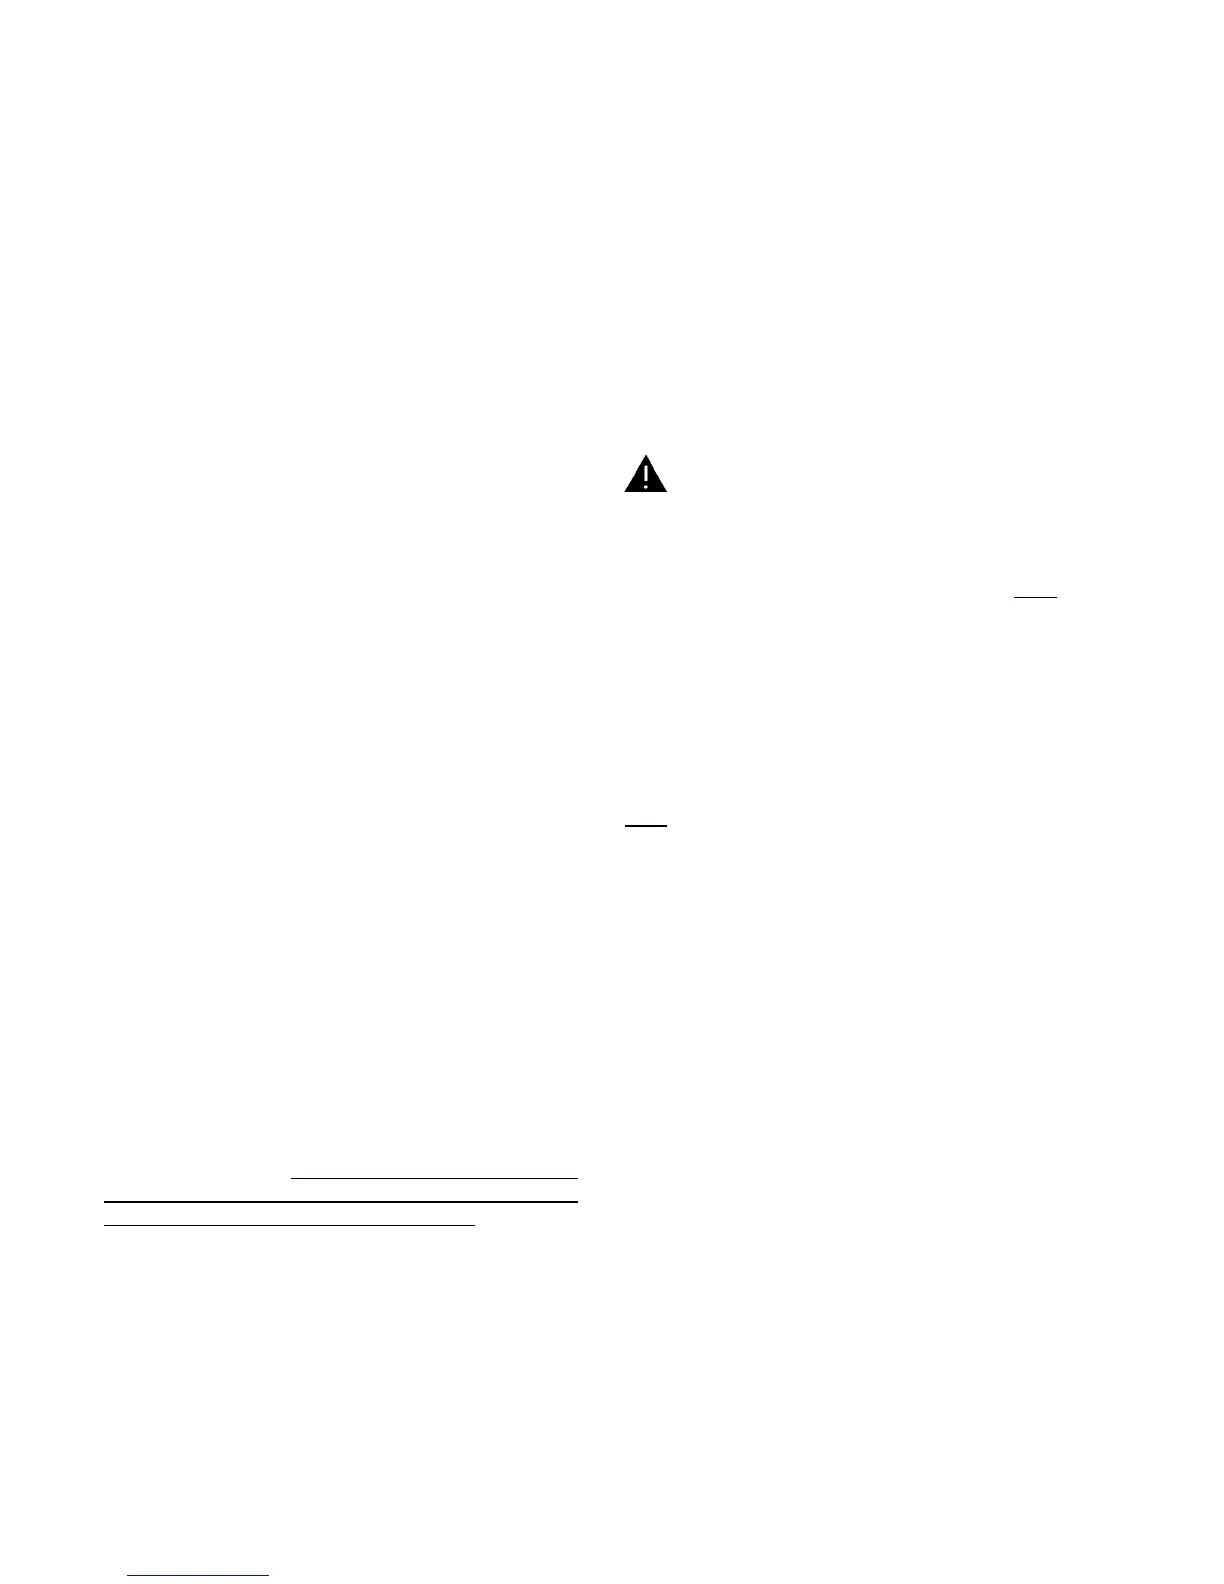
Refrigerator Care
Owner’s Check list
Your refri
erator is desi
ned for
ears of trouble free
operation when a few simple steps are performed on a
schedule; three to six month intervals. Use the followin
as
uide and a reminder.
1. Visual inspection of the vent-air intake assembl
to insure the vent is not obstructed and free of
debris.
2. Keep the internal vents unobstructed to insure
proper air circulation around refri
erator’s cool-
in
unit.
3. Insure
our LP
as is propane, not other t
pes
such as Butane or Butane mixtures.
4. Insure
our 12 volt DC suppl
is properl
char
ed.
5. Allow ade
uate time
6-8 hours or overni
ht
before loadin
the refri
erator with foods.
6. Insure the refri
erator’s wire shelf is not covered
with paper or plastic.
Defrosting the Refrigerator
After a period of operation, it is normal for frost to
raduall
accumulate on the coolin
fins, eventuall
impairin
coolin
.
To defrost the refri
erator, place the mode selector
to "Off" position. Empt
the refri
erator and leave the
door open. When the frost has melted, wipe the
moisture with a clean dr
cloth. Replace all foods and
restart the refri
erator. Set the thermostat to its maxi-
mum settin
for several hours before returnin
to the
mid-ran
e settin
.
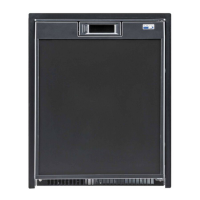
Cleaning the Interior of Refrigerator
It is important to keep the refri
erator interior clean to
minimize food odors. The best time to clean the refri
-
erator interior is after defrostin
. Add a small
uantit
of dishwater deter
ent to lukewarm water and wash the
refri
erators interior.
Do not use abrasive cleaners to
clean the interior of the refrigerator. Abrasive cleaners
can harm the refrigerators interior surface.
Rinsin
the interior in a solution of bakin
soda and
water
a tablespoon of bakin
soda to a
uart of water
will freshen and neutralize odors. Wipe refri
erator
interior with a soft dr
cloth to prevent water spots.
The door
asket can be cleaned in the same manner
as the refri
erator interior. After cleanin
, appl
a thin
la
er of petroleum
ell
to the
asket on the hin
e side.
This will keep the
asket soft and prevent it from rollin
,
insurin
a proper door seal.
Checking Door Seal
The door
asket must seal completel
around entire
len
th of the door. This will insure coolin
efficienc
and
prevent frost formation. Fre
uent frost or reduced cool-
in
are indications of air leaks.
To check for proper door seal, la
a lon
strip of paper
dollar bill
between the
asket and the refri
erator. Close
the door and withdraw the paper. A frictional dra
should
be observed. Repeat all around the door. If the paper does
not have a noticeable frictional dra
, the
asket is not
sealin
. Contact
our service a
enc
for assistance.
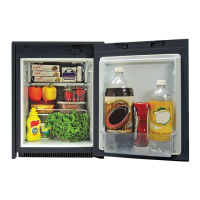
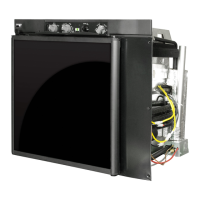
Refrigerator Servicing Requirements
Unauthorized or improper servicing of this refrigerator
can cause severe personal injury, property damage or
both. All required service and maintenance
must be
performed by your dealer or a Norcold authorized serv-
ice center. Norcold will not accept responsibility for
improper installation, adjustment, alteration, service or
maintenance performed by anyone other than a quali-
fied dealer or a Norcold Service Center. Costs and
consequential problems resulting from unauthorized or
improper servicing of this refrigerator are the refrigera-
tor owner’s responsibility.
Note: The refrigerator information packet supplied
with your refrigerator includes a Norcold Serv-
ice Center location booklet.
Servicing Requirements Check list
In addition to the Check list items under refri
erator
care, a safet
and performance schedule is to be made
b
a
ualified service facilit
. The schedule is to include
the followin
:
1. Check and ad
ustment
twice a
ear
of
as
suppl
pressure.
2. Inspection and leak test
twice a
ear
of
as
suppl
pipin
and fittin
s.
3. Inspection of exhaust and intake pipin
of the
vent-air intake assembl
. Insure proper connec-
tions to the burner and the vent.
4. Clean burner, burner orifice, and flue tube.
5. Check and ad
ust the i
nition electrode
ap. In-
sure the thermocouple is clean and secure in the
burner bracket.
6. Inspection of the operatin
controls and wirin
to
insure the
are in
ood condition.
WARNING
9