Do you have a question about the NordicTrack S45i and is the answer not in the manual?
Register product and activate warranty at my.nordictrack.com.
Contact support.nordictrack.com or call 1-800-TO-BE-FIT for service.
Read all precautions and instructions before using this equipment.
Shows locations of warning decals. Request replacements if missing or illegible.
Reduce risk of injury by holding handrails and using the safety clip.
Owner ensures users are informed. Consult physician before starting exercise.
Use only as described, for home use, indoors away from moisture, on a level surface.
Keep clear of moving parts, adjust speed gradually, use safety clip, and stop if unwell.
Unplug after use, never move belt while off, inspect and tighten parts regularly.
Offers annual checks, unlimited in-home repairs, and coverage for defects and wear.
Provides unlimited in-home repairs and coverage for defects and wear for up to three years.
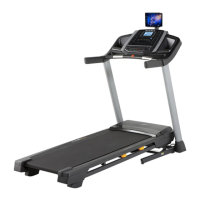
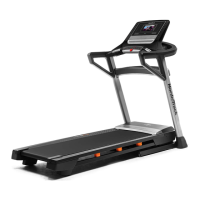
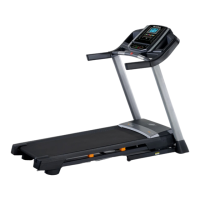
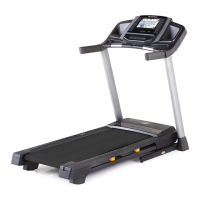
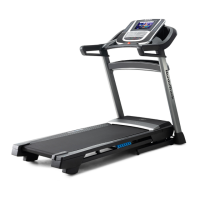
Familiarize yourself with labeled parts including console, handrail, walking belt, and foot rail.
Identifies small parts for assembly with key numbers and quantities, like screws and washers.
Requires two people, cleared area, and removal of packing materials. Tools needed: hex keys, screwdriver, wrench.
Register product online at my.nordictrack.com to document ownership and activate warranty.
Connects upright wire and ground wire to the base using specific screws and grommets.
Secures uprights and wheels to the base, and slides base covers onto uprights.
Connects handrail assemblies to uprights using screws and washers, not fully tightening.
Attaches console base, connects ground and upright wires, and secures console frame.
Attaches trays and crossbar to console base and handrails using specified screws.
Secures console assembly to handrails with screws and washers, connects wires.
Installs upright crossbar and tray onto uprights using screws.
Attaches latch crossbar to frame and storage latch to the base bracket.
Aligns and secures storage latch, lowers frame, and tightens all parts and covers.
Use a UL-listed surge suppressor. Plug cord into suppressor and outlet, ensuring proper grounding.
Visual guide to buttons and indicators on the treadmill console.
Offers iFit connectivity, manual mode, heart rate monitoring, and audio playback.
Plug in cord, insert key, attach safety clip. Allow treadmill to warm up in cold.
Navigate console using touch gestures similar to a tablet. Screen is not pressure sensitive.
Connect to Wi-Fi to access iFit workouts and other features. Follow on-screen prompts.
Set measurement units, time zone, and log into or create an iFit account.
Check for firmware updates and calibrate the incline system for optimal performance.
Insert key, select main menu, start belt, and adjust speed using console buttons or screen.
Change incline using buttons. Monitor speed, distance, time, calories, and incline.
Stop workout, review summary, save favorites, remove key, and unplug treadmill.
Connect to Wi-Fi, select map workout, draw route, start, and monitor progress.
Draw custom routes on the screen, save workouts, and start them.
Add workouts to iFit schedule, log in, select from calendar, and start.
Access settings via main menu for account, equipment, and Wi-Fi configuration.
Check for firmware updates and calibrate the incline system for optimal performance.
Enable Wi-Fi, select network, enter password if necessary, and connect.
Connect personal audio player via 3.5mm cable to play music through console speakers.
Details FCC limits for digital devices and precautions for interference.
Adjust incline to zero, remove key, unplug cord, and raise frame until latch locks.
Fold treadmill, lock latch, hold handrails, and push to desired location.
Release storage latch by pushing frame forward and pulling towards you to lower.
Clean exterior, wipe belt dry, and inspect/tighten parts regularly.
Check power cord, key insertion, and power switch for issues; reset switch if tripped.
Address belt slowing due to overtightening, lubrication, or surge suppressor issues.
Correct off-center or slipping belts by adjusting idler roller screws.
Reset console to factory defaults if it freezes or doesn't respond. Erases custom settings.
Use heart rate chart to find training zones for fat burning and aerobic exercise.
Follow warm-up, training zone, and cool-down routines. Aim for three workouts weekly.
Detailed list of parts with key numbers, quantities, and descriptions for assembly and replacement.
Lists remaining parts with key numbers, quantities, and descriptions. Notes on specifications and replacement parts.
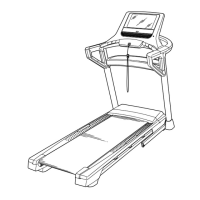
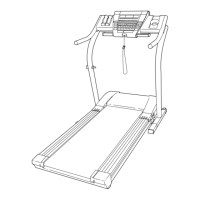
Illustrates the exploded view of the treadmill's main components and their connections.
Shows the exploded view of the console, motor hood, and related parts.
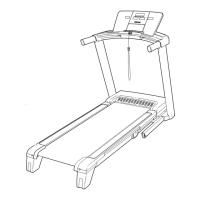
Displays the exploded view of the frame, uprights, handrails, and base components.
Illustrates the exploded view of the console, trays, and associated parts.
Outlines warranty terms for frame, parts, and labor, and conditions for voiding the warranty.
| Weight Capacity | 300 Lbs |
|---|---|
| iFit Compatibility | Yes |
| Warranty | 10-Year Frame, 2-Year Parts, 1-Year Labor |
| Incline | 0 - 12% |
| Decline | -3 - 0% |
| Speed | 0 - 12 MPH |
| Folding | Yes |
| Bluetooth | Yes |
| Cooling Fan | Yes |