Page 02/09
If PerfectTilt
™
Motor Module is running out of power, please charge it by 5V/1A power bank
or power supply via Micro-USB cable.
˙USB Charging for PerfectTilt
™
Motor Module
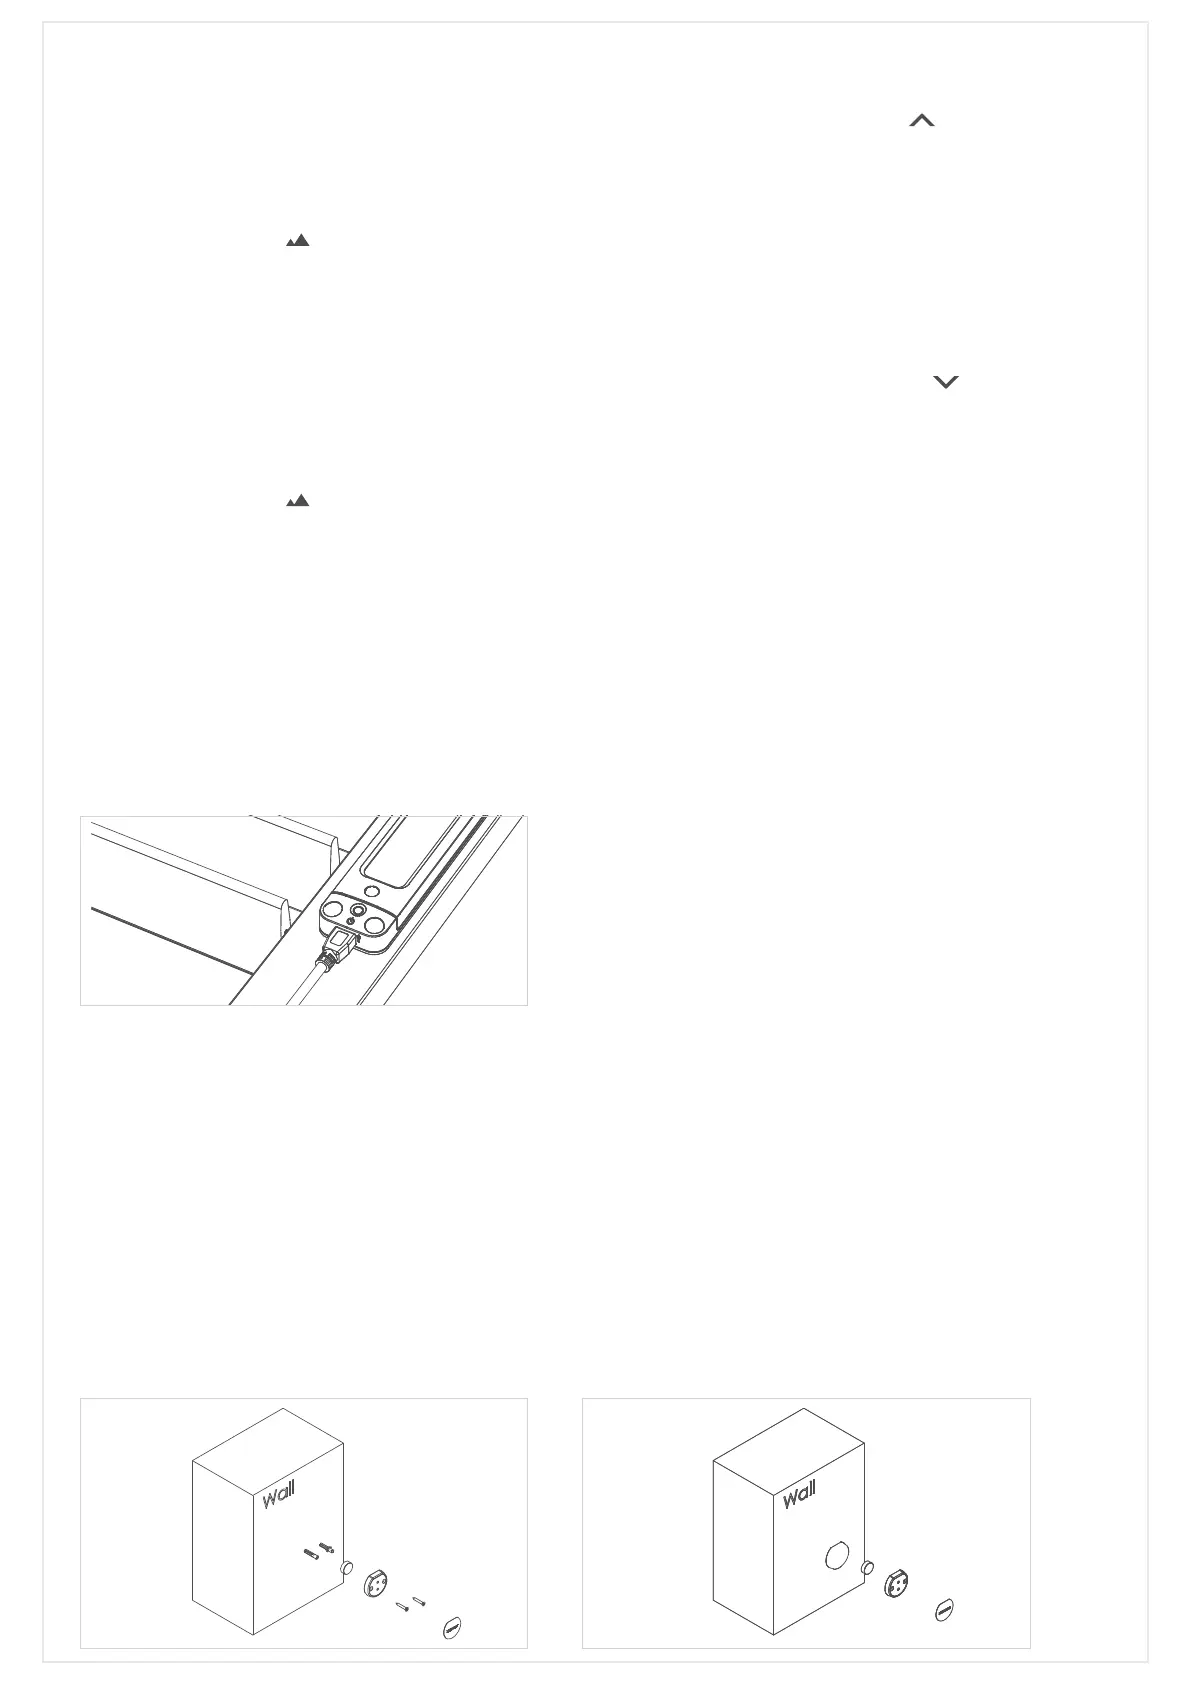
1. Connect Micro-USB cable to Motor Module for charging. (Normally it takes around 10 hours to recharge.)
2. Green LED will blink while charging and will completely light green when fully charged.
3. Red LED on indicates the Motor Module charging abnormal, please stop charging immediately.
This process lets you setup/adjust louver horizontal position if the horizontal position shifted.
˙Setup Louver Horizontal Position - Method 1
1. Select the desired group number for setup of horizontal position, and hold down for Tilt Upward button ( ) 1 second.
2. Move the louvers to horizontal position by remote ring with spin anticlockwise direction.
[NOTE: The direction of operation MUST be from up to down. If direction was reversed, please start over.]
3. Press Remote Reset button for 1 second to initiate Remote Reset Mode.
4. Select the desired group number for setup of horizontal position.
5. Press Best View button ( ). Group button LED will turn off and middle buttons will blink 3 times.
[NOTE: Best View won’t work if no groups are selected.]
6. Louvers move up and down once.
7. Press Remote Reset button for 1 second to exit Remote Reset Mode.
˙Setup Louver Horizontal Position - Method 2
1. Select the desired group number for setup of horizontal position, and hold down for Tilt Downward button ( ) 1 second.
2. Move the louvers to horizontal position by hand.
[NOTE: The direction of operation MUST be from down to up. If direction was reversed, please start over.]
3. Press Remote Reset button for 1 second to initiate Remote Reset Mode.
4. Select the desired group number for setup of horizontal position.
5. Press Best View button ( ). Group button LED will turn off and middle buttons will blink 3 times.
[NOTE: Best View won’t work if no groups are selected.]
6. Louvers move up and down once.
7. Press Remote Reset button for 1 second to exit Remote Reset Mode.
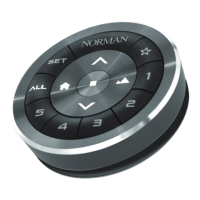
˙Remote Operation
1. Press the Group number or multiple Group numbers (1 to 5) you would like to control.
2. Press ALL to select all the shutters assigned to the Remote. One Group(s) is selected, press the up and down key to tilt shutters.
3. Please refer to Remote Button Definition for full instructions on Remote operation.
˙Remote Docking Installation
The Remote dock can be secured to the wall either by screw or by double-sided adhesive tape.
► Screw:
1. Drill two holes for the conical wall anchor.
2. Remove the backing of the adhesive paper from
magnet and put the magnet into the dock’s
dedicated hole sticky-side down.
3. Secure docking to the wall with two screws. Remove
the backing of the adhesive paper and stick it to
the surface.
The remote can now be docked onto the wall.
► Adhesive tap:
1. Remove the backing of the adhesive paper from
magnet and put the magnet into the dock’s dedicated
hole sticky-side down.
2. Put adhesive tape to the bottom of Docking and fix
on the wall.
3. Remove the backing of the adhesive paper and stick it
to surface of dock.
The remote can now be docked onto the wall.
 Loading...