32
ML0042 October 15, 2019 Copyright 2019 Bitronics, LLC
driver. 12 inch-pounds (1.36 N-m) is recommended, MAXIMUM torque is 15 inch-
pounds (1.69 N-m). .
3.4 Ethernet
The M66x Ethernet port meets or exceeds all requirements of ANSI/IEEE Std 802.3
(IEC 8802-3:2000) and additionally meets the requirements of part 8-1 TCP/IP T-
profile for physical layer 1 (Ethernet copper interface).
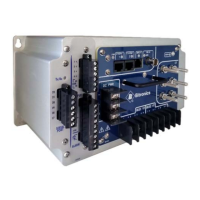
M66x are offered with a standard Ethernet 10/100 Megabit (Mb) RJ45 (copper)
interface (10BASE-T and 100BASE-TX) which automatically selects the most
appropriate operating conditions via auto-negotiation. This interface is capable of
operating either as half-duplex (compatible with all Ethernet infrastructure) or full-
duplex interfaces (which allow a potential doubling of network traffic). Note that the
meters come with the port setup as a service port, with Modbus TCP/IP or DNP3
TCP/IP or UDP software offered as an option. An option to add a LC 100BASE-FX
fiber port also exists operating at 1300 nm (far infra-red, full-duplex). If needed,
adapters are available to convert the LC to ST connectors, the same that are used in
the Bitronics 70 Series.
3.4.1 Network settings
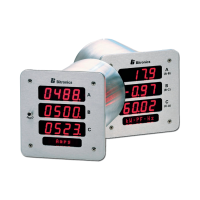
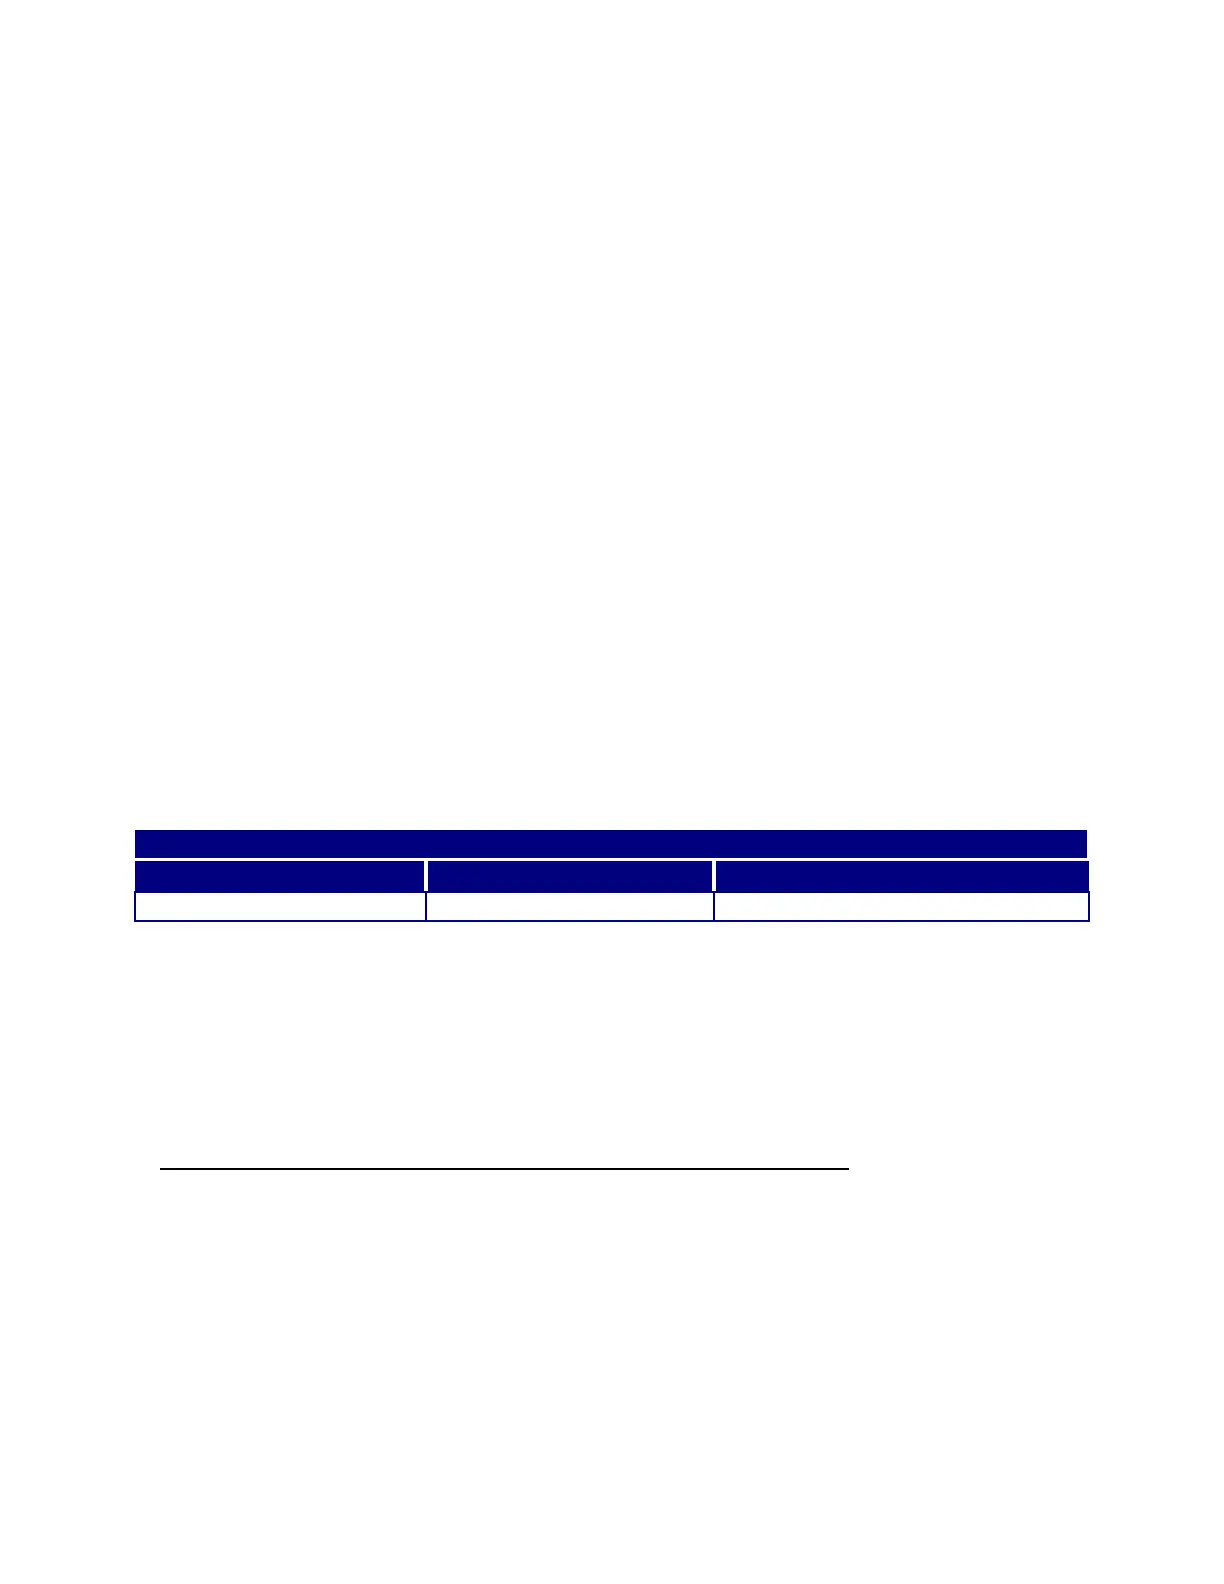
The M66x come preconfigured for interconnection to an HTML web server with default
settings for IP address, SUBNET mask, and ROUTER (GATEWAY) address.
Network Default
Preconfi
ured
Settin
s
IP Address Subnet mask Router (Gateway) Address
192.168.0.171 255.255.255.0 192.168.0.1
It is very important that the network have no duplicate IP addresses, so an IP address
conflict is NOT created for your network. It is recommended to perform your initial
setup for network addresses using the front buttons on the meter, unless it is known
that the default (preconfigured) IP address is not already an assigned address on your
network. Changing the stored Configuration of these network addresses may be
accomplished by using one of the following methods
Enter Network addresses using the meter’s front buttons (M660):
Refer to the section in this manual on “Navigating the M660’s setup menu from the
Front panel” for further instruction regarding the button sequence you will use to scroll
through the menu structure. This will provide a handy menu tree.
Activate the setup mode using the front buttons on the meter by pressing the Up +
Toggle (Exit) buttons simultaneously. Scroll to menu selection “1.3”, “Network”, in
order to change the Network settings. Enter an IP address that you know is an
unassigned address for your network. You can ping the IP address to make sure it is