4342
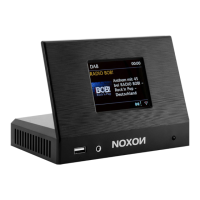
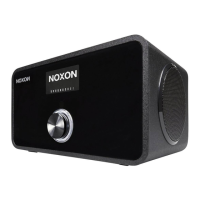
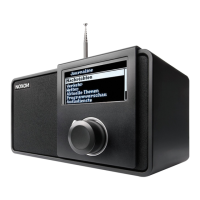
NOXON A110+
4. Getting Started
The items enclosed in the packaging box are as follows:
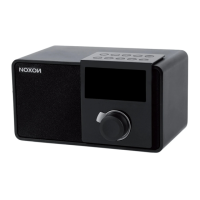
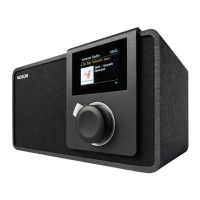
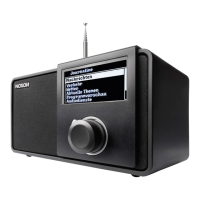
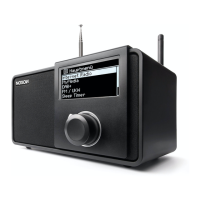
• NOXON A110+
• Remote Control (with Battery)
• Antenna for DAB+ and FM
• Power Adapter
• Qucik setup guide
• Service Card
Connect the power adapter to the back of NOXON A110+ and plug it into power socket.
Get the network environment ready
• For wired Ethernet
Use an Ethernet cable (RJ45 jack) to connect the LAN ports on NOXON A110+ and
your network device. Check if the light indicators on the network device are in
appropriate status.
• For wireless WiFi
Make sure you have setup the wireless network and you have the WEP, WPA or WPA2
security password to activate the connection.
You may also use the WPS (WiFi Protected Setup) function for easy pairing between
the network device and NOXON A110+. Check if the light indicators on the network
device are in appropriate status.
Switch it on from NOXON A110+
At the rst time operation, system asks if you want to
start the Setup Wizard. Select YES to continue the
setup. Details of the Setup Wizard can be referred
to Section 5.2.1 below. After choosing NO, the next
screen asks if you would like to run the wizard next
time NOXON A110+ is started.
NOXON will automatically connect to the network
that was set before when power on to Internet Radio
again. In case you desire to change the network,
enter System Setting to congure the corresponding
connection. Refer to Section 5.2.1 and 5.2.3.
Press STANDBY on the remote control to enter standby mode. The time, date and any active
alarm times display on the screen.
Rotate the volume reel or press + / - on the remote control to adjust the volume or direct press
mute to mute the sound.