Caution
・ Be sure to hold the handpiece firmly to prevent the handpiece from
slipping out of hand by the spray pressure when lubricating.
・ Supply lubricant until it comes out of the handpiece head
(for approx. 2 – 3 seconds).
・ Hold the Lubricate spray can upright.
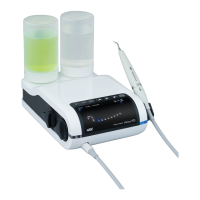
PANA SPRAY Plus / PANA SPRAY
Supply “PANA SPRAY Plus /PANA SPRAY” after each use and/or before
autoclaving.
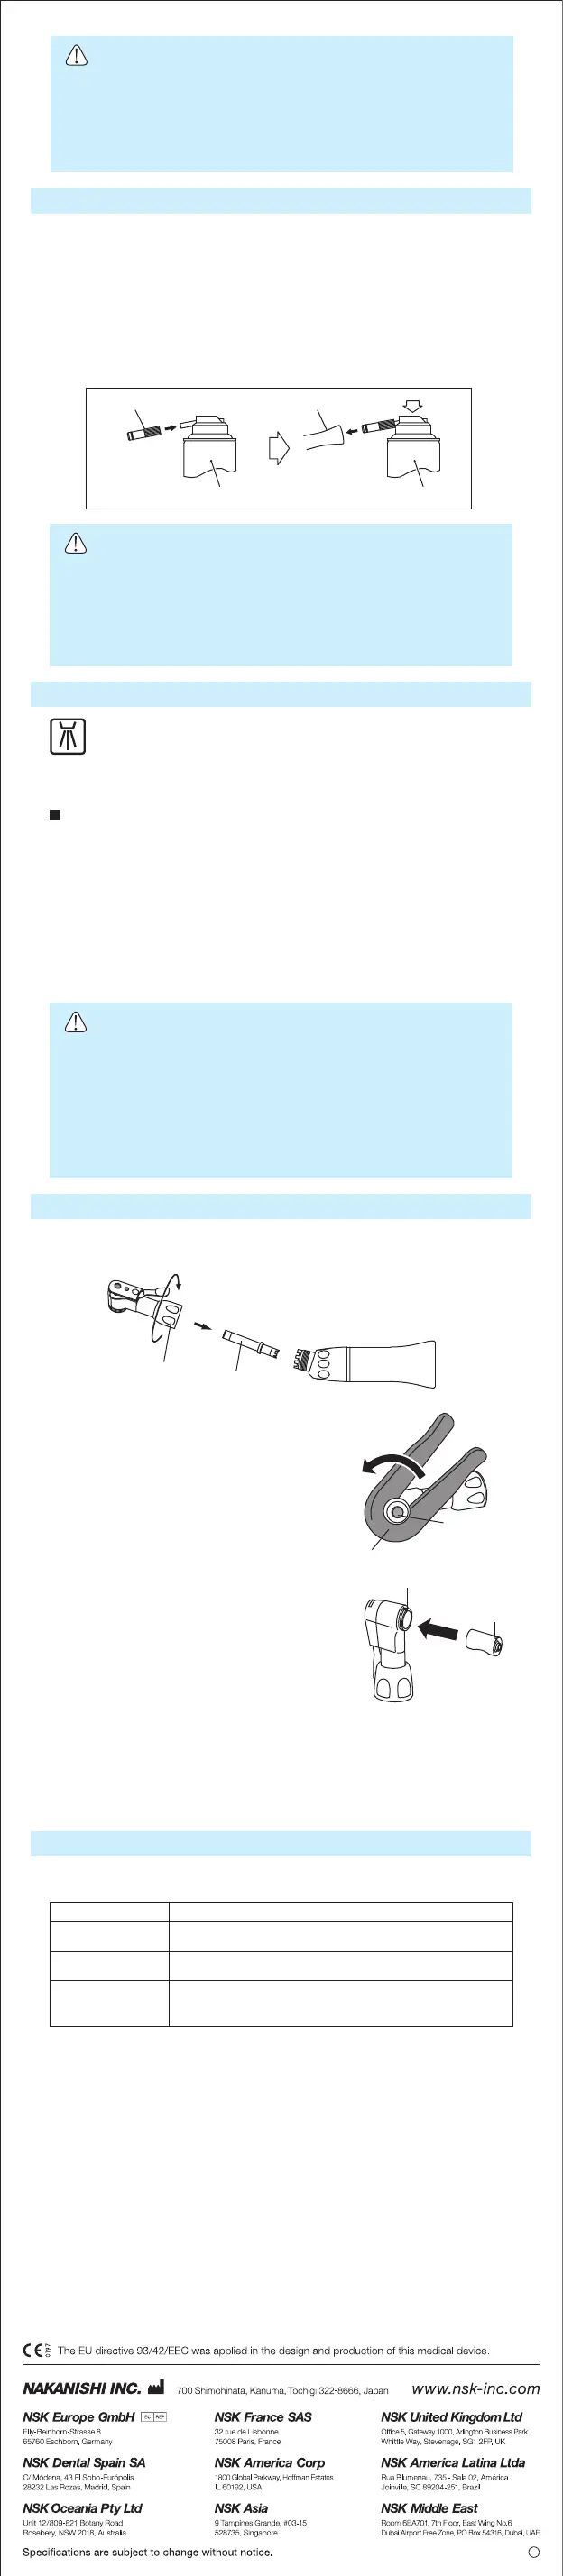
1) Push E-type Spray Nozzle attachment over the lubricant spray
nozzle until it firmly seats.
2) Remove the bur.
3) Insert the E-Type Spray Nozzle in the rear of the handpiece and
spray for approximately 2 – 3 seconds until the oil comes out of the
handpiece head.
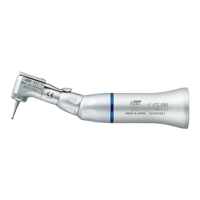
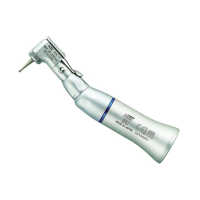
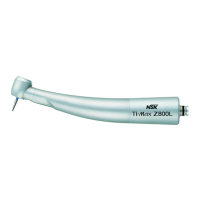
6. Lubrication
Fig.4
PANA SPRAY Plus/PANA SPRAYPANA SPRAY Plus/PANA SPRAY
E-type Spray Nozzle
Handpiece
Caution
・ Do not use the handpiece when the end cap is loose.
Using the handpiece under such condition will cause looseness of
the internal parts in the handpiece head, which may cause the end
cap to come off and patient’s accidental ingestion.
・ To avoid injury, keep your hands away from the bur during rotation.
Caution
・ Do not wipe nor immerse the handpiece in acidic water or acidic
solutions.
・ Keep the product in suitable atmospheric pressure,temperature,
humidity, ventilation, and sunlight. The air should be free from dust,
salt and sulphur.
・ Do not touch the product immediately after autoclaving as it will be
very hot and must remain in a sterile condition.
Steam autoclave is recommended.
Sterilization is required first time you use and after each patient.
Autoclave Procedure :
1) Scrub dirt and debris from the handpiece, and wipe clean with
alcohol-immersed cotton swab or cloth. Do not use a wire brush.
2) Lubricate the handpiece. Refer to 6. Lubrication.
3) Insert into an autoclave pouch. Seal the pouch.
4) Autoclavable up to max. 135°C.
ex.) Autoclave for 20 min. at 121°C or 15 min. at 132°C.
5) Keep the handpiece in the autoclave pouch to keep it clean until you
use it.
* NSK recommends Class B sterilizers as stated in EN 13060.
7. Sterilization
The products listed below are washable with Thermo Disinfector.
ECM, ER4M, ER10M, ER16M, ER64M
1) Loosen the Union Nut and remove the head from the sheath.
Pull out the Middle Gear from the head. (Fig. 5)
8. Cartridge Replacement (NAC,BB,NBBW)
Fig.5
Fig.6
Fig.7
Cap Wrench
Slit
Pin
End Cap
9. Periodical Maintenance Checks
Every 3 months perform periodical maintenance checks, referring to the check
sheet below. If any abnormalities are found, contact your Authorized NSK Dealer.
Rotation
Points to check Details
Check the union nut on the head is firmly tightened.
Check the end cap is firmly tightened.
Rotate the handpiece and check for abnormalities such as
abnormal rotation, vibration, noise, and overheating.
End cap is loose
Union nut is loose
Middle Gear
Union Nut
2) Place Cap Wrench on the End Cap and turn
counter-clockwise. Unscrew and remove
the cap. (Fig. 6)
3) Swing to open the latch plate. Insert a bur
blank or round rod into a hole from the head
end, and push out the cartridge.
At this time, if the inside of the head is dirty,
clean the inside by applying PANA SPRAY
Plus/PANA SPRAY.
4) Insert the new cartridge, with its pin aligned
in the slot of the head. (Fig. 7)
5) Mount each part in a reverse procedure to
the removal procedure, and firmly tighten
the end cap with the cap wrench.
* Cartridge (NAC-03) NAC-Y : Order Code C030011
(BB-03) BB-Y : Order Code C037015
(NBB-03) NBBW-Y : Order Code C210015
* Cap Wrench(Black) : Order Code C071751
* Middle Gear (NAC-02) NAC,BB,NBBW : Order Code C032012
2017.04.28 03
M
 Loading...