CAUTION
CAUTION
Head Mounting Ring
Marked Screw
Joint Cover
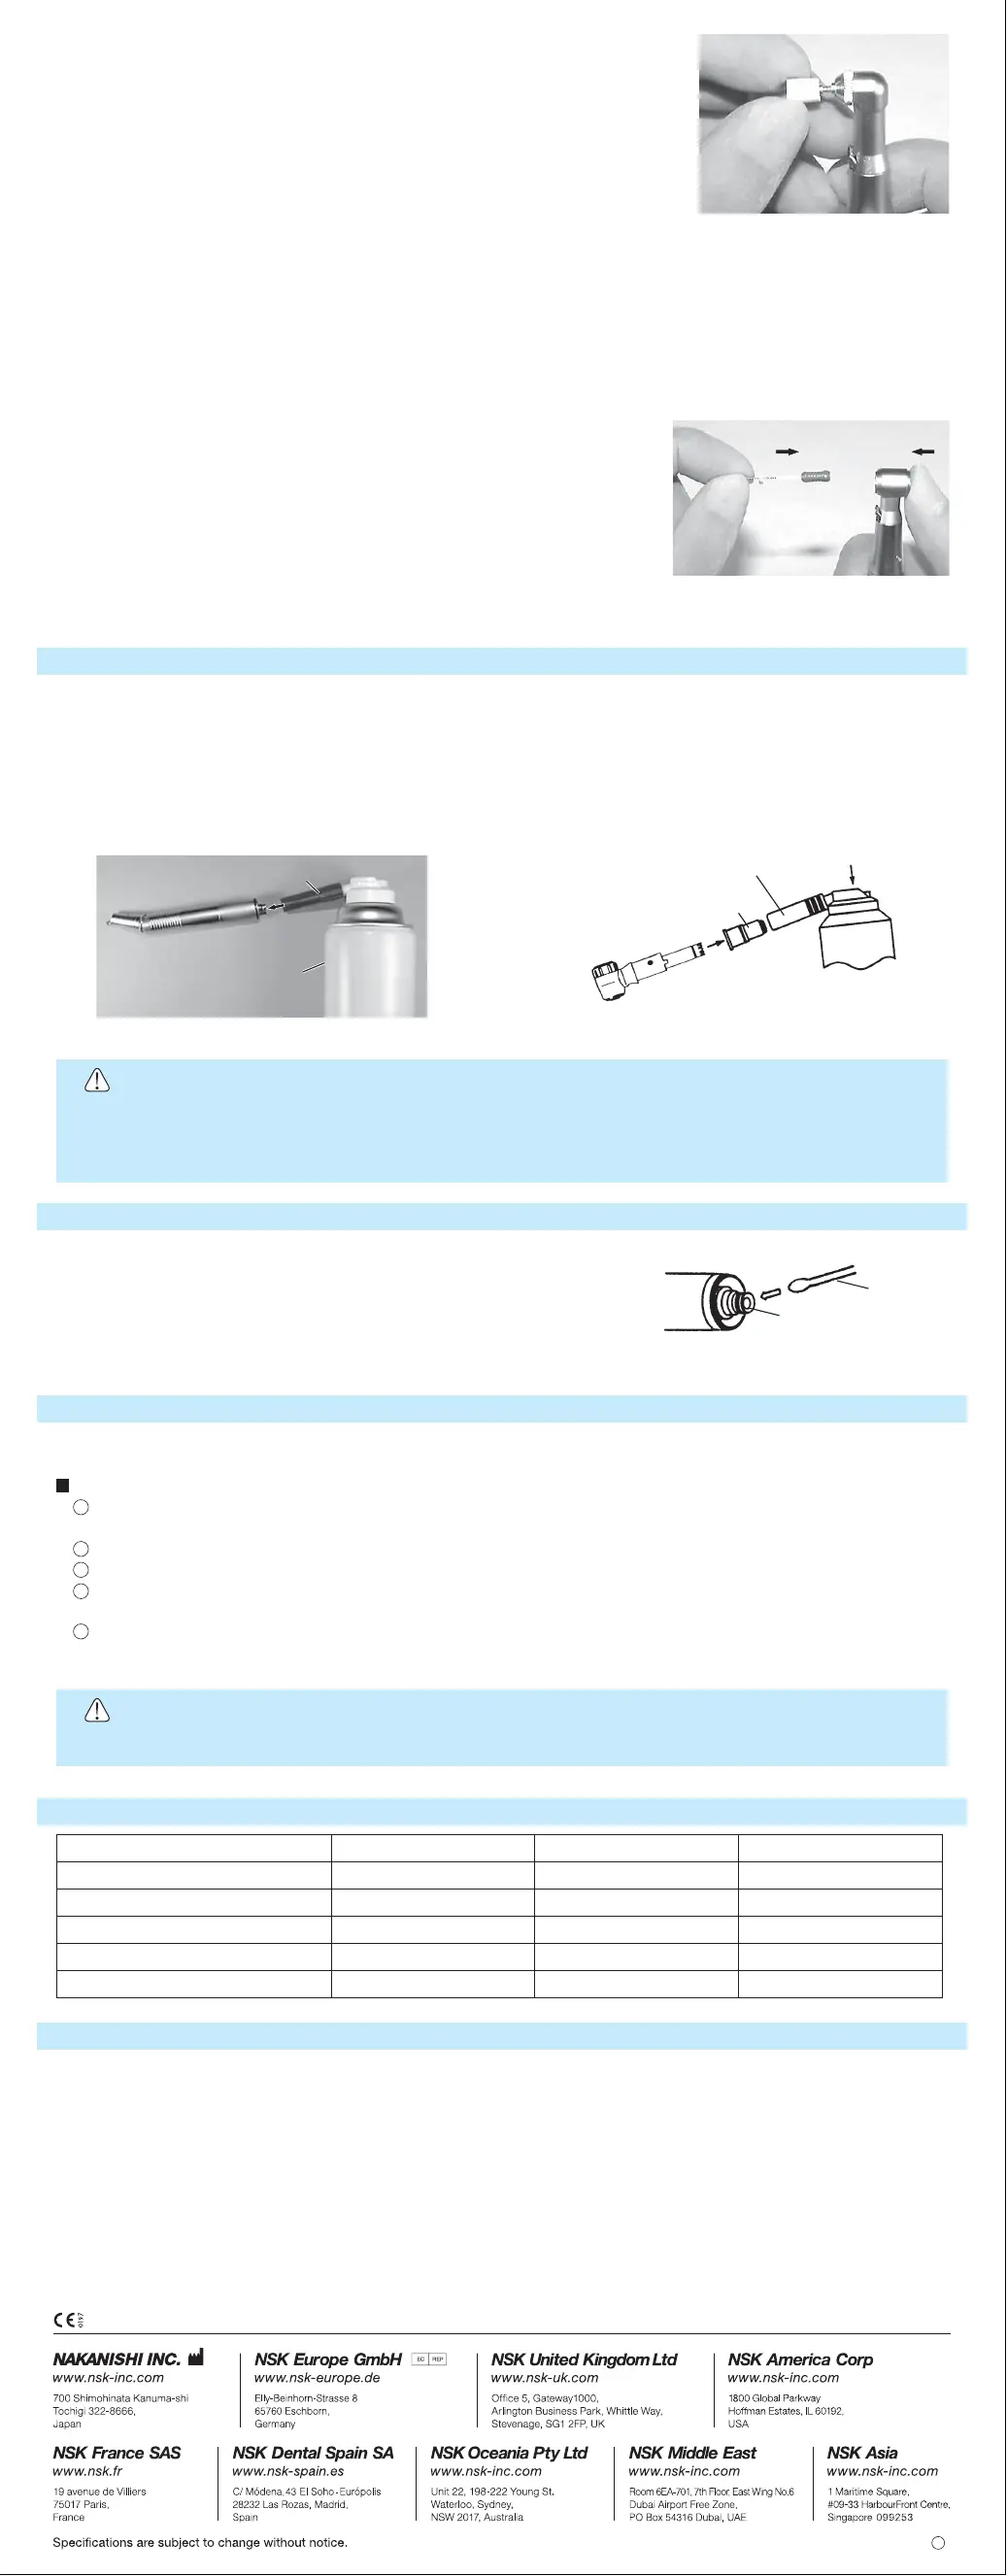
Fig.11
Fig.12
Fig.13
Fig.14
PHATELUS Spray Nozzle
Contra Head
Spray Adapter
PHATELUS Spray Nozzle
PHATELUS Spray Nozzle
PANA-SPRAY Plus / PANA-SPRAY
PANA-SPRAY Plus / PANA-SPRAY
PANA-SPRAY Plus / PANA-SPRAY
Fig.15
Cotton Swab
Fiber End
9. Repair Service
For genuine NSK service and parts, always return the handpiece to your NSK dealer.
8. Specification
Motor Type
Drive Air Pressure
Air Consumption
Torque
Speed
Weight
MPa
(kgf/cm
2
)
NL/min
gf-cm
min
-1
(rpm)
g
PTL-SDN
0.25 (2.5)
32
190
25,000
90
PTL-CD
0.25 (2.5)
32
190
25,000
81
PTL-CR
0.25 (2.5)
32
540
6,500
89
7. Sterilization
Steam autoclave is recommended.
Sterilization is required first time you use and after each patient as noted below.
Autoclave Procedure :
Scrub dirt and debris from the air motor body, and wipe clean with alcohol- immersed cotton swab or cloth. Do
not use a wire brush.
Lubricate with PANA-SPRAY Plus / PANA-SPRAY. Refer to 5 Lubrication.
Insert into an autoclave pouch. Seal the pouch.
Autoclavable up to max. 135°C.
ex.) Autoclave for 20 min. at 121°C, or 15 min. at 132°C.
Keep the handpiece in the autoclave pouch to keep it clean until you use it.
* Sterilization at 121°C for more than 15 minutes is recommended by EN13060 or EN ISO17665-1.
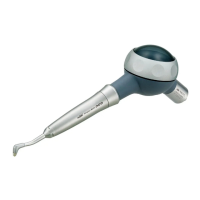
6. Cleaning of the fiber optic end (Except PTL-SDN)
In case the light has become dim, clean the fiber optic end with an
alcohol-soaked cotton swab (Fig.15).
Do not use a pointed tool or sharp edges to clean the fiber end. They may
damage the mirror finish and reduce the light transmission efficiency.
If the fiber optic end has become damaged, send the handpiece to your local
distributor for repair.
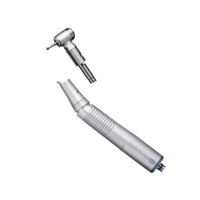
5. Lubrication
Always lubricate the air motor after use, and before autoclaving, with PANA- SPRAY Plus / PANA- SPRAY. Push
PHATELUS Spray nozzle attachment over the PANA SPRAY Plus / PANA- SPRAY nozzle until it firmly seats.
Insert the PHATELUS Spray nozzle into the rear of the air motor and spray for 2 seconds (Fig.13).
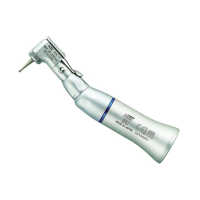
Lubrication of Contra Head.
Attach the contra head spray adapter to the end of PHATELUS Spray nozzle.
Insert the contra head drive gear into the spray adapter and spray for 2 seconds. (Fig.14)
(3) ARS-PTL
Mount a rubber cup or the brush by screwing into the head.
To remove the rubber cup or the brush, it may be easily removed by running
the air motor at a very low speed in the reverse direction while holding the
cup or the brush firmly by fingers (Fig.11).
(4) NRS-PTL, TE-PTL, and NM-PTL
To mount the bur, open the latch blade, insert the bur by aligning the
D-section of the bur with its mating hole in the bur tube. Swing back the
latch blade to the original position.
To remove the bur, swing open the latch blade and pull out the bur.
(5) EVA-PTL
This can be mounted only by pushing the EVA-Tip stem into the head plunger.
For removal, push the EVA-Chip out by pressing it with the pin section of the wrench of an accessory from the rear
of the head.
(6) VM-PTL
Push the push button to open the chuck. When the chuck is open, insert
the hand file grip into the chuck as shown and release the push button
(Fig.12).
Before using the endo instrument, lightly pull out to make sure it is securely
held.
The instrument grip that can be fit into the VM-PTL is 3.8mm to 4.1mm in
diameter.
To remove the instrument, push the push button and pull out the
instrument.
Do not wipe with, or clean or immerse in, high acid water or sterilizing solutions.
• Hold the air motor or contra head firmly when lubricating. Lubricant propellant pressure could eject the air
motor or contra head from the spray nozzle. Cover the head or the air motor front with paper tissue.
• Hold the spray can upright.
’11.09.005 S
1
2
3
4
5
The EU directive 93/42/EEC was applied in the design and production of this medical device.
 Loading...