22
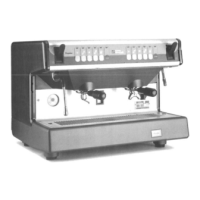
PROGRAM Vip Esse Model
S
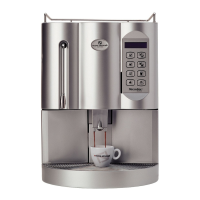
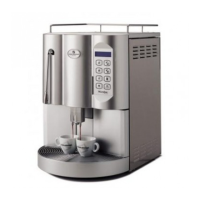
he machine is switched on by the main
witch (Figs. 1-2, no. 6), and the machine
nctioning state is shown by the pilot light
n the keyboard. At the same time, the cup
armer is started automatically, in order to
stablish the internal pressure of the boiler.
lease Note: this function avoids unpleasant
ow back into the boiler from the steam
be, caused by depressions created in the
oiler itself when the machine is switched
ff. For this reason, if the system is to func -
on correctly, it is necessary to wait until the
up warmer switches off automatically (after
pprox. 15 min.), and therefore, the machi -
e must not be operated manually.
nhook the filter holder from the unit and fill
ith one or two measures of ground coffee,
ccording to the filter being used. Use the
ress supplied to push down the coffee and
emove any residues from around the edge
f the filter (this guarantees a better gasket
rip, as well as less wear). Insert the filter
y pressing the button for the dose of cof-
e desired, the pump and solenoid valve
ill be activated and the coffee will be deli-
ered. This operation is indicated by the
ghting up of the relative led. Press STOP
lease Note: During pauses, leave the filter
older inside the unit, so that it remains
arm. The delivery units have a temperature
alance function that runs using a hot water
irculation system, in order to guarantee
aximum thermal endurance during use.
he hot water solenoid valve is activated and
elivery is started by pressing the correct
button. This operation is indicated by the
lighting up of the relative led. When delivery
time is equal to the set value, the system
itself will close the solenoid. Hot water can
be delivered at the same time as coff e e .
Please Note: The “Program Vip Esse” model
is equipped with a hot water mixer that ena -
bles temperature regulation of the water
being released and to maximise the perfor -
mance of the system. The mixer is adjusted
by first removing the left hand panel of the
machine and turning the register knob.
Tightening this knob will increase tempera -
ture (Fig. 10).
Switching on the Cup Warmer
The cup warmer is switched on using the
relative key on the control panel. The cup
warmer is switched off by pressing stop.
General Cleaning Standards
To preserve the machine characteristics over
time, it should be kept scrupulously clean.
All chrome-plated and steel parts, including
the steam and hot water tubes, should be
cleaned with a damp cloth. Once a week,
the stainless steel sprinklers should be
disassembled, cleaned and checked to
ensure that the perforations are not blocked
in any way. To carry out this operation, use
a screwdriver to loosen the central screw of
the sprinkler.
Cleaning the Unit With the Blind Filter
After replacing the filter with the blind one
supplied, insert two teaspoons of special-
purpose detergent powder and place the fil-
ter holder inside the unit. Press one of the
c o ffee keys and stop after 10 seconds.
Repeat the operation several times, then
remove the filter holder and effect some deli-
veries to eliminate any detergent residues.
Cleaning the Filters and Filter Holders
Mix two teaspoons of special-purpose
detergent in half a litre of hot water and
soak both the filter and filter holder (not the
handle), for half an hour. Next, rinse under
plenty of running water.
Recharging
To avoid the formation of lime scale depo-
sits inside the boiler and heat exchangers,
the water softener must be kept in perfect
working order. For this reason, the ionic
resins must be recharged on a regular
basis.
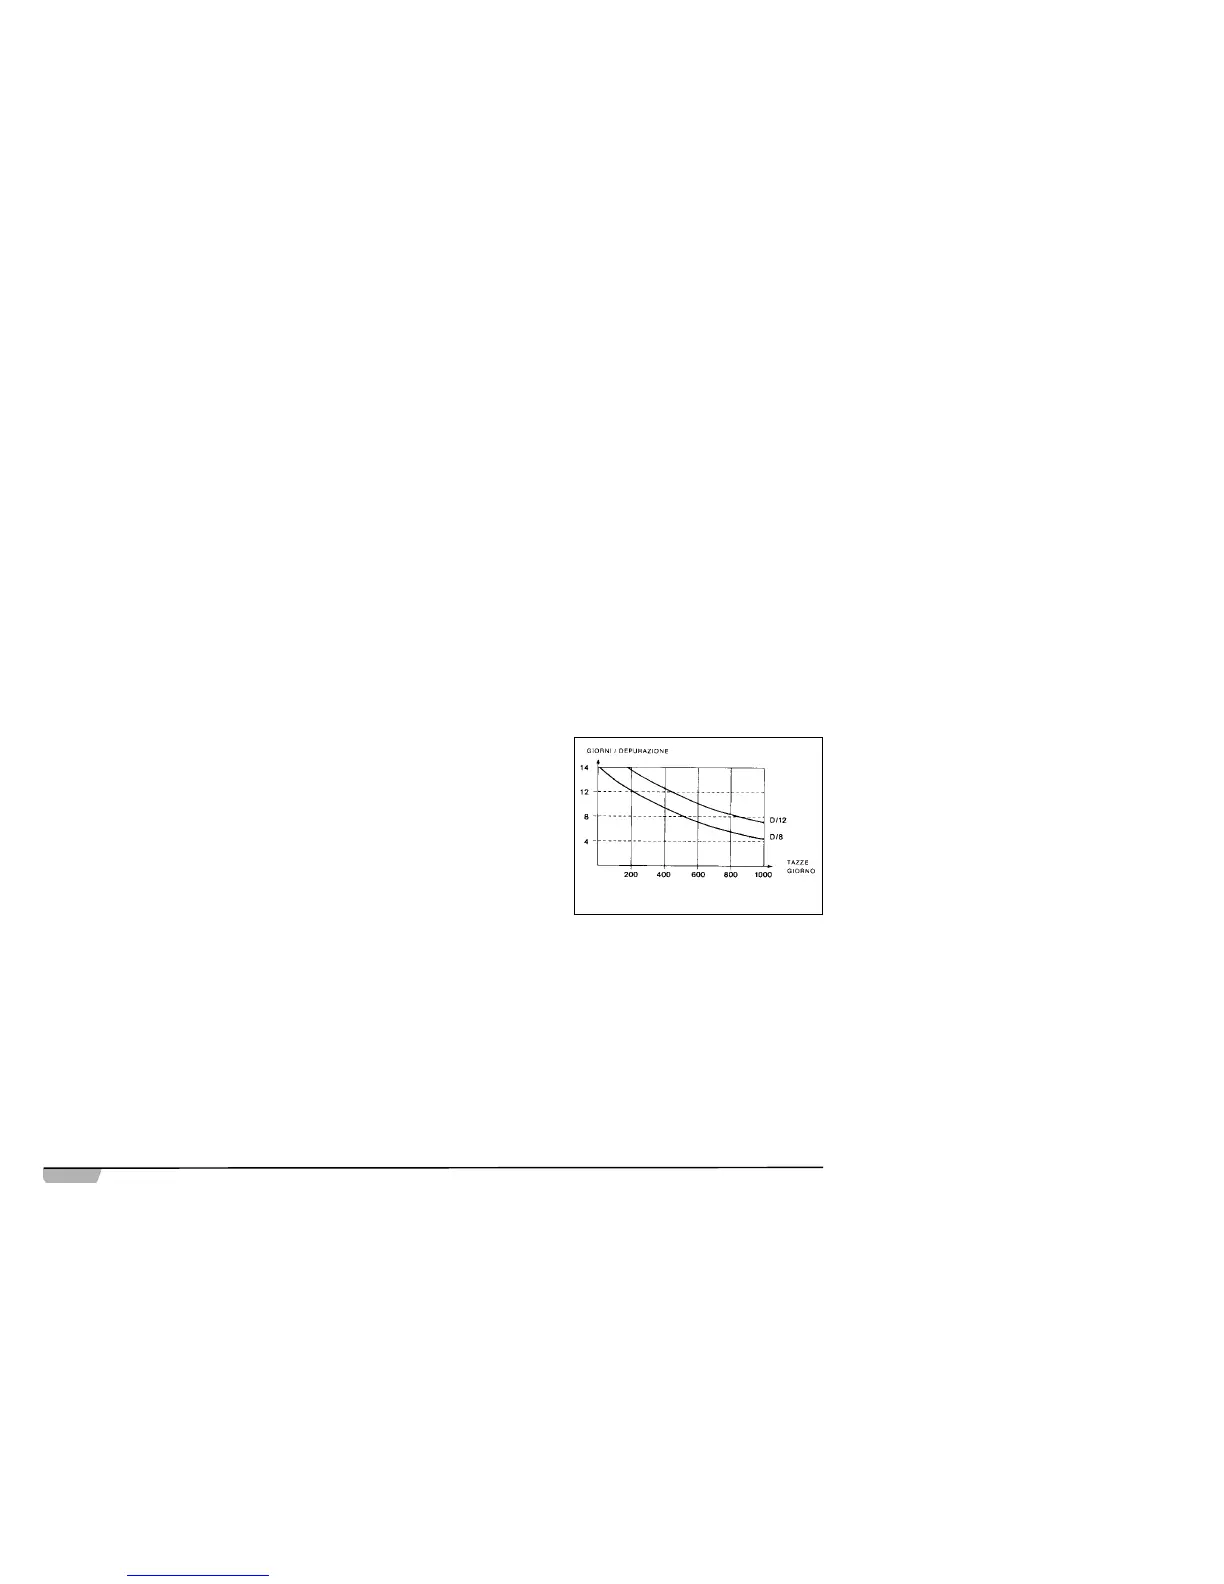
Recharging times must be established
according to the quantity of coffee delivered
during a day and to water hardness.
Indications have been given in the diagram
shown in Fig. 11.
A) switch off the machine and place a contai-
ner with a capacity of at least 5 litres
underneath the tube E (Fig. 12-A). Tu r n
the levers C and D from left to right (Fig.
12-B), remove the plug by unscrewing the
knob G and pour in a kilo of cooking salt.
B) Replace the plug and turn the lever C
back to the left (Fig. 12-C), leaving the
salt water to run out of the tube F until it
returns fresh (approx. 1/2 hour).
C) Then turn the lever D back to the left
(Fig. 12-D).
Figure 11