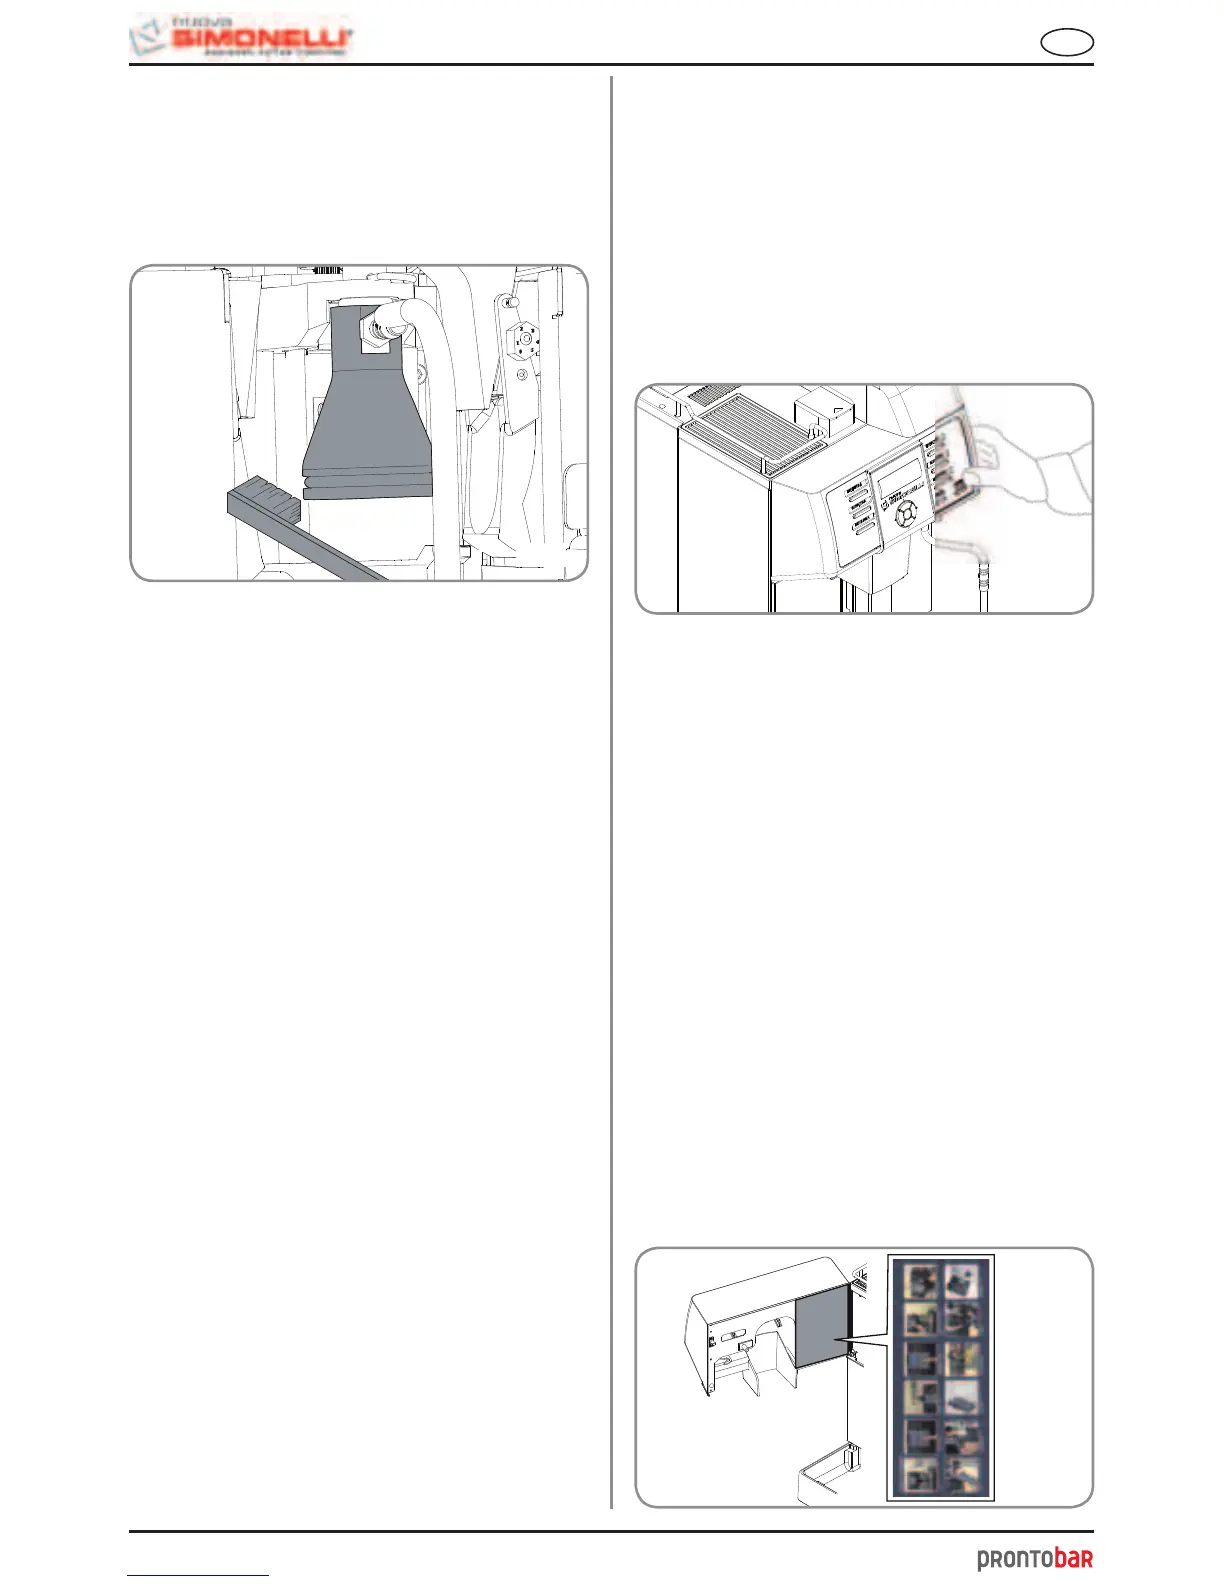
• Use a small brush to clean any deposits or
coffee residues off the piston and the delivery
unit site or any other areas soiled with coffee.
9.8 CLEANING THE
GASKET
Fig. 36
Fig. 35
Fig. 37
58
EN
NOTE:
Follow the instructions applied on the label on
the inside of the front door too.
9.9 CLEANING THE MILK
FOAMER
• Set the machine to the “O” energy level.
• Insert the key in the lock.
• Turn the Front panel opening key counter-
clockwise.
• Open the Front panel.
IMPORTANT: Proceed with caution
• Take out the pouring nozzle by pulling it
upwards.
• Remove the cappuccino maker from the nozzle
by sliding it upwards.
• Disconnect all of the connected pipes.
• Remove the cappuccino maker and wash it
with care.
NOTE: For intervals of more than three hours betwe-
en one cappuccino and the next, it is advisa-
ble to wash the cappuccino maker by taking
in water through the milk suction pipe instead
of milk.
• To reassemble proceed inversely, attaching the
milk foamer tubes properly.
NOTA: To make the reassembling procedure easier,
an explanatory label has been attached to the
front door.