PTE511RK
n
PTE1115RK
n
PTEL511RK
n
PTEL1115RK Installation Guide
Page 13
1114591A
Cleaning and Maintenance
CAUTION
IN ORDER TO PREVENT MOTOR/CONTROL DAMAGE:
DISCONNECT ELECTRIC POWER SUPPLY AND LOCK
OUT SERVICE PANEL BEFORE SERVICING THE UNIT.
DO NOT remove motor plug to stop spinning motor.
Power must be disconnected (see WARNING at top left of
this page) before motor plug is removed or inserted into
control assembly.
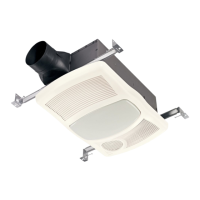
PREVENTIVE MAINTENANCE
For quiet and efficient operation, long life and attractive
appearance, regularly clean the grille and interior of unit.
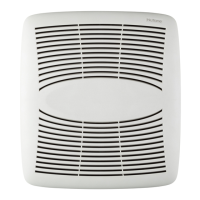
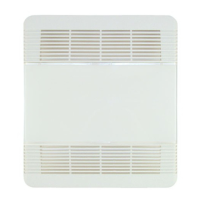
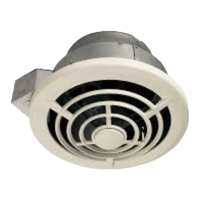
TO CLEAN THE GRILLE
Remove the grille, use a mild detergent, such as
dishwashing liquid, and dry with a soft cloth. DO NOT
USE ABRASIVE CLOTHS, STEEL WOOL PADS, OR
SCOURING POWDERS.
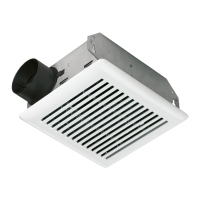
TO CLEAN INTERIOR OF UNIT
Once the grille is removed, vacuum interior of unit with the
dusting brush attachment.
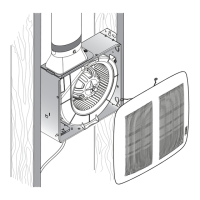
MAINTENANCE
The motor is permanently lubricated and never needs
oiling. If the unit makes excessive or unusual noises,
replace the blower assembly (includes motor and impeller).
Troubleshooting
Symptom: The fan does not run.
• Check for an open fuse or circuit breaker in the building’s
service panel.
• Check that the two (2) plug-in connections for the Motor
and the Control are seated firmly in place.
• Check that the Blower Wheel spins freely.
Symptom: The fan runs erratically.
• Check that the Blower Wheel is firmly attached to the
Motor shaft and both spin freely.
Symptom: The fan seems noisy.
• Check that the back draft damper in the fan’s Duct
Connector pivots freely. Screws used to attach the duct to
the Duct Connector may be preventing the damper from
opening.
• Check that the back draft damper in the wall or roof cap
pivots freely. These dampers are sometimes mistakenly
painted shut or obstructed by bird and insect debris.
Symptom: The fan does not properly ventilate the room.
• For spot ventilation, turn both the boost switch and the
control switch ON to enable the fan to run at the certified
airflow rate.
• For spot ventilation followed by continuous ventilation,
increase the “TIME” setting of the user-adjustable time
delay.
• For continuous ventilation, increase the “CFM” setting of
the low speed continuous airflow rate.