Hardware setup
BLDC Control Demo User's Guide, Rev. 6, 06/2020
14 NXP Semiconductors
Table 10. FRDM-KE16Z jumper setting
Jumper Setting Jumper Setting Jumper Setting
Table 11. FRDM-KE16Z O-Ω resistor setting
MCU signal Resistor Add/remove
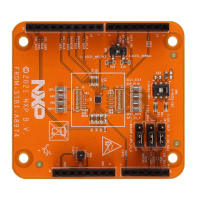
Figure 12. FRDM-KE16Z Freedom development board
4.5.6.
Freedom development platform assembly
1. Connect the FRDM-MC-LVBLDC shield on top of the FRDM-KVxxx board.
2. Connect the BLDC motor 3-phase wires into the screw terminals on the board.
3. Plug in the USB cable from the USB host to the OpenSDA micro USB connector.
4. Plug in a 12 V DC power supply to the DC power jack.
 Loading...