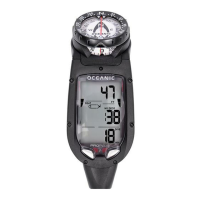
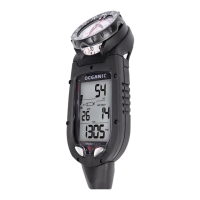
REGULATORS
DELTA 4 SECOND STAGE
© 2002 Design, 2005
PG-13
OCEANIC® Product Service Guide
Doc. 12-2803-r02 (10/3/10)
CAUTION: To avoid cutting the POPPET SEAT (14) with the
Knife Edge of the ORIFICE (11), depress the Purge Button
while turning the ORIFICE in or out.
4. Hold the Second Stage with the MOUTHPIECE (9) facing directly
down, and gently shake it up and down. Listen carefully for any
rattle that may be present, indicating LEVER ARM (17) slack. If
found, perform the following procedure:
A. Remove the COVER RING (1), FRONT COVERS (2/3), and
DIAPHRAGM (4) to gain access to the Valve Assembly.
B. Purge the Regulator of air.
C. Depress the LEVER ARM and hold to remove the SWIVEL
COUPLING (12) from the Inlet Tube of the HOUSING (5), using
a 3/4" open end wrench.
D. Turn the LOCK NUT (20) further clockwise onto the POP-
PET (15) Shaft with small fractions of a turn, using the Poppet
Tool and 1/4" open end wrench. Use the correct method given
in step 16 of the Reassembly Procedure to replace the SWIVEL
COUPLING after each adjustment, and again determine whether
slack is eliminated.
NOTE: Avoid tightening the LOCK NUT (20) any further than
is necessary to eliminate LEVER ARM (17) slack. It may be
necessary to repeat step 4D several times to arrive at the
correct setting.
CAUTION: Be careful to avoid over adjusting! If air ow
returns, replace the LOCK NUT and POPPET SEAT (14) with
new, and start over after rereading the above procedures.
5. Replace the DIAPHRAGM (4), FRONT COVERS (2/3), and
COVER RING (1), if removed, and pressurize the Regulator again
with a pure air source of 3,000 PSI (205 BAR). Determine the
range of adjustment by performing the following procedure:
A. Turn the ADJUSTMENT KNOB (33) completely out, counter
clockwise. A slight to moderate air ow should be present.
B. Turn the ADJUSTMENT KNOB completely in, clockwise, and
fully depress the Purge Button. This should initiate a slight air
ow.
NOTE: If air ow is greater or less than specied for each
adjustment, refer to the Trouble Shooting Section to deter-
mine possible cause and treatment.
6. Purge the Regulator of air, remove the In-Line Adjustment Tool
and connect the LP Hose directly onto the SWIVEL COUPLING
(12), as described in step 25 of the Reassembly Procedure.
7. Pressurize the Regulator again with a pure air source of 3,000
PSI (205 BAR). Return the ADJUSTMENT KNOB (33) to its mid
range position. Inhale lightly through the MOUTHPIECE (9) to
determine that air ows easily and smoothly, without any hesita-
tion or lag.
 Loading...