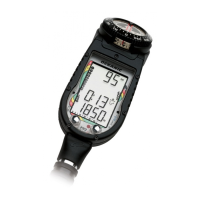
REGULATORS
DELTA 4 SECOND STAGE
© 2002 Design, 2005
PG-5
OCEANIC® Product Service Guide
Doc. 12-2803-r02 (10/3/10)
Fig. 6
Fig. 7
Fig. 8
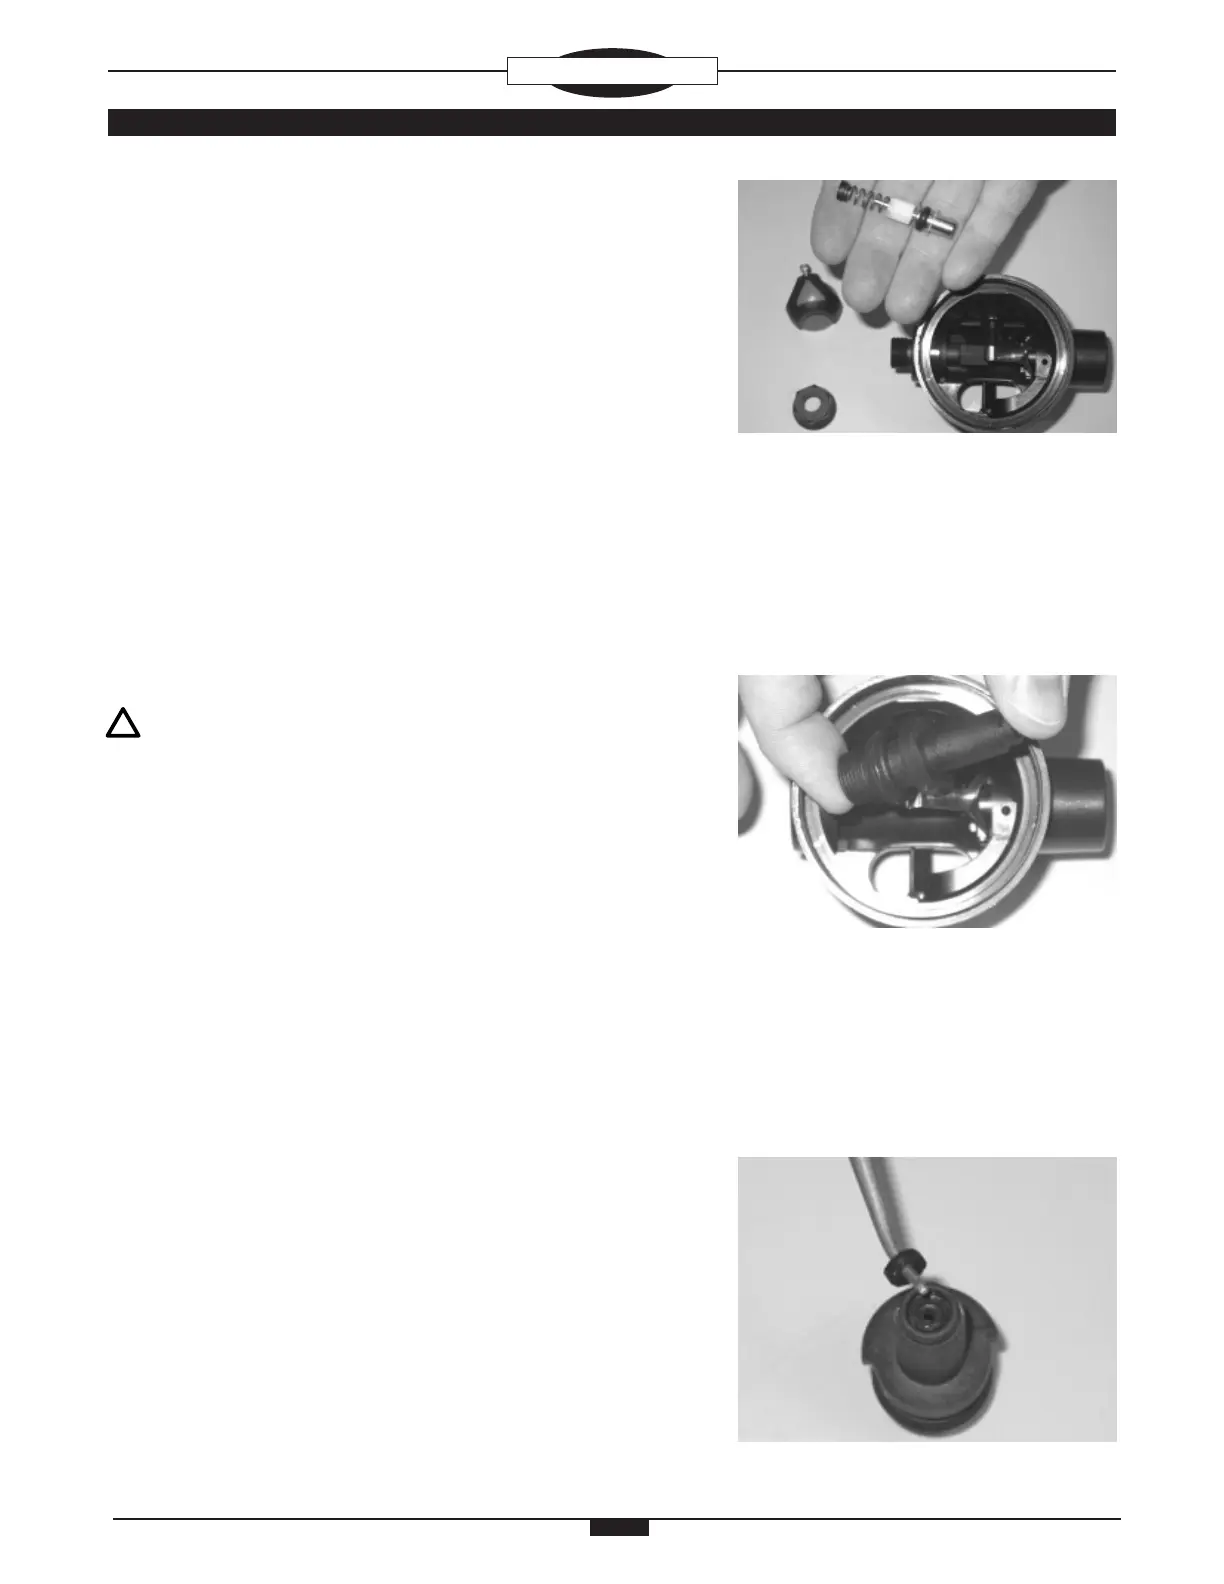
8. Turn the ADJUSTMENT KNOB (33) out completely until resistance
is felt. Remove the ADJUSTMENT KNOB SCREW (34) turning
it counter clockwise with a 3/32" hex key and slide the KNOB off
the ADJUSTMENT SHAFT (29).
9. Remove the PACKING NUT (32) by turning it counterclockwise
using a 5/8" open end wrench. Remove the THRUST WASHER
(31) from the ADJUSTMENT SHAFT (29).
10. Using the Poppet Tool, push the POPPET (15) inward in the
Inlet Tube of the HOUSING ASSEMBLY (5), which will push the
SPRING PAD (26), ADJUSTMENT SPRING (27), and ADJUST-
MENT SHAFT (29) with PISTON SPRING FOLLOWER (28)
through the outer end of the ADJUSTMENT TUBE (24) (Fig. 6).
If the SPRING PAD does not come out, gently tap the HOUSING
ASSEMBLY in your hand to remove it.
11. Remove the STEM O-RING (30) from the ADJUSTMENT SHAFT
(29) and examine it for signs of decay or distortion. Discard if
found.
NOTE: Removal of the PISTON SPRING FOLLOWER (28)
from the ADJUSTMENT SHAFT (29) should not be necessary
unless it is broken or needs to be replaced. In this case
remove it by holding the ADJUSTMENT SHAFT in one hand
and turning the PISTON SPRING FOLLOWER clockwise with
your other hand. Note the thread is left handed.
12. Examine the ADJUSTMENT SPRING (27) with a magnier and
compare with new to ensure correct tension and length. Discard
if found to be distorted, weakened, or corroded.
13. Using your nger, push the ADJUSTMENT TUBE( 24) into the
HOUSING ASSEMBLY (5) and remove it by tilting and lifting it out
(Fig. 7). The BALANCE SHAFT (21) will retract into the TUBE
during removal.
14. Remove the ADJUSTMENT TUBE O-RING (25) from the ADJUST-
MENT TUBE (24) and inspect it for any signs of decay. Discard
if found.
15. Remove the BALANCE SHAFT (21) by pushing it out of the
ADJUSTMENT TUBE (24) using a cotton swab. Examine the
SHAFT and compare with new to ensure that it is not bent or
distorted in any way. Discard if distortion is found. Remove the
SNAP WASHER (22) by gently inserting a small screwdriver
through one of the slots in the ADJUSTMENT TUBE. Examine
the SNAP WASHER for deterioration. Discard if found. Remove
the BALANCE SHAFT O-RING (23) (Fig. 8). Discard the O-RING
and DO NOT attempt to reuse it.