J
Jamie HernandezAug 17, 2025
What does Err 9.5 mean on OHAUS Laboratory Equipment?
- JJeanne VillanuevaAug 17, 2025
If your OHAUS Laboratory Equipment is displaying 'Err 9.5', the loadcell may not be working correctly.
What does Err 9.5 mean on OHAUS Laboratory Equipment?
If your OHAUS Laboratory Equipment is displaying 'Err 9.5', the loadcell may not be working correctly.
What does Err 53 mean on OHAUS Laboratory Equipment?
If your OHAUS Laboratory Equipment shows 'Err 53', it means there is an issue with the EEPROM.
Why does my OHAUS Laboratory Equipment show '--NO--' when taring?
The '--NO--' error on your OHAUS Laboratory Equipment indicates that the tare is out of range.
Why does my OHAUS Laboratory Equipment show '--NO--' when zeroing?
The '--NO--' error on your OHAUS Laboratory Equipment indicates that the zero is out of range.
What does 'LoW.rEF' mean on OHAUS Laboratory Equipment?
The 'LoW.rEF' error on your OHAUS Laboratory Equipment means that the reference weight is low, and this only applies in counting mode.
What does Err 8.1 mean on OHAUS Laboratory Equipment?
The 'Err 8.1' error on your OHAUS Laboratory Equipment indicates an over init zero range.
What does Err 8.2 mean on OHAUS Laboratory Equipment?
The 'Err 8.2' error on your OHAUS Laboratory Equipment indicates an under init zero range.
What does IDnr.Err mean on OHAUS Laboratory Equipment?
The 'IDnr.Err' error on your OHAUS Laboratory Equipment indicates an IDNR error.
What does PUSH.LFt mean on OHAUS Laboratory Equipment?
The 'PUSH.LFt' message on your OHAUS Laboratory Equipment indicates that you need to push the LFT button, specifically for PR.
What does 'No CAL' mean on OHAUS Laboratory Equipment?
The 'No CAL' error on your OHAUS Laboratory Equipment indicates a production calibration failure.
Details essential safety warnings and precautions for installation, operation, and maintenance.
Steps to ensure the balance is level using the built-in level bubble and adjustable feet.
Procedure for connecting the power adapter and allowing the balance to acclimate.
Explains the necessity and process of calibrating the balance upon installation or relocation.
Explains basic operations like weighing, taring, and zeroing the balance.
Instructions for using the balance to determine the weight of items in the selected unit.
Procedure for using the balance to count samples of uniform weight.
Guide on displaying an object's weight as a percentage of a reference sample.
Explains how to navigate through the balance's menu system to access settings.
Step-by-step guide for modifying various settings within the menu.
Overview of the three available calibration methods: Internal, Span, and Linearity.
Instructions for performing internal calibration using the balance's built-in mass.
Describes how to fine-tune calibration results using adjustment divisions.
Procedure for performing span calibration using two calibration points.
Steps for conducting linearity calibration using three calibration points.
Menu section for customizing various balance functionalities and parameters.
Sets the balance for Legal for Trade status, affecting other menu options.
Configures serial communication settings for data output.
Customizes settings related to data printing and transfer.
Resets all menu settings to their original factory default parameters.
Prepares the balance for verification and sealing according to trade regulations.
Details the procedure for verification by an authorized official or service agent.
Describes the process of sealing the balance to prevent tampering with settings.
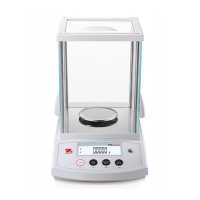
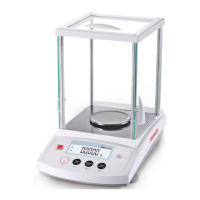
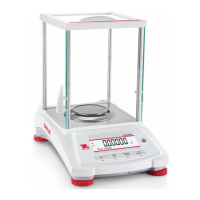
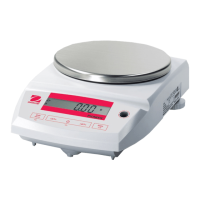
Lists common symptoms, possible causes, and remedies for balance issues.
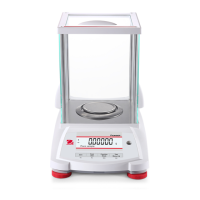
| Capacity | 4200 g |
|---|---|
| Readability | 0.01 g |
| Calibration | External |
| Power Supply | AC Adapter (Included) |
| Linearity | ±0.02 g |
| Repeatability | 0.01 g |
| Interface | RS232 |
| Display | LCD |
| Weighing Units | g, oz |
| Operating Temperature Range | 10°C to 40°C |