The sensor block encloses the
actual detector sensor itself. A
sensor block can only be associated
with a defined detector. A guide pin
ensures that the sensor block goes
together correctly
106
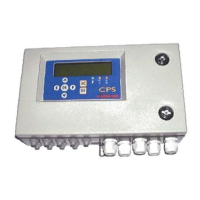
Figure 16: The sensor block (the
black component)
Follow the procedure below :
Inhibit any alarm signals on the controller.
Switch off the supply to the detector.
For a catalytic sensor, first remove the PCB connector.
Loosen the locking screw (a) on the detector head and unscrew the head.
Withdraw the (catalytic) detector head or the defective sensor block (OLCT
100).
Replace the worn-out sensor with an identical part.
Screw the detector head back on again and tighten the locking screws.
Re-establish the supply to the detector from the controller.
Adjust the settings for the new detector (see Chapter 4 | Calibration, page
27).
Close the detector cover.
Reset any alarm signals on the controller.
 Loading...