IMPORTANT : This work is reserved for authorized and qualified personnel
since it could possibly jeopardize the safety of detection.
4
4
.
.
C
C
A
A
R
R
R
R
I
I
A
A
G
G
E
E
O
O
F
F
T
T
H
H
E
E
T
T
X
X
2
2
0
0
0
0
0
0
(
(
+
+
)
)
/
/
O
O
X
X
2
2
0
0
0
0
0
0
(
(
+
+
)
)
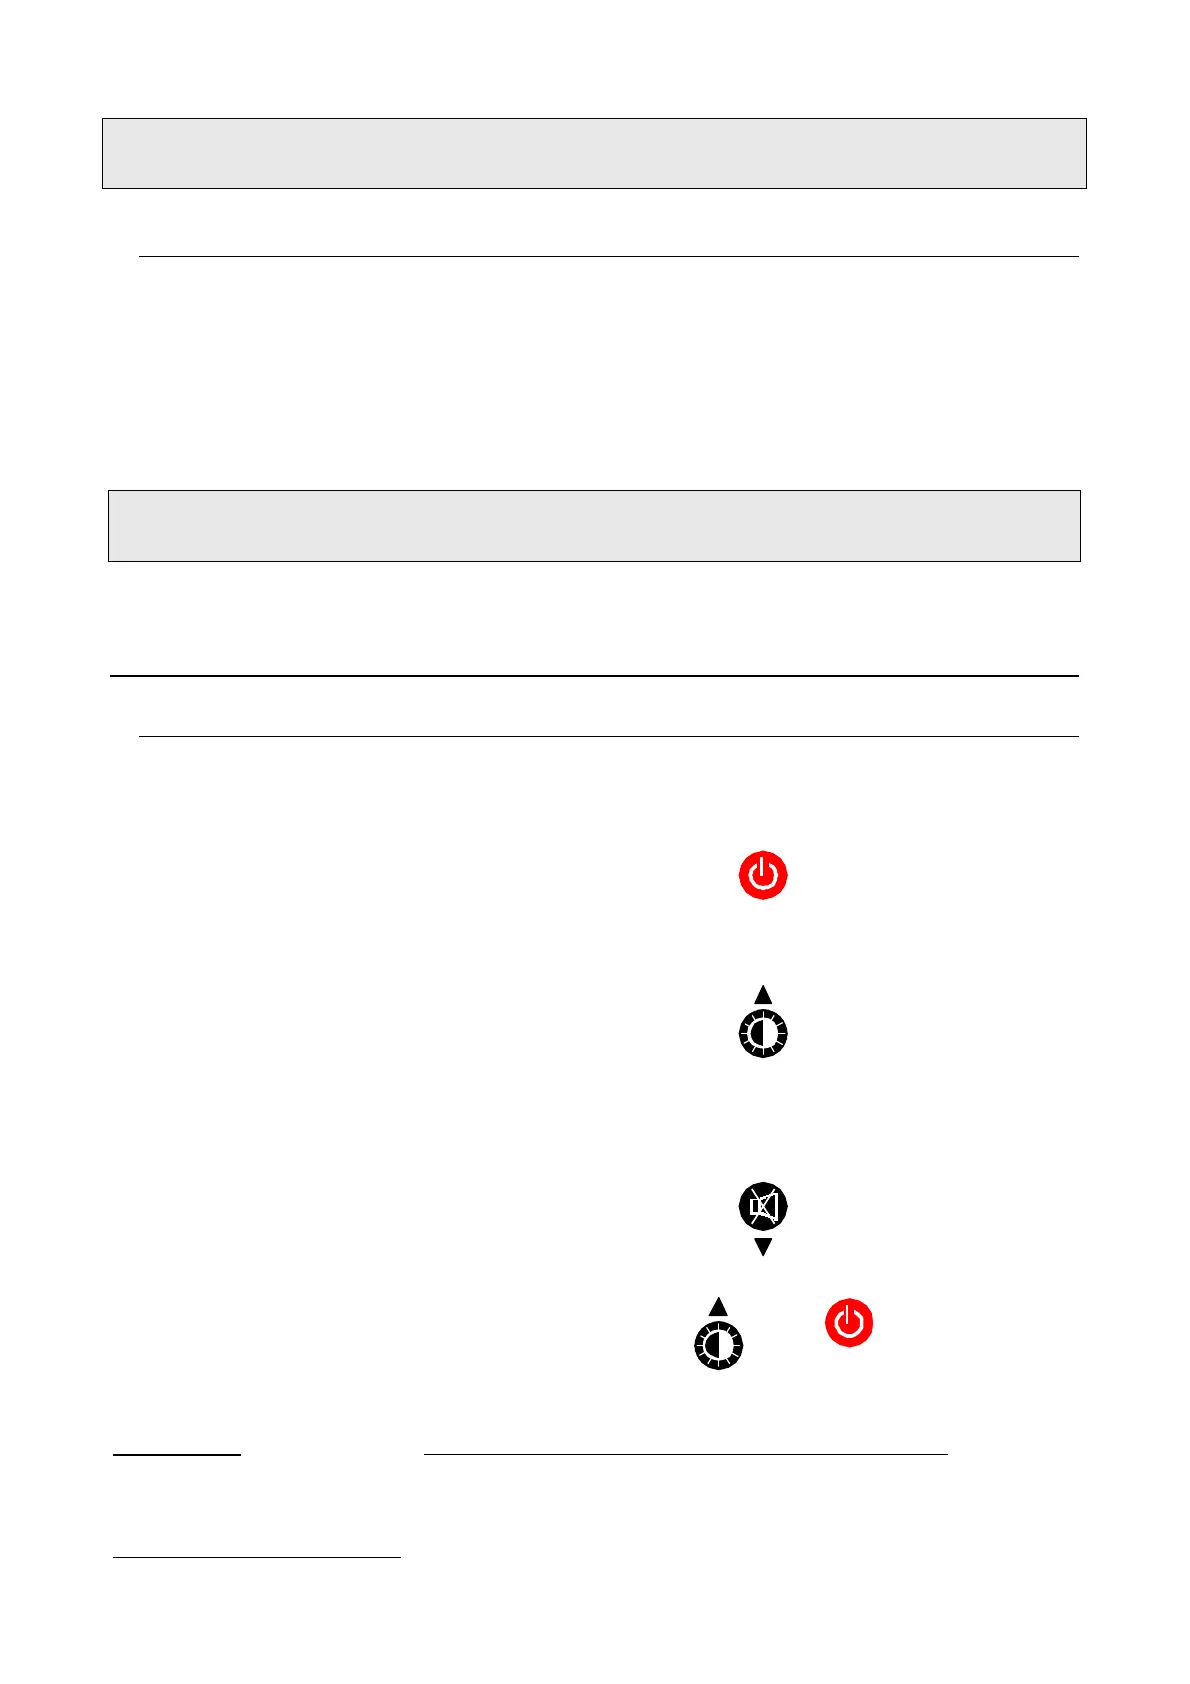
• Clip (fig 1.rep2)
The user can get on with his work while leaving the instrument to monitor the
surrounding atmosphere: the TX/OX2000(+) is attached to his clothing using the clip
provided for the purpose
Attention : in order to be able to take readings correctly, the sensor should never
be obstructed.
I
I
I
I
.
.
U
U
S
S
E
E
1
1
.
.
O
O
P
P
E
E
R
R
A
A
T
T
I
I
N
N
G
G
T
T
H
H
E
E
I
I
N
N
S
S
T
T
R
R
U
U
M
M
E
E
N
N
T
T
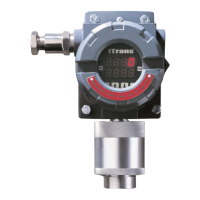
This is done using the touch areas located on the front panel of the TX/OX2000(+)
(fig1. rep9).
• Switching the instrument on or off
• Enter
• Illuminating the liquid crystal display
• Scrolling the parameters and menus
• “down ” key
• Clearance of the gas alarm
• “ up ” key
• "yes" or "no" for confirmation.
• use of the programming and calibration menus and
• Reinitialization of the dry batteries "controller"
Comment: an interval
1
of 3 minutes minimum and 7 minutes maximum is allowed
between two depressions of the keys, otherwise the instrument will "restart" in
"normal" mode
1
Configuration of the interval depends on detected gas