23.3.2005 Rev. 1.0
Installation
20
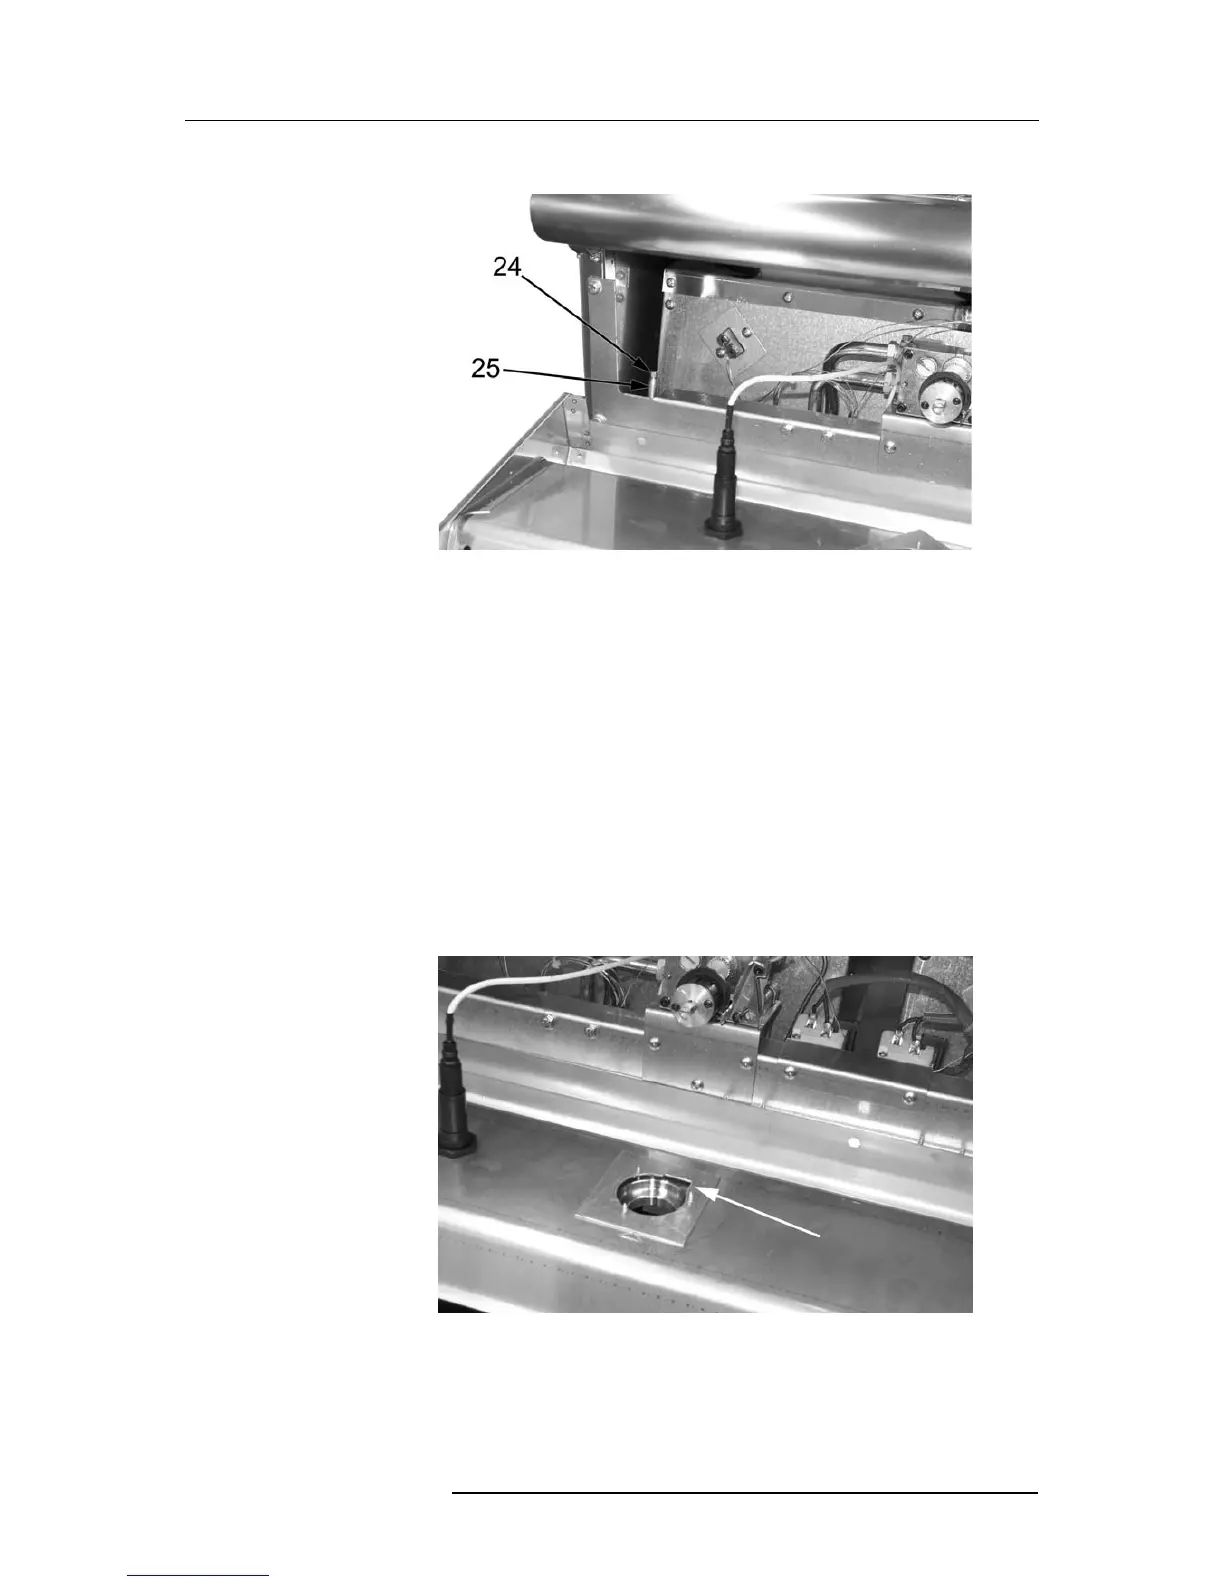
• unscrew the screw (item 24 in Fig. 10) on the pressure port (item 25);
Fig. 10
24. Sealing screw
25. Pressure port
• place the pressure gauge;
• switch on the appliance as discussed in the user’s manual;
• check supply pressure;
• if the measured pressure value is within the range shown in "Table 1: gas catego-
ries and pressure values" further above, the appliance can be started up. Other-
wise, contact the gas utility company
• remove the pressure gauge;
• replace the sealing screw (item 24 in Fig. 10);
• check for leaks (see chapter "Connecting gas supply" further above);
• replace the control panel and make sure the guide collar is in the position shown
in Fig. 11;
Fig. 11
 Loading...