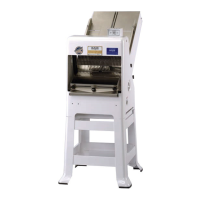
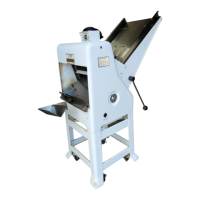
732-R FRONT LOAD SLICER
0732S20024 6-4
Replacing The Blade Frames (Continued)
Replacement of the blade frames is done by reversing the removal procedures. Ensure
that the feet of the blade frames rest snuggly on the swing shafts and that you have
included the bolts and lock washers.
Changing The Blades
WARNING
ALWAYS DISCONNECT THE SLICER FROM THE POWER SUPPLY BEFORE
ATTEMPTING ANY TYPE OF MAINTENANCE TASK.
WARNING
BLADES ARE EXTREMELY SHARP ALWAYS
HANDLE WITH CARE.
NOTE
WHEN REPLACING ALL THE BLADES, ALWAYS REMOVE AND REPLACE
ONE BLADE AT A TIME. NEVER
REMOVE ALL THE BLADES AT ONCE AND
THEN ATTEMPT TO REPLACE THEM ALL AT ONCE.
CAUTION
NEVER
PUT BLADE FRAMES IN THE SLICER WITHOUT KNIVES.
First remove the upper blade frame from the machine, see “Removing the Blade
Frames” above. You may use the special knife tools, shown in the illustrations on the
next pages, or use a common set of pliers to decrease the tension on the blade. By
lifting up on the tool as shown below, tension will be reduced on the blade so that it can
be carefully removed. Remember you do not need to remove the lower blade frame to
remove blades.
Rev. 2/15/05
Continued


 To Next Page