System Menu
6-64 ADVANCED OPERATION GUIDE
Print Density
Adjust print density. Adjustment can be made in 5 levels.
Use the procedure below to adjust the print density.
1
Press the System Menu key.
2
Press [T], [Adjustment/Maintenance] and [Change] of Print Density.
3
Press [1] - [5]
(Lighter-Darker) to
adjust density.
4
Press [OK].
Send/Box Density Adjust
Adjust scan density when sending or storing the data in Document Box.
Adjustment can be made in 7 levels both in auto and manual density
modes.
1
Press the System Menu key.
2
Press [T], [Adjustment/Maintenance] and [Next] of Send/Box Density
Adjust..
3
Press [Change] of Auto for auto density mode or of Manual for manual
density mode.
4
Press [-3] - [+3]
(Lighter-Darker) to
adjust density.
5
Press [OK].
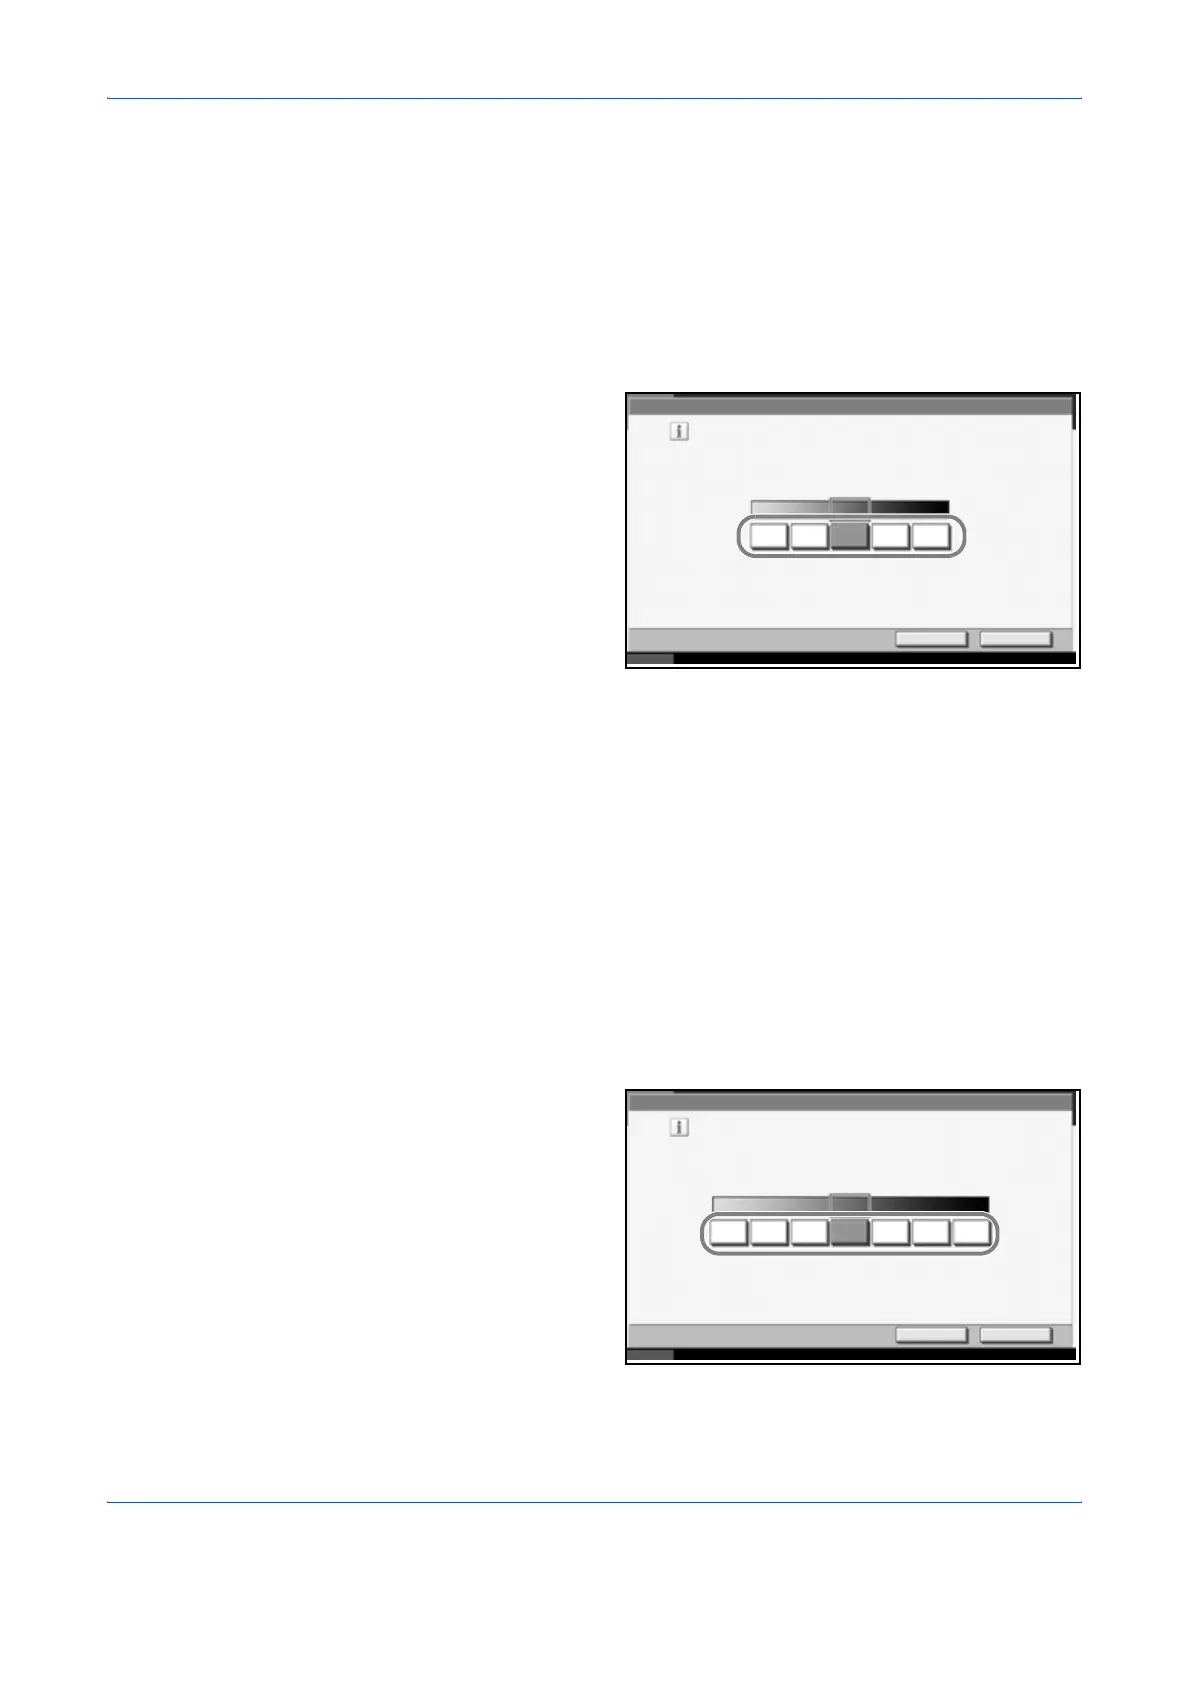
Adjustment/Maintenance - Print Density
Cancel OK
Status 10/10/2007 10:10
Adjust density for all printing jobs,
including copies.
Lighter Darker
1 3245
Adjustment /Maintenance - Auto
Adjust the default transmission/stored document density
for automatic mode.
Cancel OK
Status 10/10/2007 10:10
Lighter
-3
Normal Darker
-2 -1 +10 +3+2