13
BX51WI
Fig. 12
Fig. 13
Fig. 14
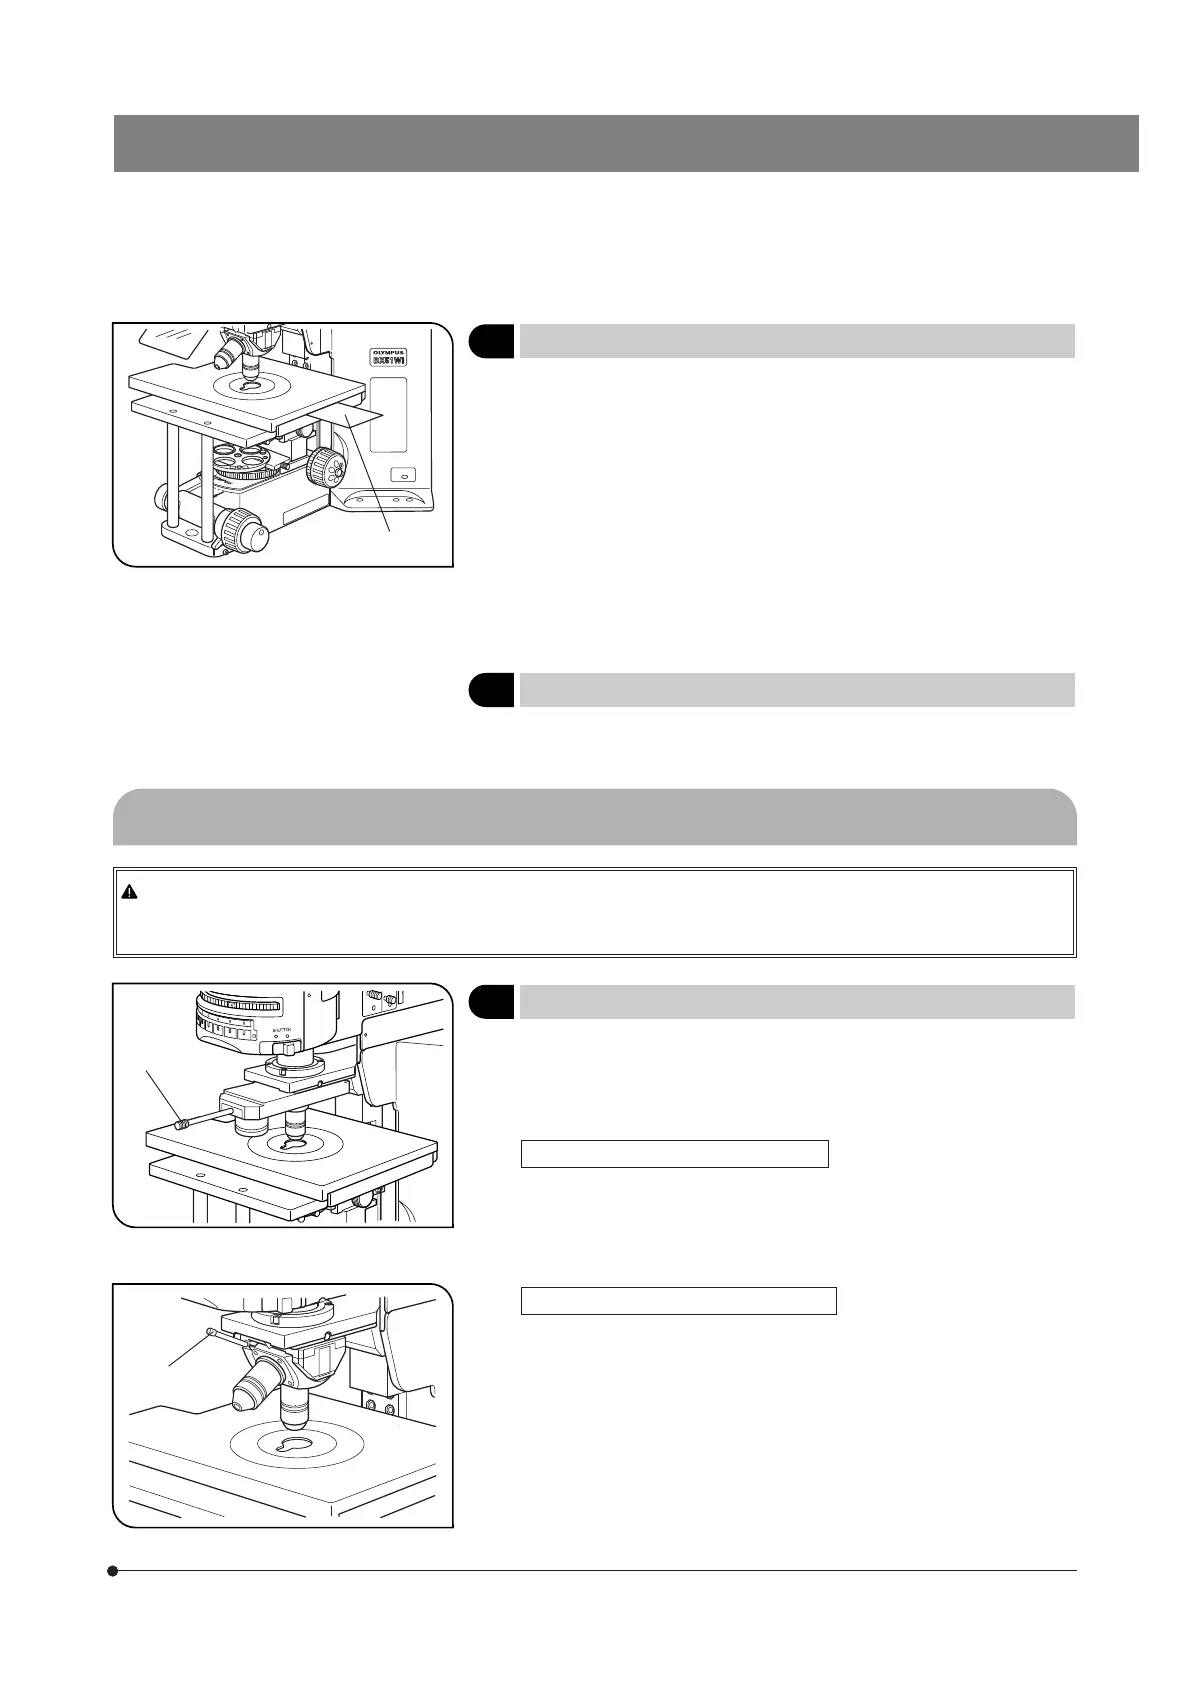
5 Using the Light Shield Sheet
(Fig. 12)
# The light shield sheet provided with the reflected light fluorescence
illuminator is too small to be used with the BX51WI. Always use the
light shield sheet provided with the BX51WI microscope frame.
}During fluorescence observation using a low-magnification objective, the
fluorescence image may be deteriorated due to light reflected from the
condenser or the surroundings. In this case, use the light shield sheet.
1. Lower the condenser to the lower limit position using the condenser
height adjustment knob.
2. Insert the light shied sheet all the way into the gap between the upper
and lower stages on the side of the stage (IX-SVL2).
# If the condenser is lowered insufficiently, the sheet cannot be in-
serted into the normal position and the light shielding effect cannot
be obtained.
6 Lowering the Stage Height
}The stage can be lowered by 50 mm by removing the condenser holder.
See page 42 for details.
4-4 Revolving Nosepiece
If the petri dish in use is filled with liquid, it may splash when the objective is switched. As such liquids are sometimes
toxic, be sure to move the revolving nosepiece away from the petri dish before switching the objective.
Even after the revolving nosepiece has been moved, re-focusing is easy by making use of the pre-focusing lever (page 11).
1
Switching the Objectives (U-SLRE, WI-SRE3)
(Figs. 13 & 14)
}The clicking force of the revolving nosepiece has been set weak in order
to reduce vibrations during objective switching.
To reproduce the correct click position, switch the objectives gently by
operating the lever.
Sliding Revolving Nosepiece U-SLRE
Switch the objective by holding the objective switching lever @ and
gently moving it back and forth.
}By attaching the objective switching lever @ on the opposite side, a UIS
objective can be positioned on the front side of the microscope.
Sliding Revolving Nosepiece WI-SRE3
Switch objectives by gently puling up or pushing down the swing
lever @.
Pull up or push down the swing lever gently until it hits the revolving
nosepiece’s stopper.
@
@
@