29
1
Date/time setting
1
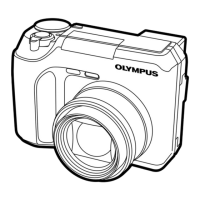
Set the Mode dial to
AUTO, then press the
Power switch to turn
on the camera.
● Because the lens
moves out, be sure to
take off the lens cap
beforehand (P. 28).
2
Press to display
Menu (P. 92).
● The monitor turns on
automatically.
3
Press Ñ on the Arrow
pad to select . The
screen
appears.
It is possible to set the date/time of the built-in clock. Since the date/time is put on
recorded pictures, be sure to set it correctly.
4
When is selected in green on the screen,
press Ññ to select the date format.
● Select any one of the following formats:
DMY (Day/Month/Year)
MDY (Month/Day/Year)
YMD (Year/Month/Day)
● This procedure is for when the date and time
settings are set to Y-M-D.
5
Press í to move to
the year (Y) setting.
screen
 Loading...