Direct printing (PictBridge)
142
8
Printing pictures
Use the USB cable provided to connect the camera to a PictBridge-compatible printer.
1 Set the camera’s [USB] mode to [PRINT].
g“USB” (P. 134)
• Have the card containing the pictures you want to print selected.
2 Turn the printer on, and plug the
USB cable into the printer’s USB
port.
• For details of how to turn the printer on
and the position of the USB port, refer to
the printer’s instruction manual.
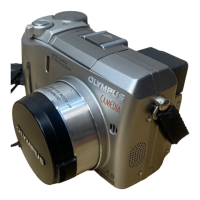
3 Plug the USB cable into the
camera’s USB connector.
4 Turn the camera on.
• [ONE MOMENT] is displayed and the camera and printer are connected.
The [PRINT MODE SELECT] screen is displayed on the monitor. Make the
print settings on the camera’s monitor. gGo to “Printing pictures” (P. 143)
Connecting the camera to a printer
Note
• When the [USB] mode is set to [PC], the [PRINT MODE SELECT] screen is not
displayed. Disconnect the USB cable, and repeat the procedure from Step 1.
Mode dial
USB connector
Connector cover
 Loading...