BEFORE
USE
D
Operait,",on!ii:===~
I
A$
iiJ
microscope
is;
a precision
innrument,
always handle
it
with
the
care
it
deserves
and
avoid
abrupt
motions
and
5hocb.
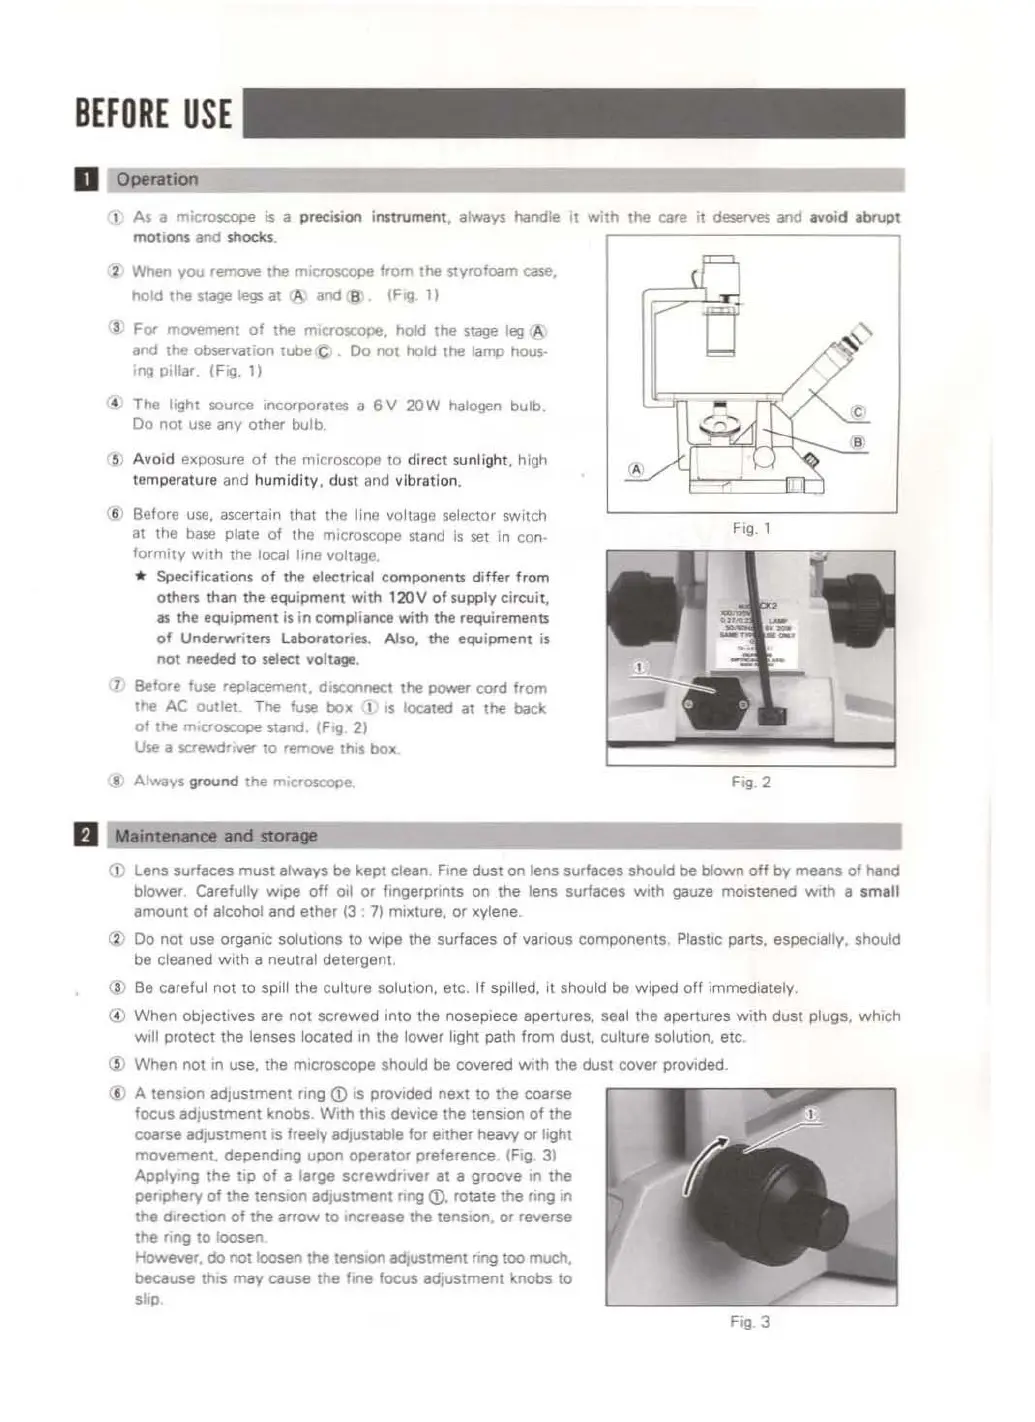
2
When
you
retnO\le
the
mICroscope
Irom
the
styrofOilm
CCI5f!,
hold
the
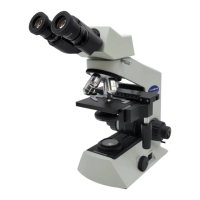
stage legs at A and B
(Fill
11
3
For
mcwemefll
of
the
microscope,
hold
the
stage
leg
A
and
lhe
observation
lube
C
Do
nol
hold
the
lamp
hous-
ing pillar. (Fig.
11
4 The light source incorPOriltflS a 6 V
20W
halogen
bulb.
00
not use
any
olher bulb.
5 Avoid expO$Ure
of
the
microscope to
dirK!
sunlight, high
temperature
and
humidity,
dUSI
and
vibration.
00
Before use, ascertain thaI
the
line voltage selector switch
at
the
base
plate
of
the
microscope Stand
is
SIlt
in
con-
formity
wIth
the
local
line
Yoltage.
..
Specifications
of
the
eleetrical
components
differ
from
others
than
the
equipment
with 12QV
of
supply circuit,
aI
the
eq.,ipment
is
in compliance with the reQUirements
of
Underwriull
Labor"o,i~.
Also,
the
equipment
is
not
needed
to
$~ect
volt
•.
7 Before fuse
replacement,
dIsconnect
the
pawer
cord
from
the
AC
outlet.
The
fuse
boK
1
IS
Iocilted
at
the
back
of
the
micrOSCOPe
stand.
IF'9
21
Use
a scre.vdnYllJ 10 remove this
boK
•
Always
Qfound
the
micrOSCOPe.
A
Fig 1
Fig 2
:s'
c
•
II
Maintenance and
sto~
CD
lens
surfaces
must
ajways
be
kept clean F,ne dust on lens surfaces should
be
blOWll
off
by
means
of
Mild
blower Carefully Wipe
off
011
or flngerpnnts on the lens surfaces
with
gauze ffiOlstened WIth a
small
amount
of
alcohol and ether (3 7) m1lrture, or xylene
Do
not
use organiC solutions
to
wipe the surfaces of vanous components Plastic parts. especlllily. should
be cleaned With a neutral detergent
@ Be careful not to spill the culture solution, etc.
If
spilled. It should be Wiped
off
immediately.
®
When
objectives are not
screwed
Into the nosepiece apertures. seal the apertures With dust plugs, which
Will
protect
the
lenses located In the
lower
light path from dust. culture solution, etc.
@
When
not
In
use, the microscope should be covered WIth the dust cover provided.
@ A tenSion
adjustment
ring
CD
IS
provided neKt
to
the coarse
focus
adjustment
knobs
With
thiS deVIce
the
tenSion
of
the
coarse adjustment IS freely adjustable
lor
elther heavy
Of
IlQht
movement.
depending
upon
operator
prelerence
(Fig 3)
Applying
the
tiP
of
a
large
screwdriver
at a
groove
In
the
penphery
01
the
tenSIOn
adjustment
nng
CD.
rotate the flng
In
the
d,rectlon
of
the
arrow
to
Increase
the
tensIOn.
Of
feverse
the
flng
to
loosen,
However, do
not
loosen the lenslOfl adJustment nng
tOO
much.
because thiS
may
cause
the
line
locus
adjustment knobs
to
slip.
Fig 3