23
1
Setting Time/Date
1
M
14
D
2008
Y
14
D
1
M
2008
Y
2008
Y
1
M
14
D
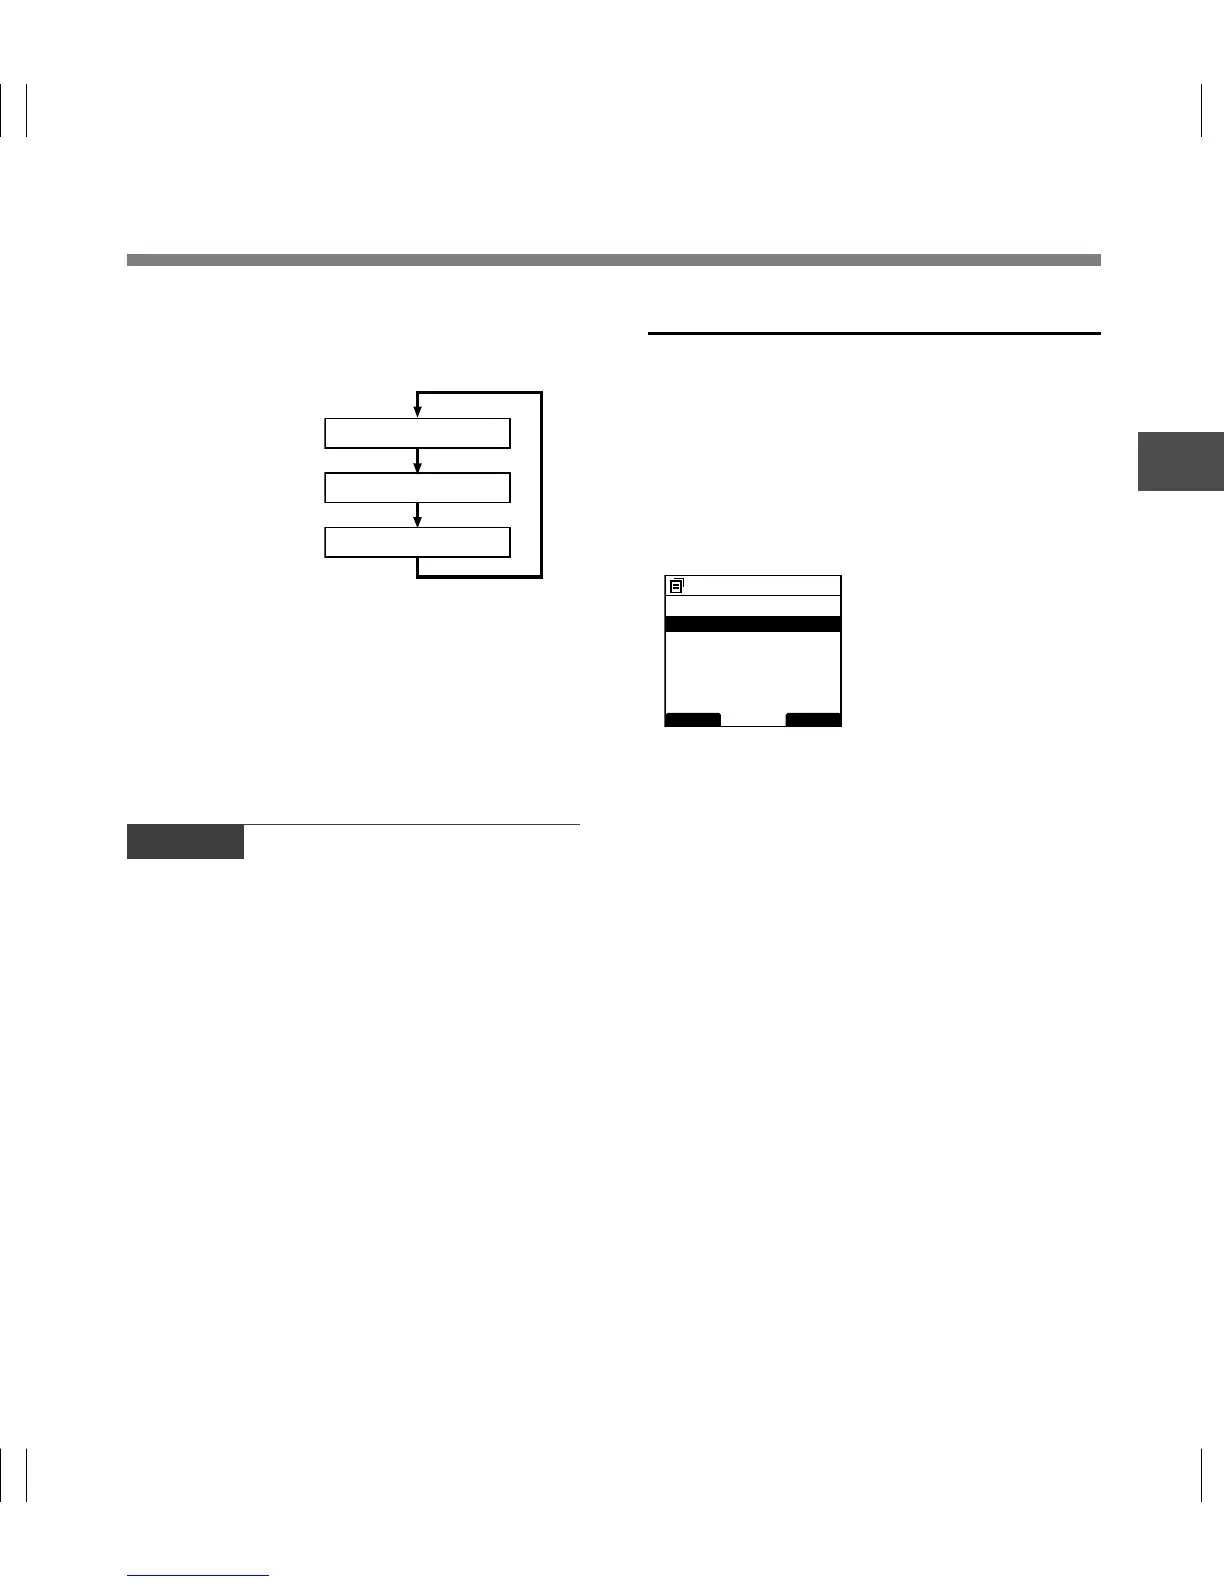
• You can choose the order of the year, month,
day by pressing the F2(D/M/Y or Y/M/D or M/
D/Y)* button while setting them.
Example: January 14, 2008
(Initial setting)
*The display will vary depending on the status of the
settings.
3
Press the OK/MENU button to
complete the setup screen.
The clock will start from the set date and time.
Press the OK/MENU button according to the time
signal.
BACK EXIT
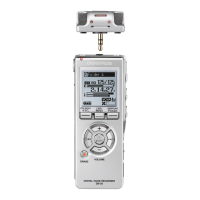
Device Menu
USB Class
12
Time & Date
Power Save
Reset Settings
Card Info.
System Info.
Changing the Time/Date
When the recorder’s POWER switch is turned
ON the [Time & Date] will be displayed for two
seconds. If the [Time & Date] is not correct,
set it using the procedure below.
1
Press the + or
–
button in the menu
screen, and select the [Time & Date].
See P.36, 38 regarding the menu.
2
Press the OK/MENU or 9 button.
The Time/Date screen appears. The hour
indicator flashes, indicating the start of the Time/
Date setup process.The following steps are the
same as Step 1 through Step 3 of “Setting Time/
Date (Time & Date)” (☞ P.22).
3
Press F1(BACK) or 0 button to return
to the [Main Menu] screen, then press
F1(BACK) or 0 button again to exit
the setting.
Setting Time/Date (Time & Date)
Notes
• If the slide switch is moved to a position other than
STOP while setting the Time/Date, the Time/Date
currently being set (un-finalized Time/Date) will be
cancelled and it will revert to the previously set Time/
Date.
• You can set the time and date from your PC using DSS
Player software (☞ P.55).