EasyManuals Logo

Olympus E-PL2 User Manual

Olympus E-PL2
124 pages
To Next Page IconTo Next Page
To Previous Page IconTo Previous Page
Page #5 background imageLoading...
Page #5 background image
5
EN
Preparations for shooting
Basic guide
1
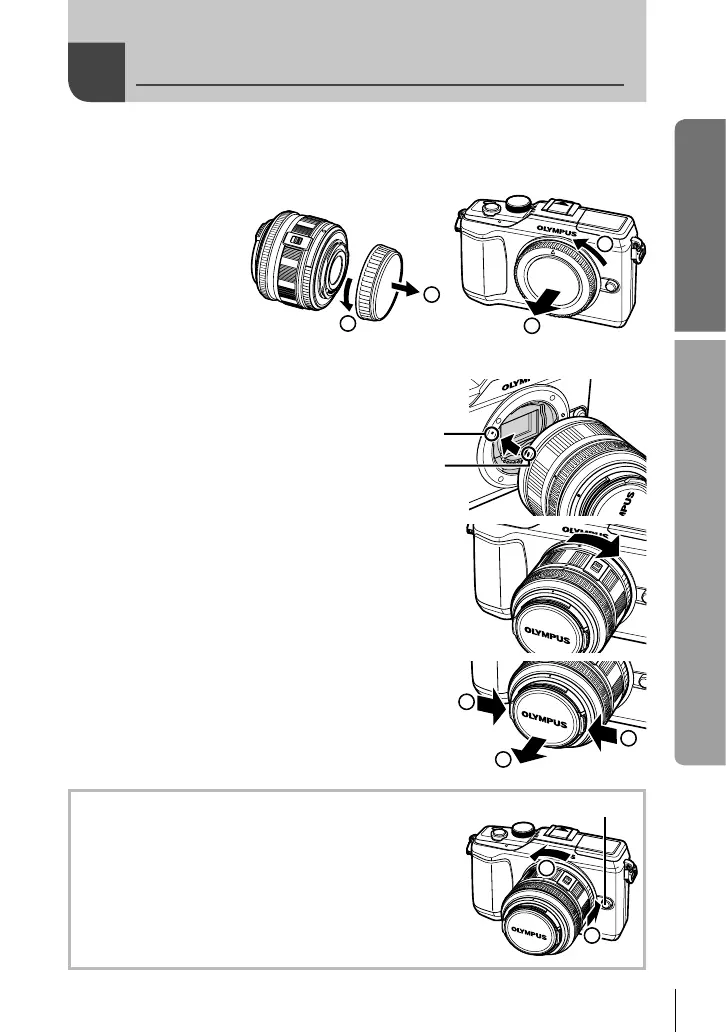
Remove the body cap from the camera and the rear cap from
the lens.
1
2
1
2
2
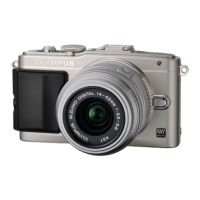
Attach a lens to the camera.
# Caution
Make sure the camera is turned off.
Do not press the lens release button.
Do not touch internal portions of the
camera.
Alignment mark
Lens
attachment
mark
Align the lens attachment mark (red) on the
camera with the alignment mark (red) on the lens,
then insert the lens into the camera’s body.
Rotate the lens in the direction indicated by the
arrow until you hear it click.
3
Remove the lens cap.
2
1
1
Removing the lens from the camera
While pressing the lens release button, rotate the lens
in the direction of the arrow.
g “Interchangeable lenses” (P. 98)
2
1
Lens release button
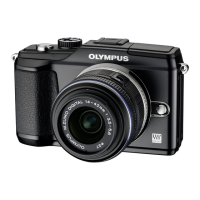
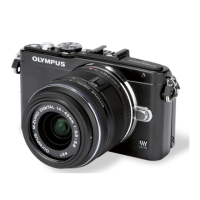
Attaching a lens to the camera

Table of Contents

Other manuals for Olympus E-PL2

Questions and Answers:

Question and Answer IconNeed help?

Do you have a question about the Olympus E-PL2 and is the answer not in the manual?

Olympus E-PL2 Specifications

General IconGeneral
Sensor TypeLive MOS
Sensor Size17.3 x 13.0 mm
Effective Pixels12.3 megapixels
Image ProcessorTruePic V
Screen Size3.0 inches
Screen Resolution460, 000 dots
Video Resolution1280 x 720 (HD)
Storage TypesSD/SDHC/SDXC
Camera TypeMirrorless
Image StabilizationSensor-shift
Continuous Shooting3 fps
Lens MountMicro Four Thirds
Autofocus SystemContrast-detect AF
Battery TypeBLS-5
Shutter Speed60 - 1/4000 sec

Related product manuals