88
Chapter 5 Operation
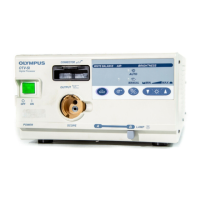
VIDEO SYSTEM OTV-SI
• The adjusted exposure level is retained when the video
system is turned OFF and turned ON again.
Iris
Two modes are available by navigating through the menu using the remote
control switches or the keyboard (optional).
Using the menu
1. If the video monitor does not display the menu, press the remote control
switch for execution or for selection, the “F1”, “Enter”, “ ”, “ ”, “” or “”
key on the keyboard to display the menu.
2. Press the remote control switch for selection, the “” or “” key on the
keyboard and select “NEXT” (see Figure 5.6 on page 57).
Press the “ ” or “ ” switch on the front panel or the remote
control switch for “BRI. ” or “BRI. ” to display the set
brightness level.
BRIGHT LEVEL [+4]
Pressing the “ ” switch or the remote control switch for “BRI. ”
again increases the displayed value, showing:
BRIGHT LEVEL [+5]
Pressing the “ ” switch or the remote control switch for “BRI. ”
again decreases the displayed value, showing:
BRIGHT LEVEL [+3]
The figure inside the brackets is variable, depending on the
brightness level.
CENTER : The exposure area limits the center screen on the
video monitor.
FULL : The exposure area occupies the full screen on the
video monitor.
 Loading...