Direct printing (PictBridge)
121
8
Printing pictures
4 Remove the USB cable from the
camera.
• The camera turns off.
5 Remove the USB cable from the
printer.
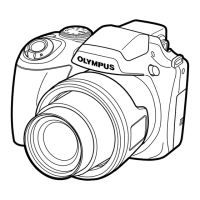
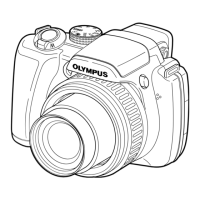
Use the provided USB cable to connect the camera to a PictBridge-compatible
printer.
Try printing one picture with the most basic printing method of [CUSTOM PRINT].
The selected picture is printed using the standard settings of your printer. The date
and file name are not printed.
1
Connect one end of the provided
USB cable into the camera’s
multi-connector and the other end
into the printer’s USB connector.
• The camera turns on automatically.
• The monitor turns on and the selection
screen for the USB connection is
displayed.
• For details of how to turn the printer on
and the position of the USB port, refer to
the printer’s instruction manual.
TIPS
• You can use [EASY PRINT] even when the camera is turned off or in shooting
mode. With the camera turned off or in shooting mode, connect the USB cable.
The selection screen for the USB connection is displayed. Select [EASY
PRINT]. g“Printing pictures (CUSTOM PRINT)” Step 2 (P. 122), “Printing
pictures (EASY PRINT)” Step 3 (P. 120)
Printing pictures (CUSTOM PRINT)
Multi-connector
 Loading...