To individually select and erase images
[Sel. image]
i" Use AV to select [Sel. Image], and press the
C) button.
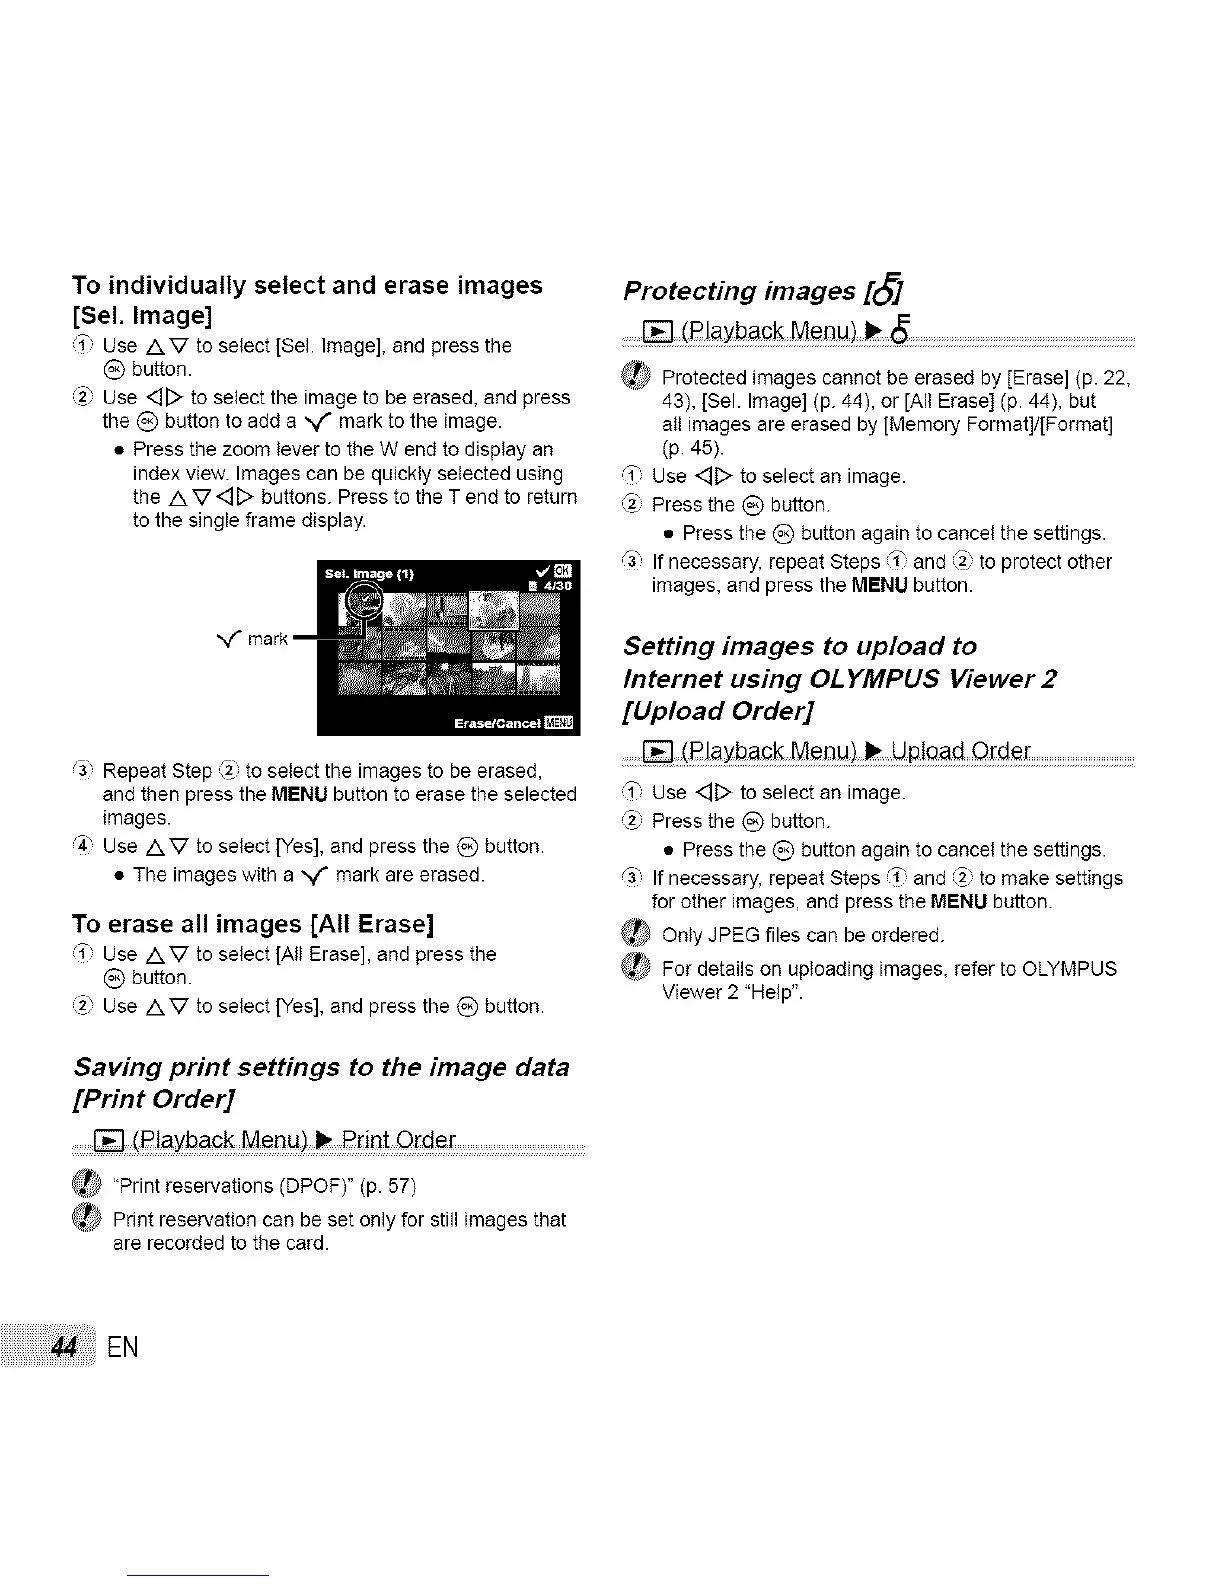
2_ Use <_[::>to select the image to be erased, and press
the _) button to add a "_f mark to the image.
• Press the zoom lever to the W end to display an
index view. Images can be quickly selected using
the A V<_[> buttons. Press to the T end to return
to the single frame display.
,,f
Repeat Step _) to select the images to be erased,
and then press the MENU button to erase the selected
images.
4" Use AV to select [Yes], and press the _) button.
• The images with a ",,,f mark are erased.
To erase all images [All Erase]
i" Use AV to select [All Erase], and press the
C) button.
(2_Use AV to select [Yes], and press the _) button.
Saving print settings to the image data
[Print Order]
...... (R!ayback Menu) _ Bdnt Orde[ .................................................
_) 'Print reservations(DPOF)"(p.57)
_ Printreservationcan beset only for stillimagesthat
ere recordedtothecard.
Protecting images [_]
......[] (Rlayback Menu).......................................................................................
_ Protected images cannot be erased by [Erase] (p. 22,
43), [Sel. Image] (p. 44), or rAIl Erase] (p. 44), but
all images are erased by [Memory Format]/[Format]
(p. 45).
,_1"Use <_D to select an image.
Press the (_) button.
• Press the _) button again to cancel the settings.
_3, If necessary, repeat Steps f" end 2" to protect other
images, and press the MENU button.
Setting images to upload to
Internet using OLYMPUS Viewer 2
[Upload Order]
........[]:(R!ayback Menu) .......................................
,_" use <::]D to select an image,
Press the Q button.
• Press the _) button again to cancel the settings,
G, If necessary, repeat Steps _" and (_) to make settings
for other images, and press the MENU button.
_ Only JPEG files can be ordered.
For details on upbading images, refer to OLYMPUS
Viewer 2 "Help",
EN