49
13.3 Replacement of the non-return valves
Replacement of the non-return valves procedure:
1. Disconnect the adsorption dryer from the compressed air system and the electrical
power.
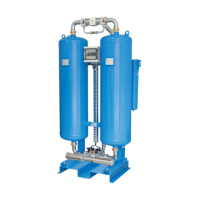
2. Make certain that the adsorption dryer is depressurised. You can check this by
inspecting the pressure indicators at the top of the adsorption dryer. Picture (13.12)
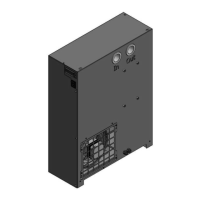
3. Unscrew and pull out the back panel. Picture (13.13)
4. Unscrew the nuts at the top of the adsorption dryer. Picture (13.14)
5. Pull the block connection hose out and remove the upper block.
6. Place the block on a horizontal surface bottom up and clean the bottom surface.
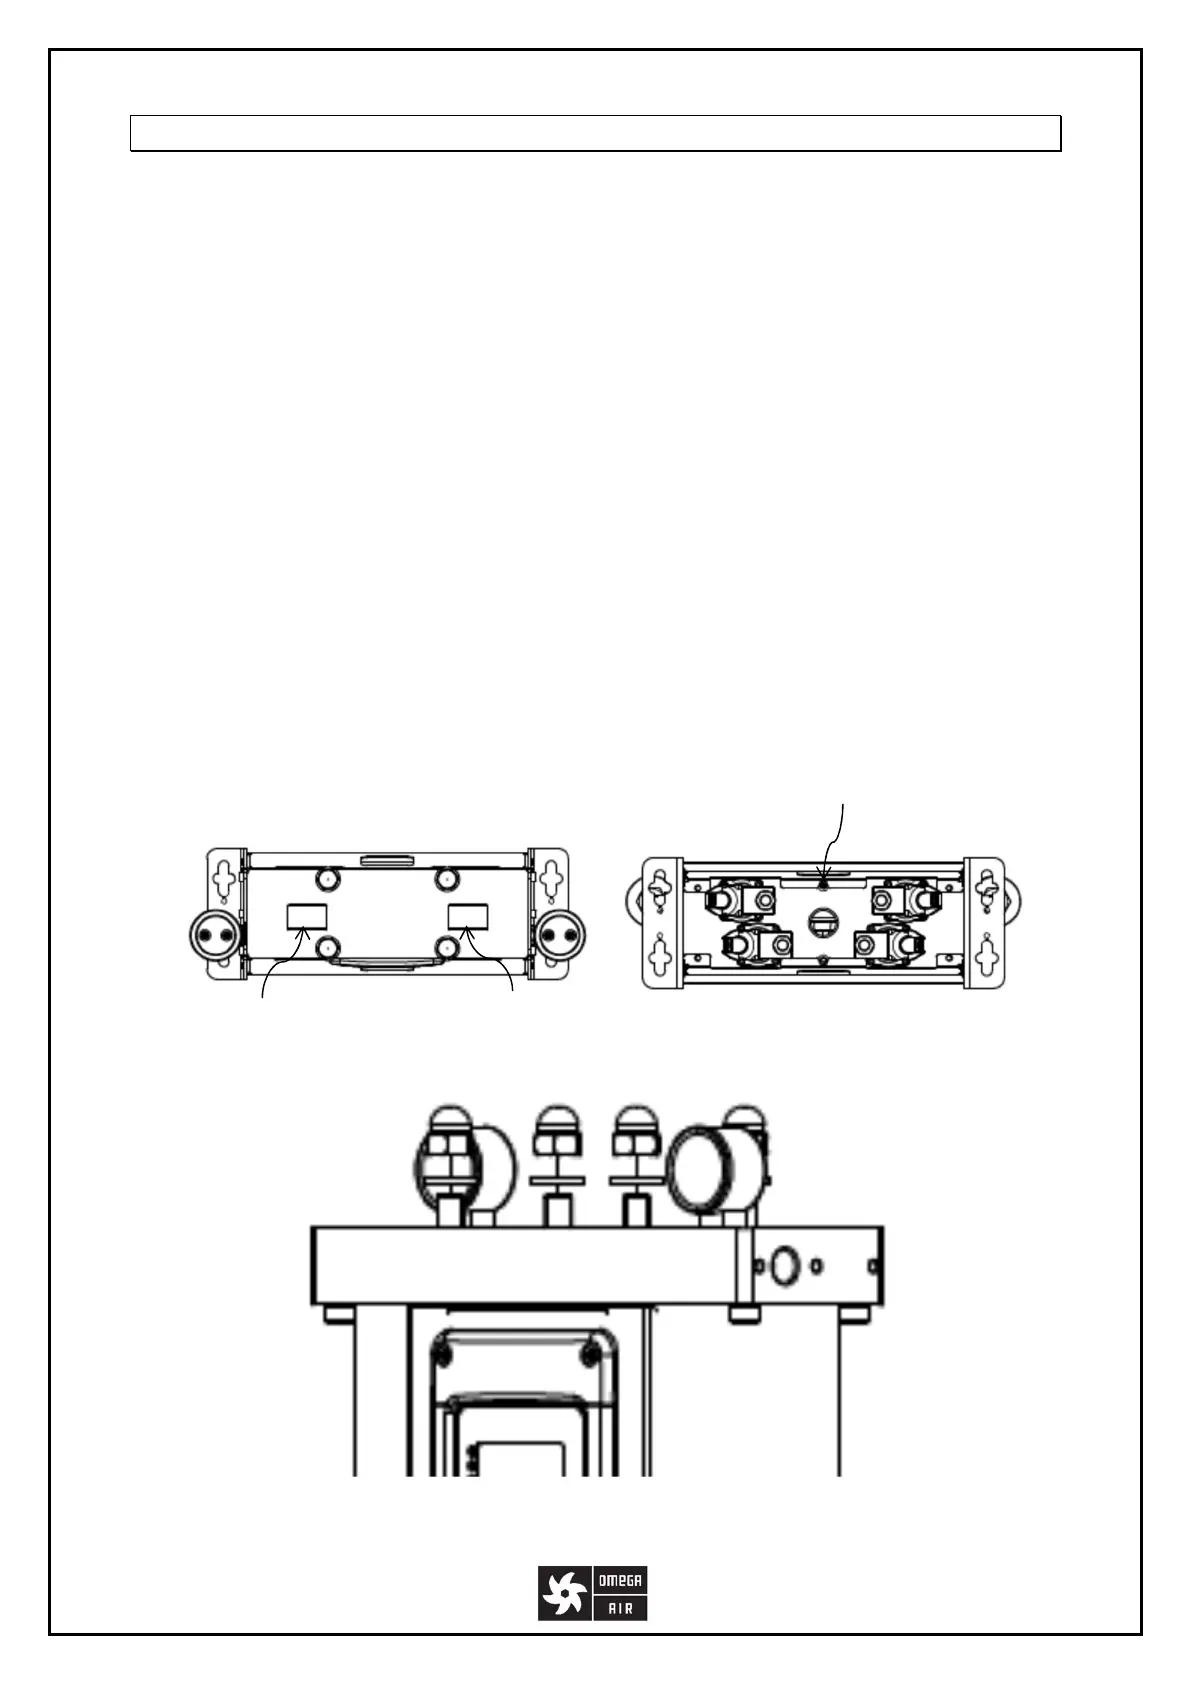
7. Unscrew and remove the non-return valve components. You can screw the valves
with pliers.
8. Replace the non-return valves with components from non-return valves kit. Picture
(13.15)
9. Replace the O-ring seals on the blocks with the O-rings found in the service kit.
Remove the used O-rings and wipe any residual condensate and particles from the
blocks before replacement of the O-rings into the grooves.
10. Place the upper block back into position, connect the tube, place the back panel into
position and screw the nuts tightly to ensure proper sealing.
(13.14)
Tower 1 pressure indicator
Tower 2 pressure indicator
 Loading...