Page10
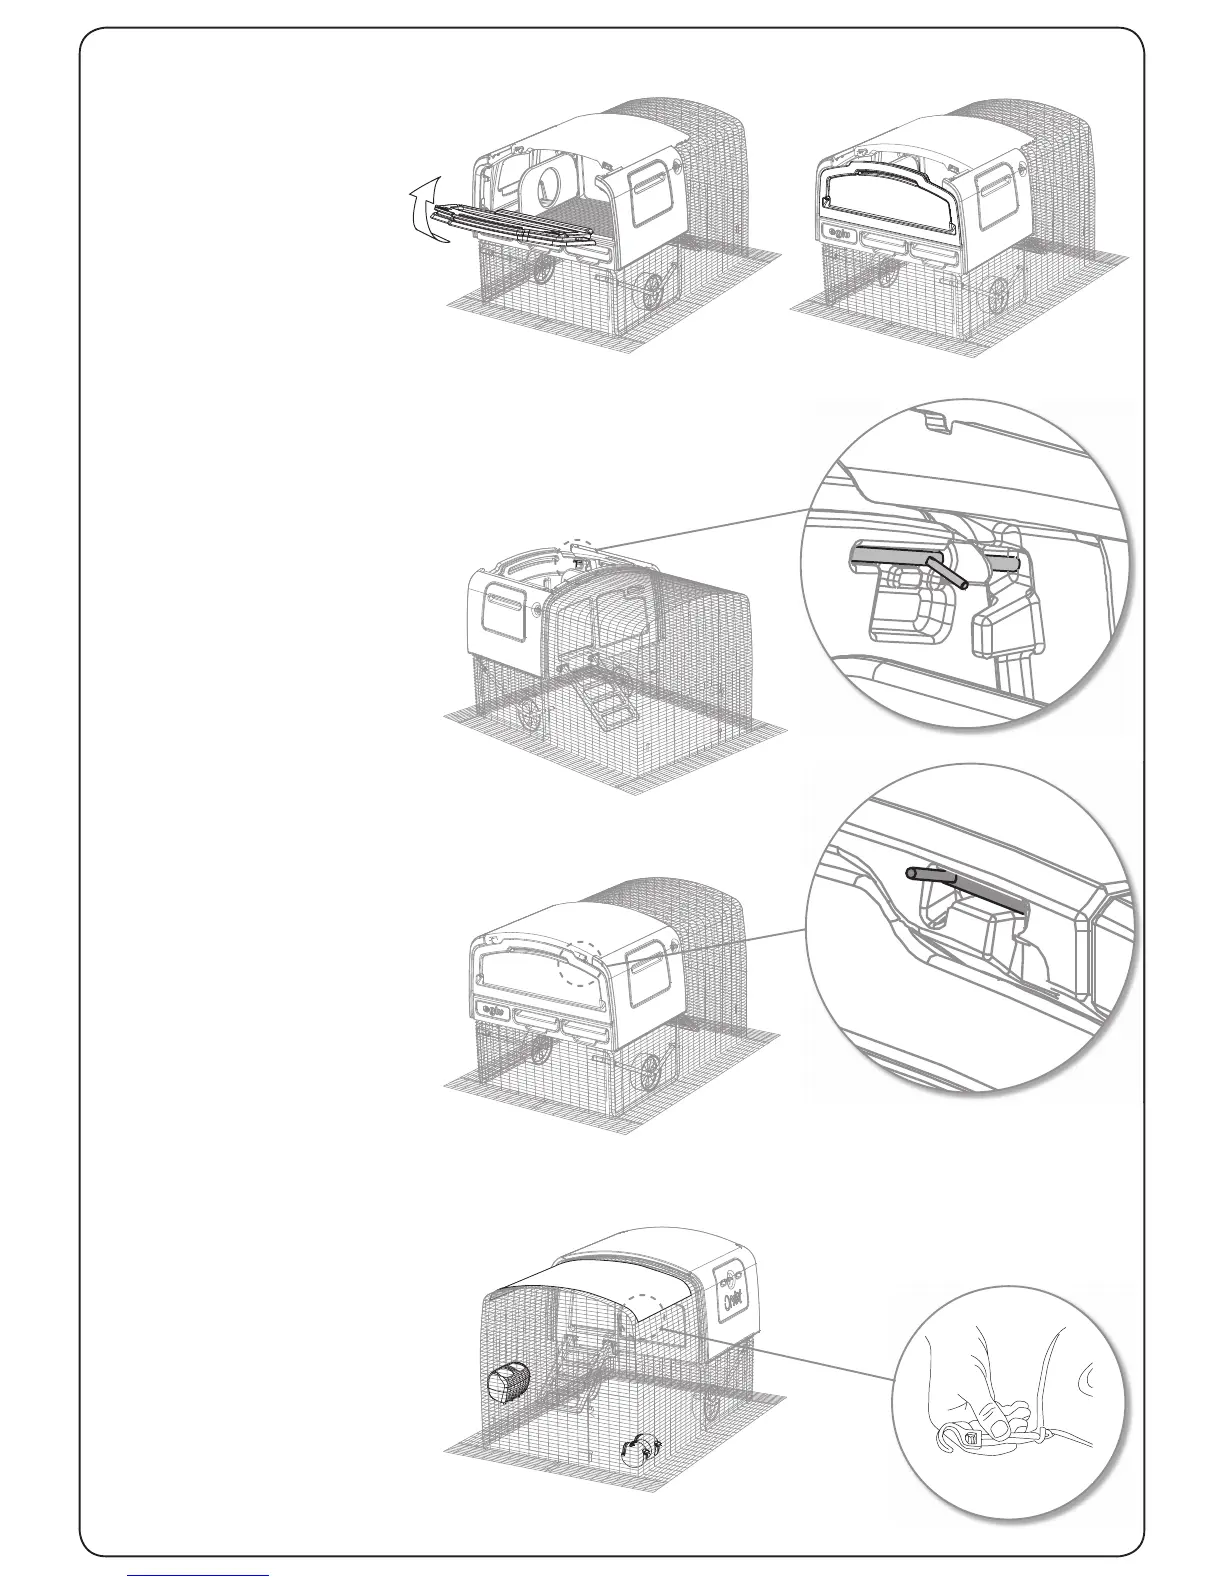
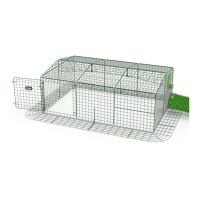
Shade - This is held on with
four hooks on bungee cords as
shown. Hook the corners onto
the run making sure that it is
held reasonably taut to prevent it
fl apping in the wind.
Feeder and Drinker - These can
be attached to the run using the
hooks on the backs. Open the door
at the end of the run and reach
in hanging them on the side walls
of the run. The drinker should
be placed such that the chickens
have to reach up to drink from the
nipples.
Place the bottom of the Rear Panel
on the back of the Base then rotate
it up to vertical.
The Rear P
anel locks to the side
panels with two l
ocking bolts on
the inside of the panel. Simply
rotate the arm of the bolt, slide
the bolt across and rotate the arm
back again. Do this on both sides
and the Rear P
anel will be held in
place.
Step 20 - Fitting the Rear Panel
Step 21 - Locking the Rear panel
Slide the lid to the rear of the
eglu. It will be slightly stiff as it
travels along its metal runners to
make sure it is held down nice and
securely. The lid is locked on usin
g
two bolts identical to the ones
holding the Rear Panel.
Step 22 - Locking the Lid
Step 23 - Attach the Accessories