Page3
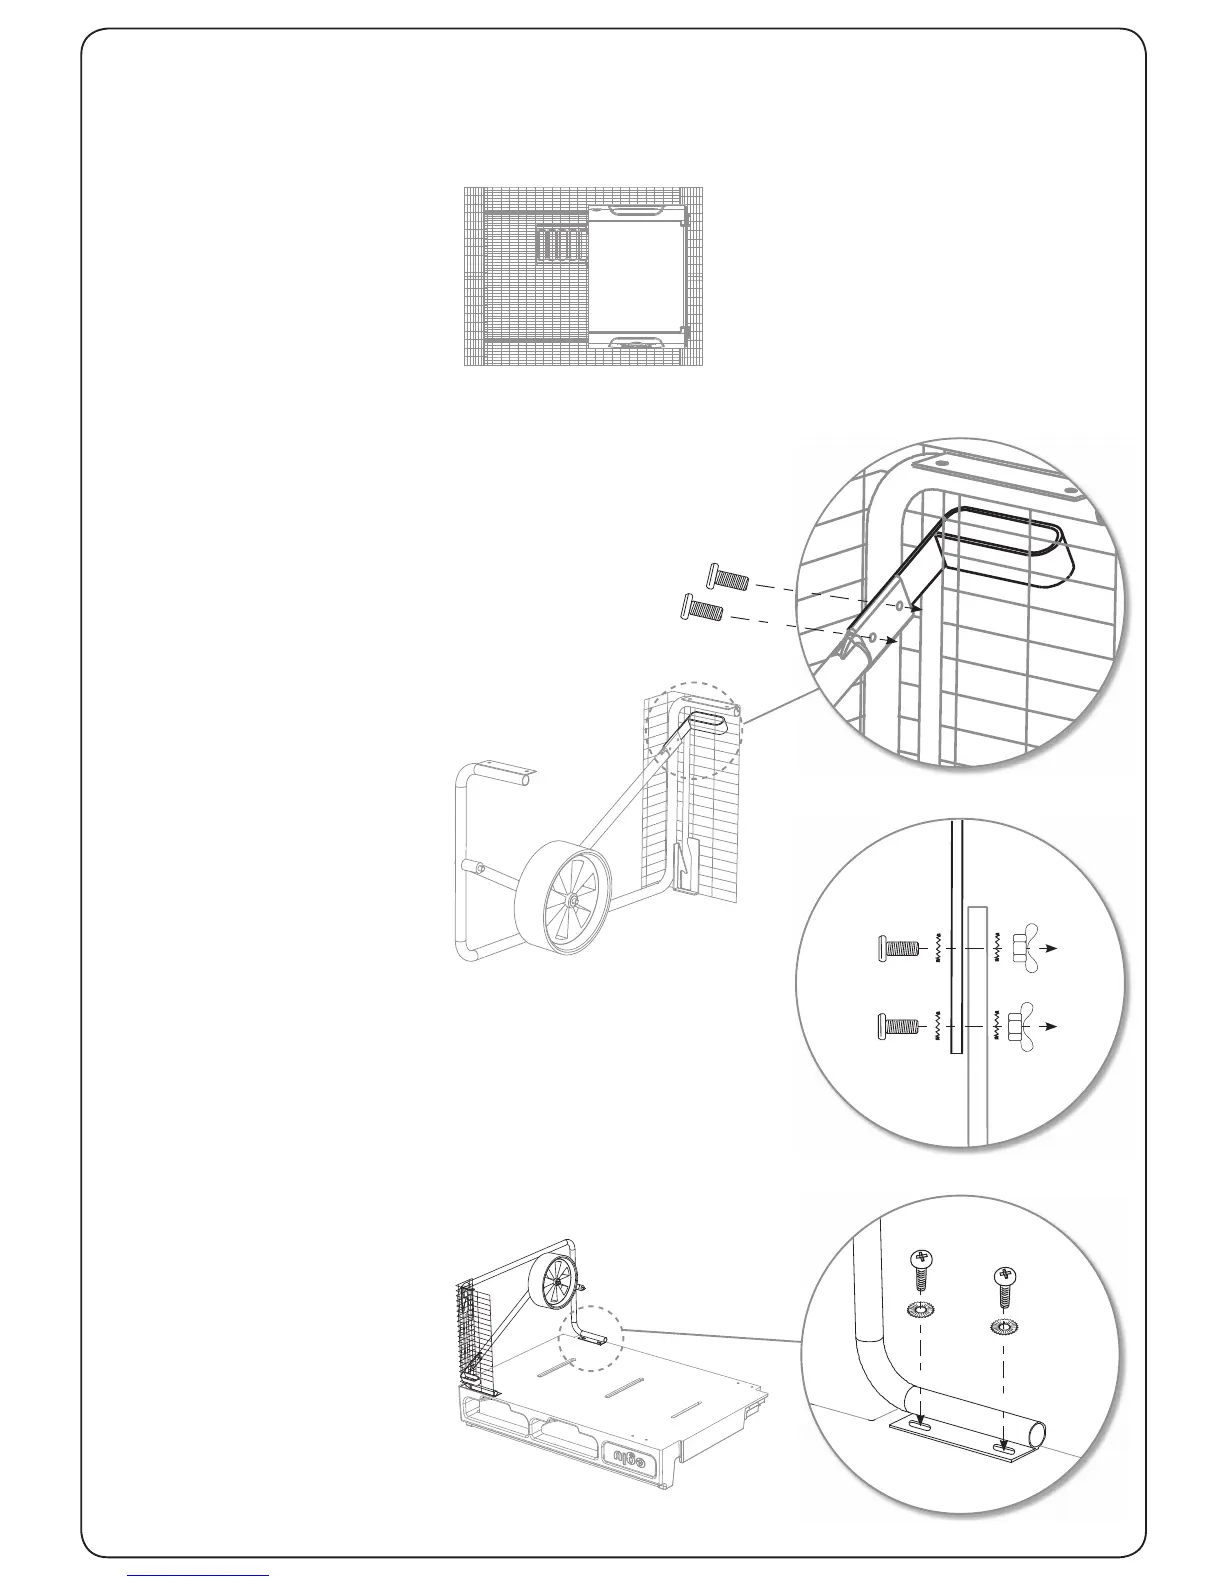
Place the base upside down on the
ground. Loosely bolt the wheel
assemblies to it using serrated
washers and Small Bolts. You will
need 4 Small Bolts to hold each
Wheel Assembly to the Base.
Assembling Your Eglu Cube
Shade
Serrated Washers
Foot Pedal x 2
Nut x 4
Take a Footpedal and line it up
with a wheel assembly arm by
threading it through the slot in the
mesh panel with the pedal pointing
inwards.
Bolt the footpedal to the wheel
assembly by threading one of the
Small Bolts through a serrated
washer then the pedal arm, the
wheel assembly arm, another
serrated washer and fi nally a nut
on the end. Do this through both
holes, then tighten the nuts.
Lid Hook x 2
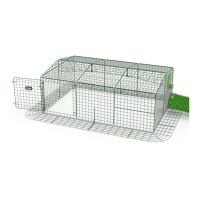
Make sure you assemble the eglu
on a spot that is reasonably even
and fl at. The diagram shows
the eglu cube dimensions only.
Make sure you leave enough
space behind the eglu to allow
the dropping tray to be removed,
enough room infront to open
the run door and enough room
on the side to pull the door front
door handle out.
Step 2 - Attach the Footpedals to Wheel Assemblies
Step 3 - Attaching Wheel Assemblies to Base
Step 1 - Find a suitable surface and location in your garden
2m
1.6m
Footpedal
Wheel
Arm