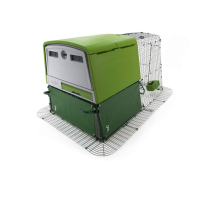
Page8
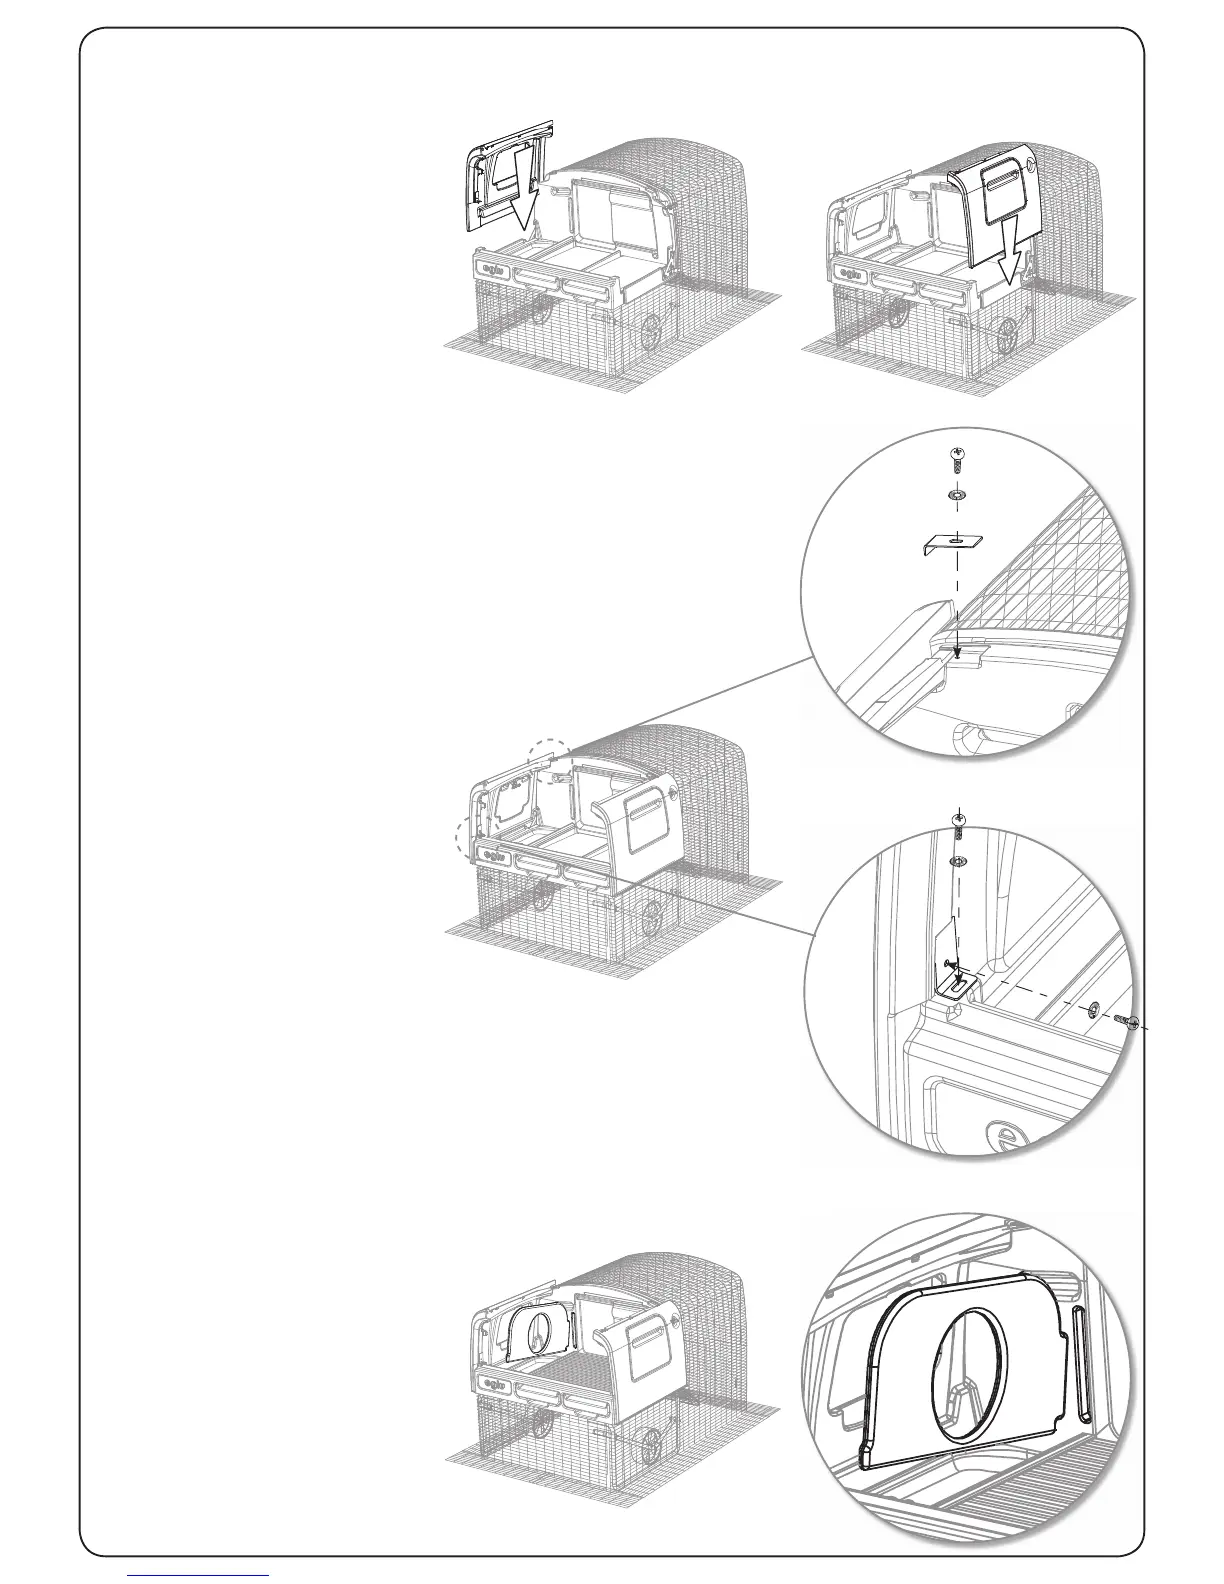
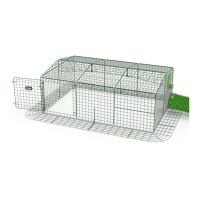
Place the Side Panels over the tabs
on the Base. Note: The Side with
the Side Hatch must go on the
lefthand side - over the nest box.
Once this is complete, you can put
the Roosting Rack in place.
The Side Panels are attached using
two Brackets, Short Bolts and
Serrated Washers.
Top Front Bracket
Make sure that the side panel is
pushed as far down onto the Base
as possible before bolting it on.
Using the Side to Front Bracket
bolt the Side Panel to the Front
Face.
Bottom Back Bracket
Firstly bolt the Side to Base
Bracket to the Side Panel through
the circular hole.
Finally bolt the Bracket, holding
the Side Panel to the Base. You
will need to hold the Side Panel in
place to line the bolt up with the
hole.
The partition wall has no Bolts.
Push it into to the slot on the Front
Face and Base.
The Partition can be easily removed
when cleaning the eglu cube.
Step 13 - Place the Side Panels on the Base
Step 14 - Bolt the Side Panels to Base and Front Face
Step 15 - Inserting the Partition Wall